Week 05: 3D Scanning and Printing

3D Printing
We talked about different printing methods, like additive and subtractive methods. Subtractive methods are very expensive and consume a lot of material. The machines are even more expensive than CNC machines.
This week we will talk about additive methods. The first additive manufacturing technique was invented in the 1980s. In the following years, more manufacturing techniques were developed. The first 3D printing machine, "SLAprinter Marketing," was sold in 1988 by American Systems 3D. In the 90s, more methods were developed and patented. More materials were added for printing. Since the 2000s, there have also been desktop 3D printers that were more affordable.
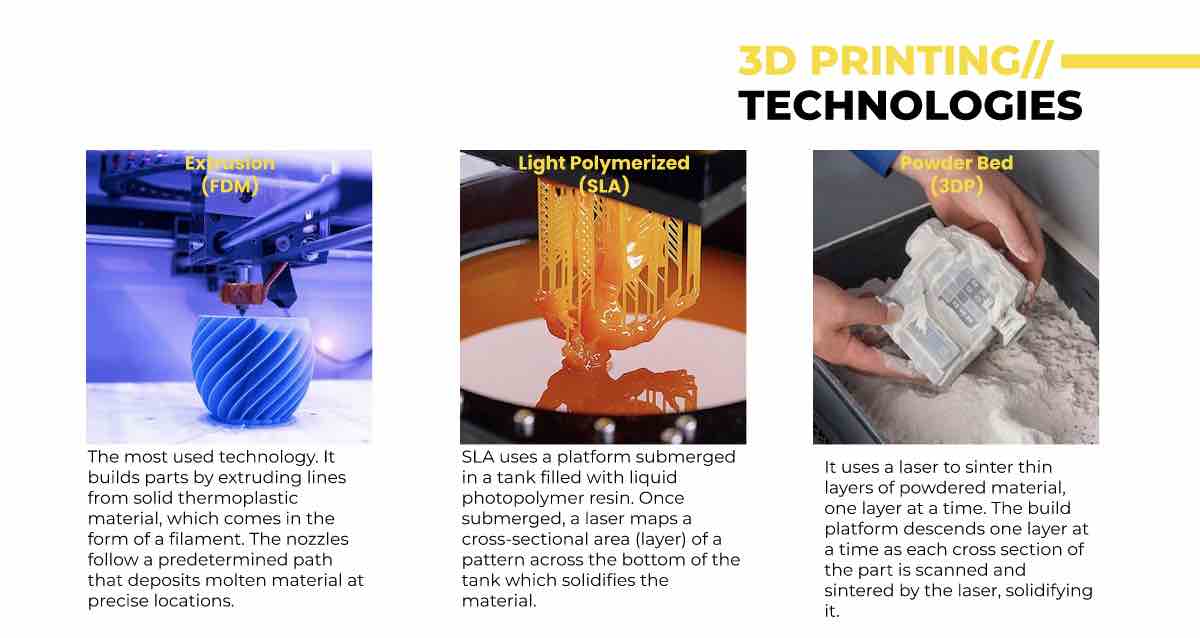
We talked about 3 different ways of 3D printing:
- Fused Deposition Modeling (FDM): A material (usually plastic) is melted, and a new object can be created layer by layer.
- Light Polymerized (SLA): Liquid resin is used, which is hardened by a UV laser at the points where the object should be formed.
- Powder Bed (3DP): Powder is bound with binder and laser, so that an object can be created.
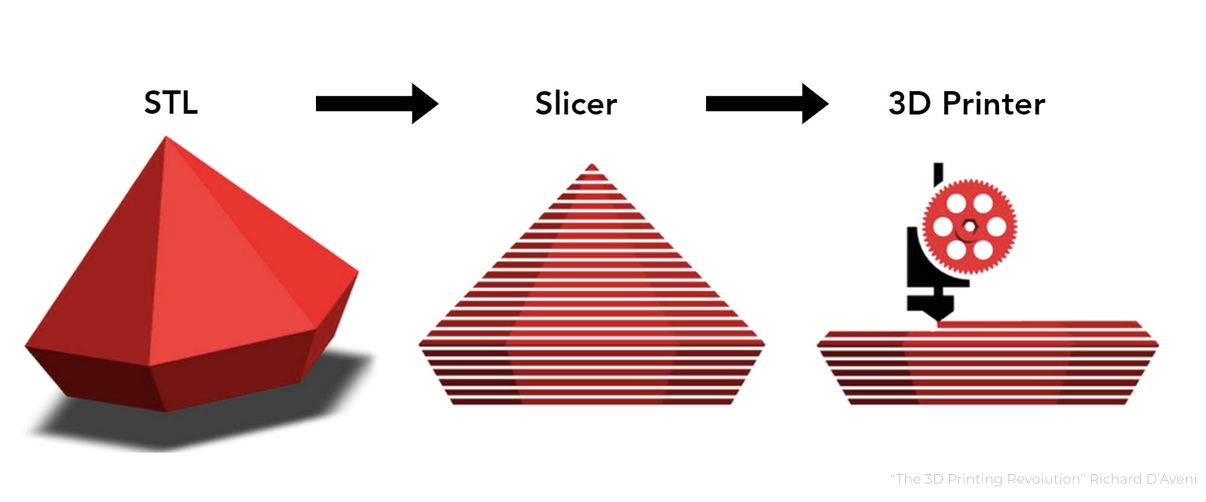
There is not one better variant, but the best variant for a specific project. 3D files must always be converted to a mesh. We will typically work with STL or OBG. So, the model built in software must always be saved as STL. It is then converted into coordinates in a special software, in the slicer, so that it can be printed. The 3D printer works with coordinates. The process is always: Model - Slice - Printer. In the slicer software, we must specify which material we are using and with which machine we are working.
Material (Selection):
- PLA: is the most commonly used material
- ABS: we no longer use it, there are other materials that are easier to print
- Nylon: is difficult to print, but offers high flexibility
- PETG: is often made from recycled plastic bottles
- TPU: is a flexible material
- HIPS and PETG: are food-safe materials
3D Scanning
We have leanrd about various methods for scanning objects.
- Projection: The scanning process involves a projector combined with one or two cameras. The projector projects patterns onto the object to be scanned, while one or two cameras capture the light patterns. These projected light patterns are used to calculate 3D coordinate points and create a 3D model. Through these points, a 3D model can be generated.
- Laser: A laser beam is directed at the object and reflected from its surface. The reflected laser beam is captured by a sensor, which can then calculate angles and distances to generate a 3D object.
- Lidar (Light Detection and Ranging) Scanning (also possible with the iPhone): This works similarly to laser scanning, aiming to scan larger areas. Laser points are emitted and the time until the reflected laser beam returns is calculated to accurately measure distances.
- Photogrammetry: Many photos are taken from various angles, analyzed, and then combined to create a 3D model.
When printing a 3D scan, we always have to use the mesh format. A mesh can be visualized as a model with many small points connected to each other, which can then be edited.
Group assignment
On this page, you will find all the information regarding to our group assignment.
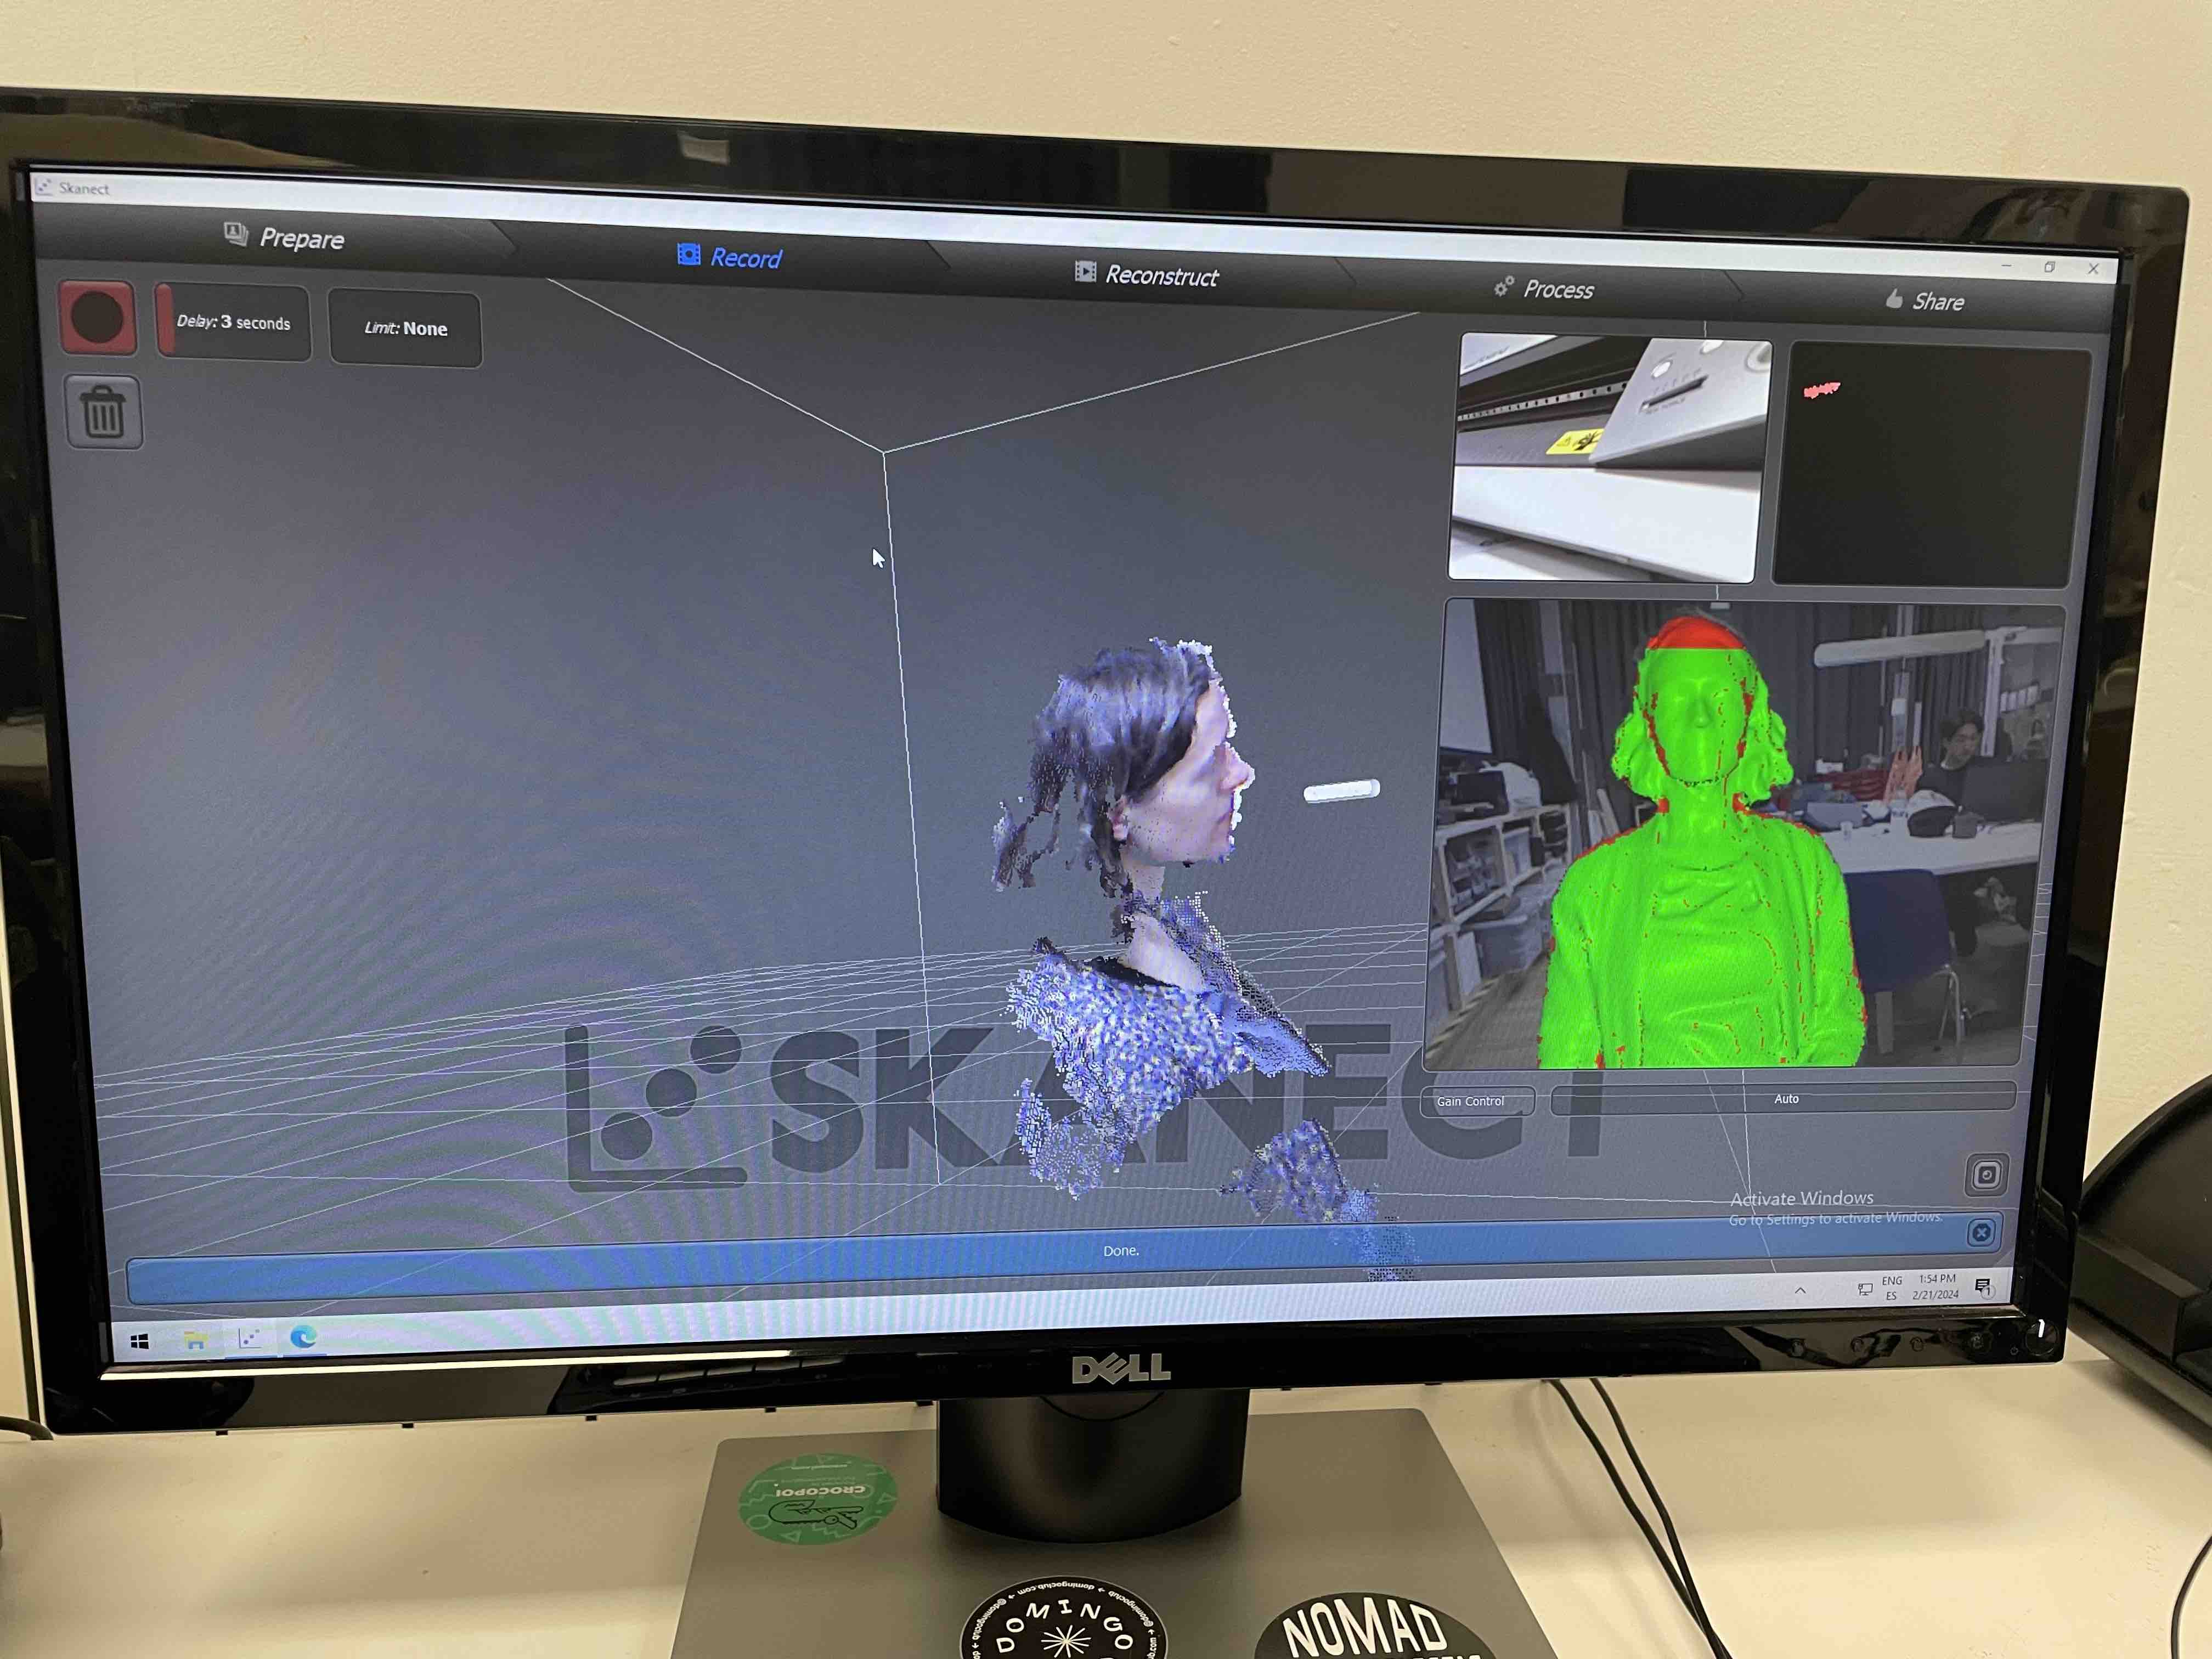
Skanect
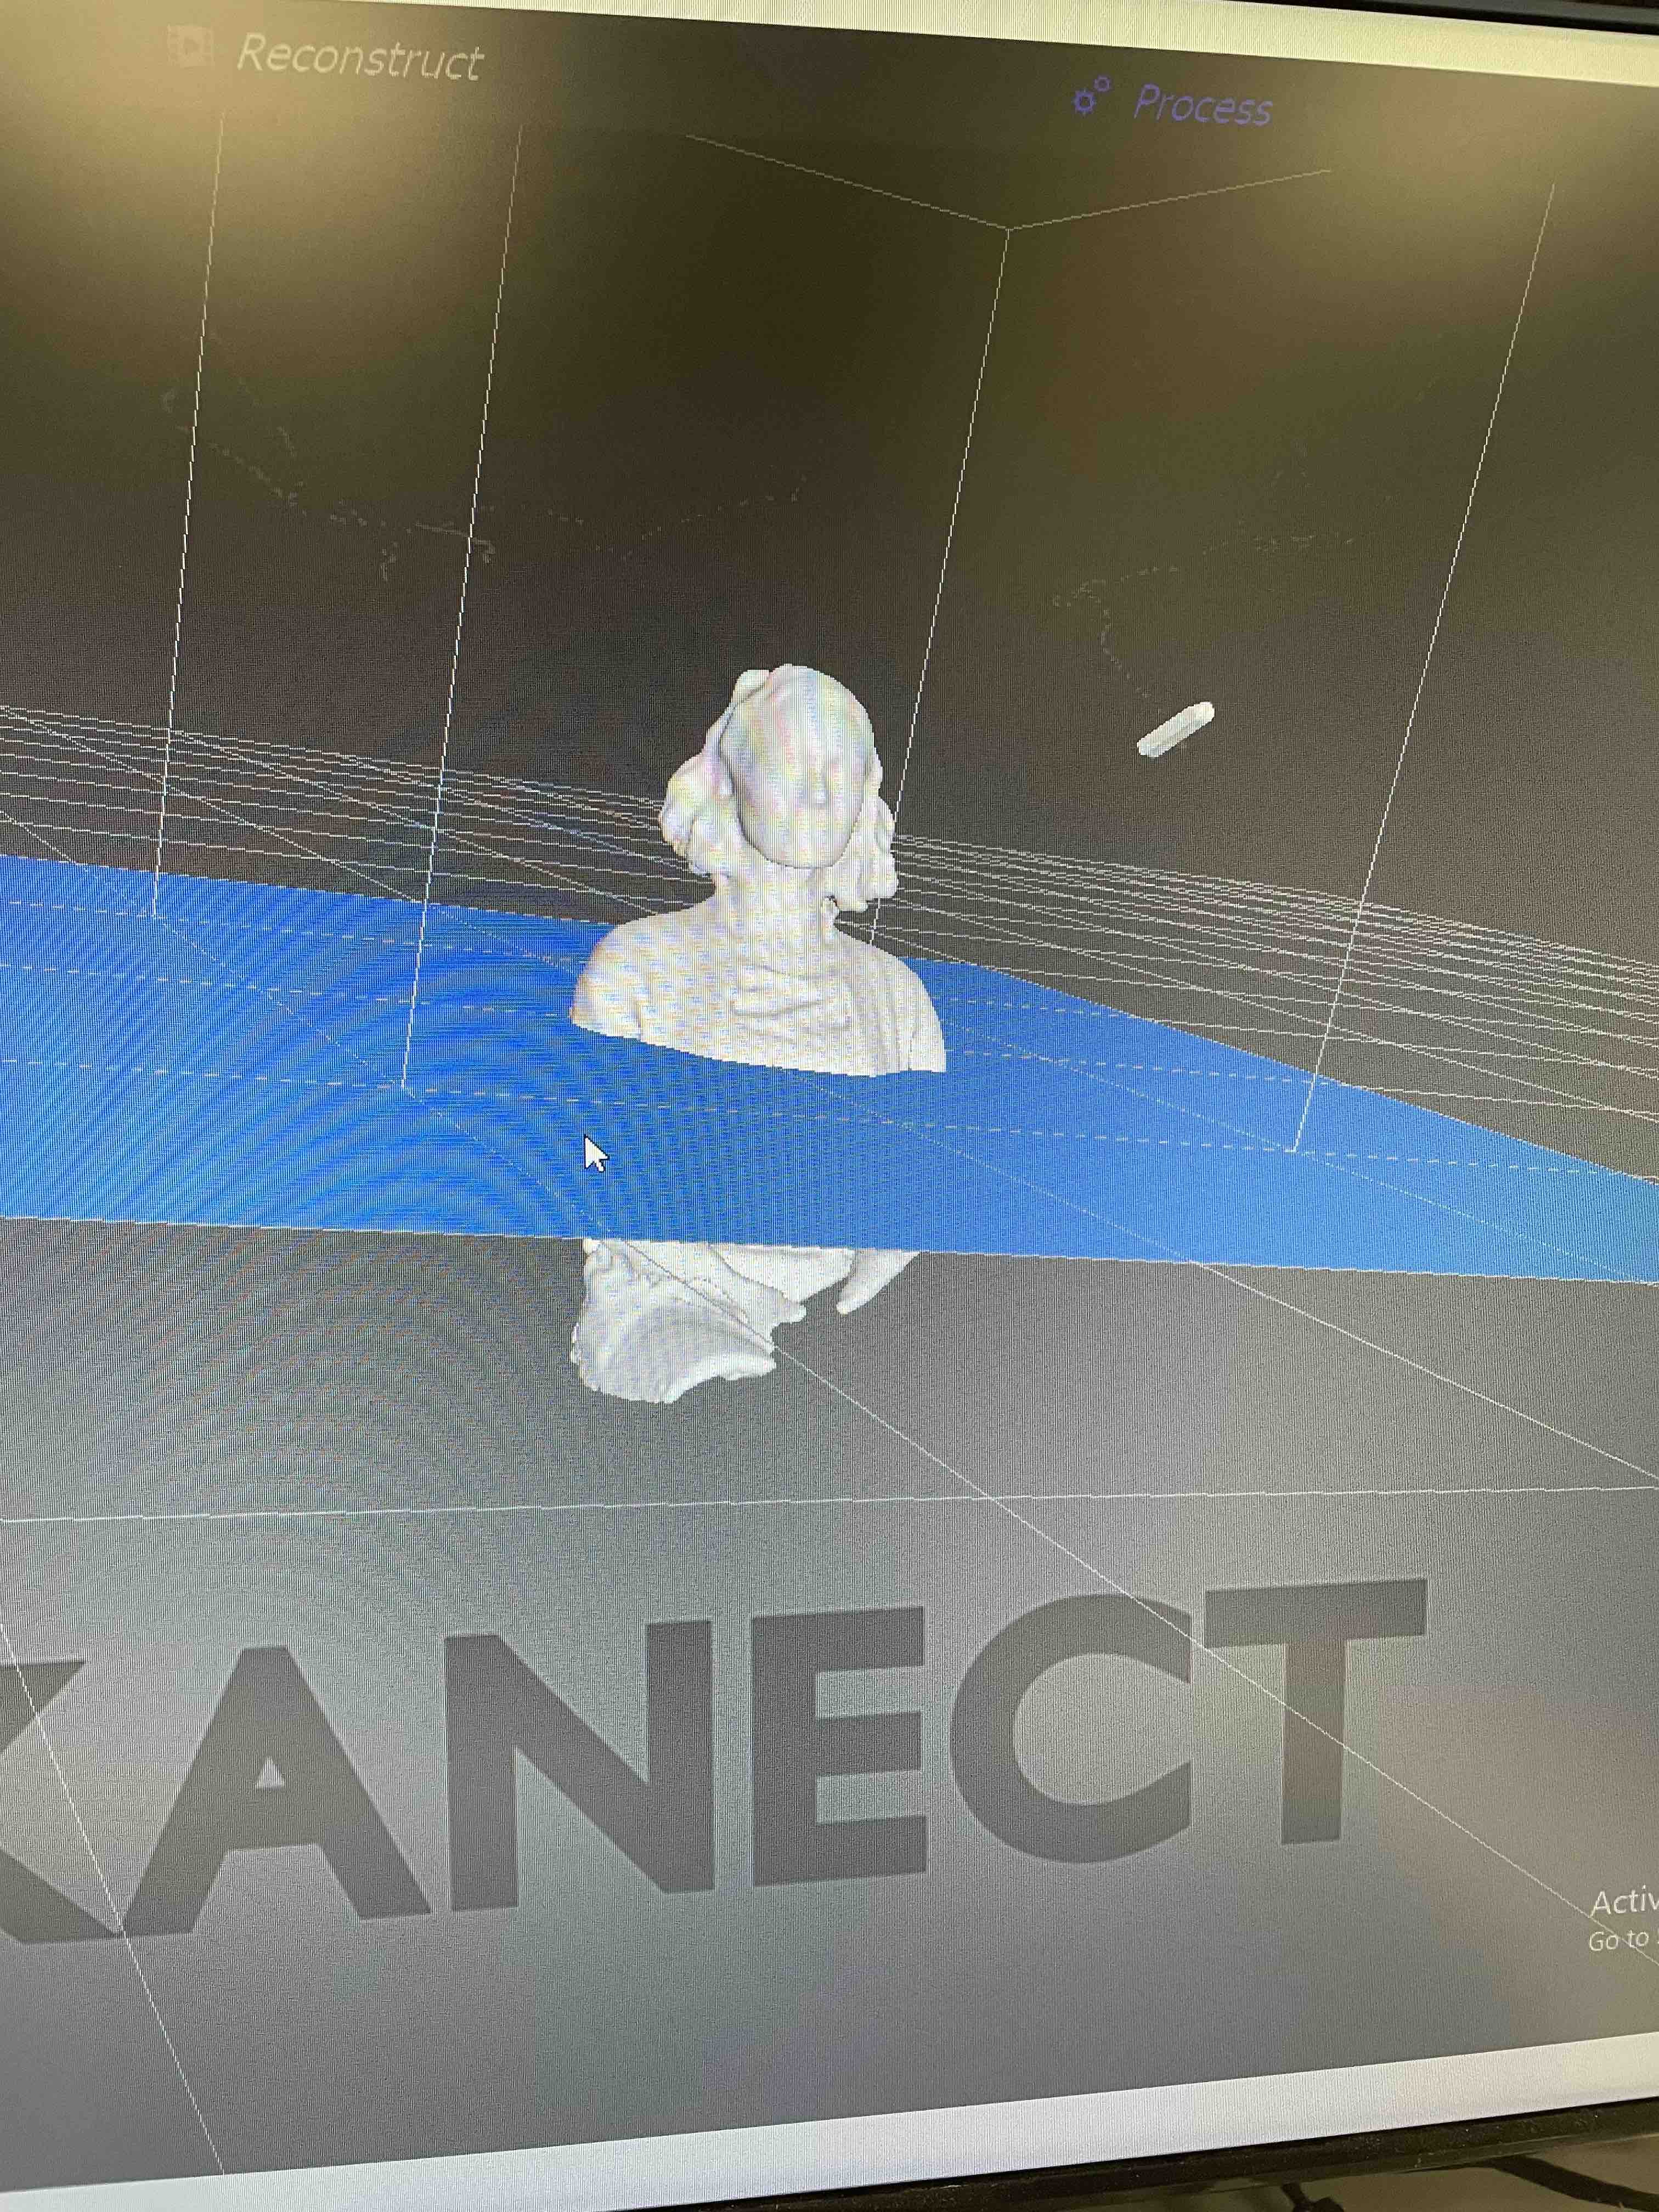
For mutual scanning of our faces, we first connect the camera and then open the Skanect program. We perform the exercise in pairs, with one person scanning and the other person holding the camera.
- Performing the scan: We start the program and are then asked what we want to scan, for example, an object or body. We choose the body option.
- Additionally, we have selected that we want to create an STL file.
- We then clicked on record and walked around the person. It is important not to lose sight of the object, not to walk too fast, not to get too close to the object, and to scan all important areas (e.g., also the head from above). On the screen, the scanned object is displayed in green if everything is going well and red if, for example, you are too close to the object. This option can be used to correct yourself while scanning. We had to perform the scanning more than once because we lost the object on the first try, and it is very difficult to find the point again with the camera where we lost it.
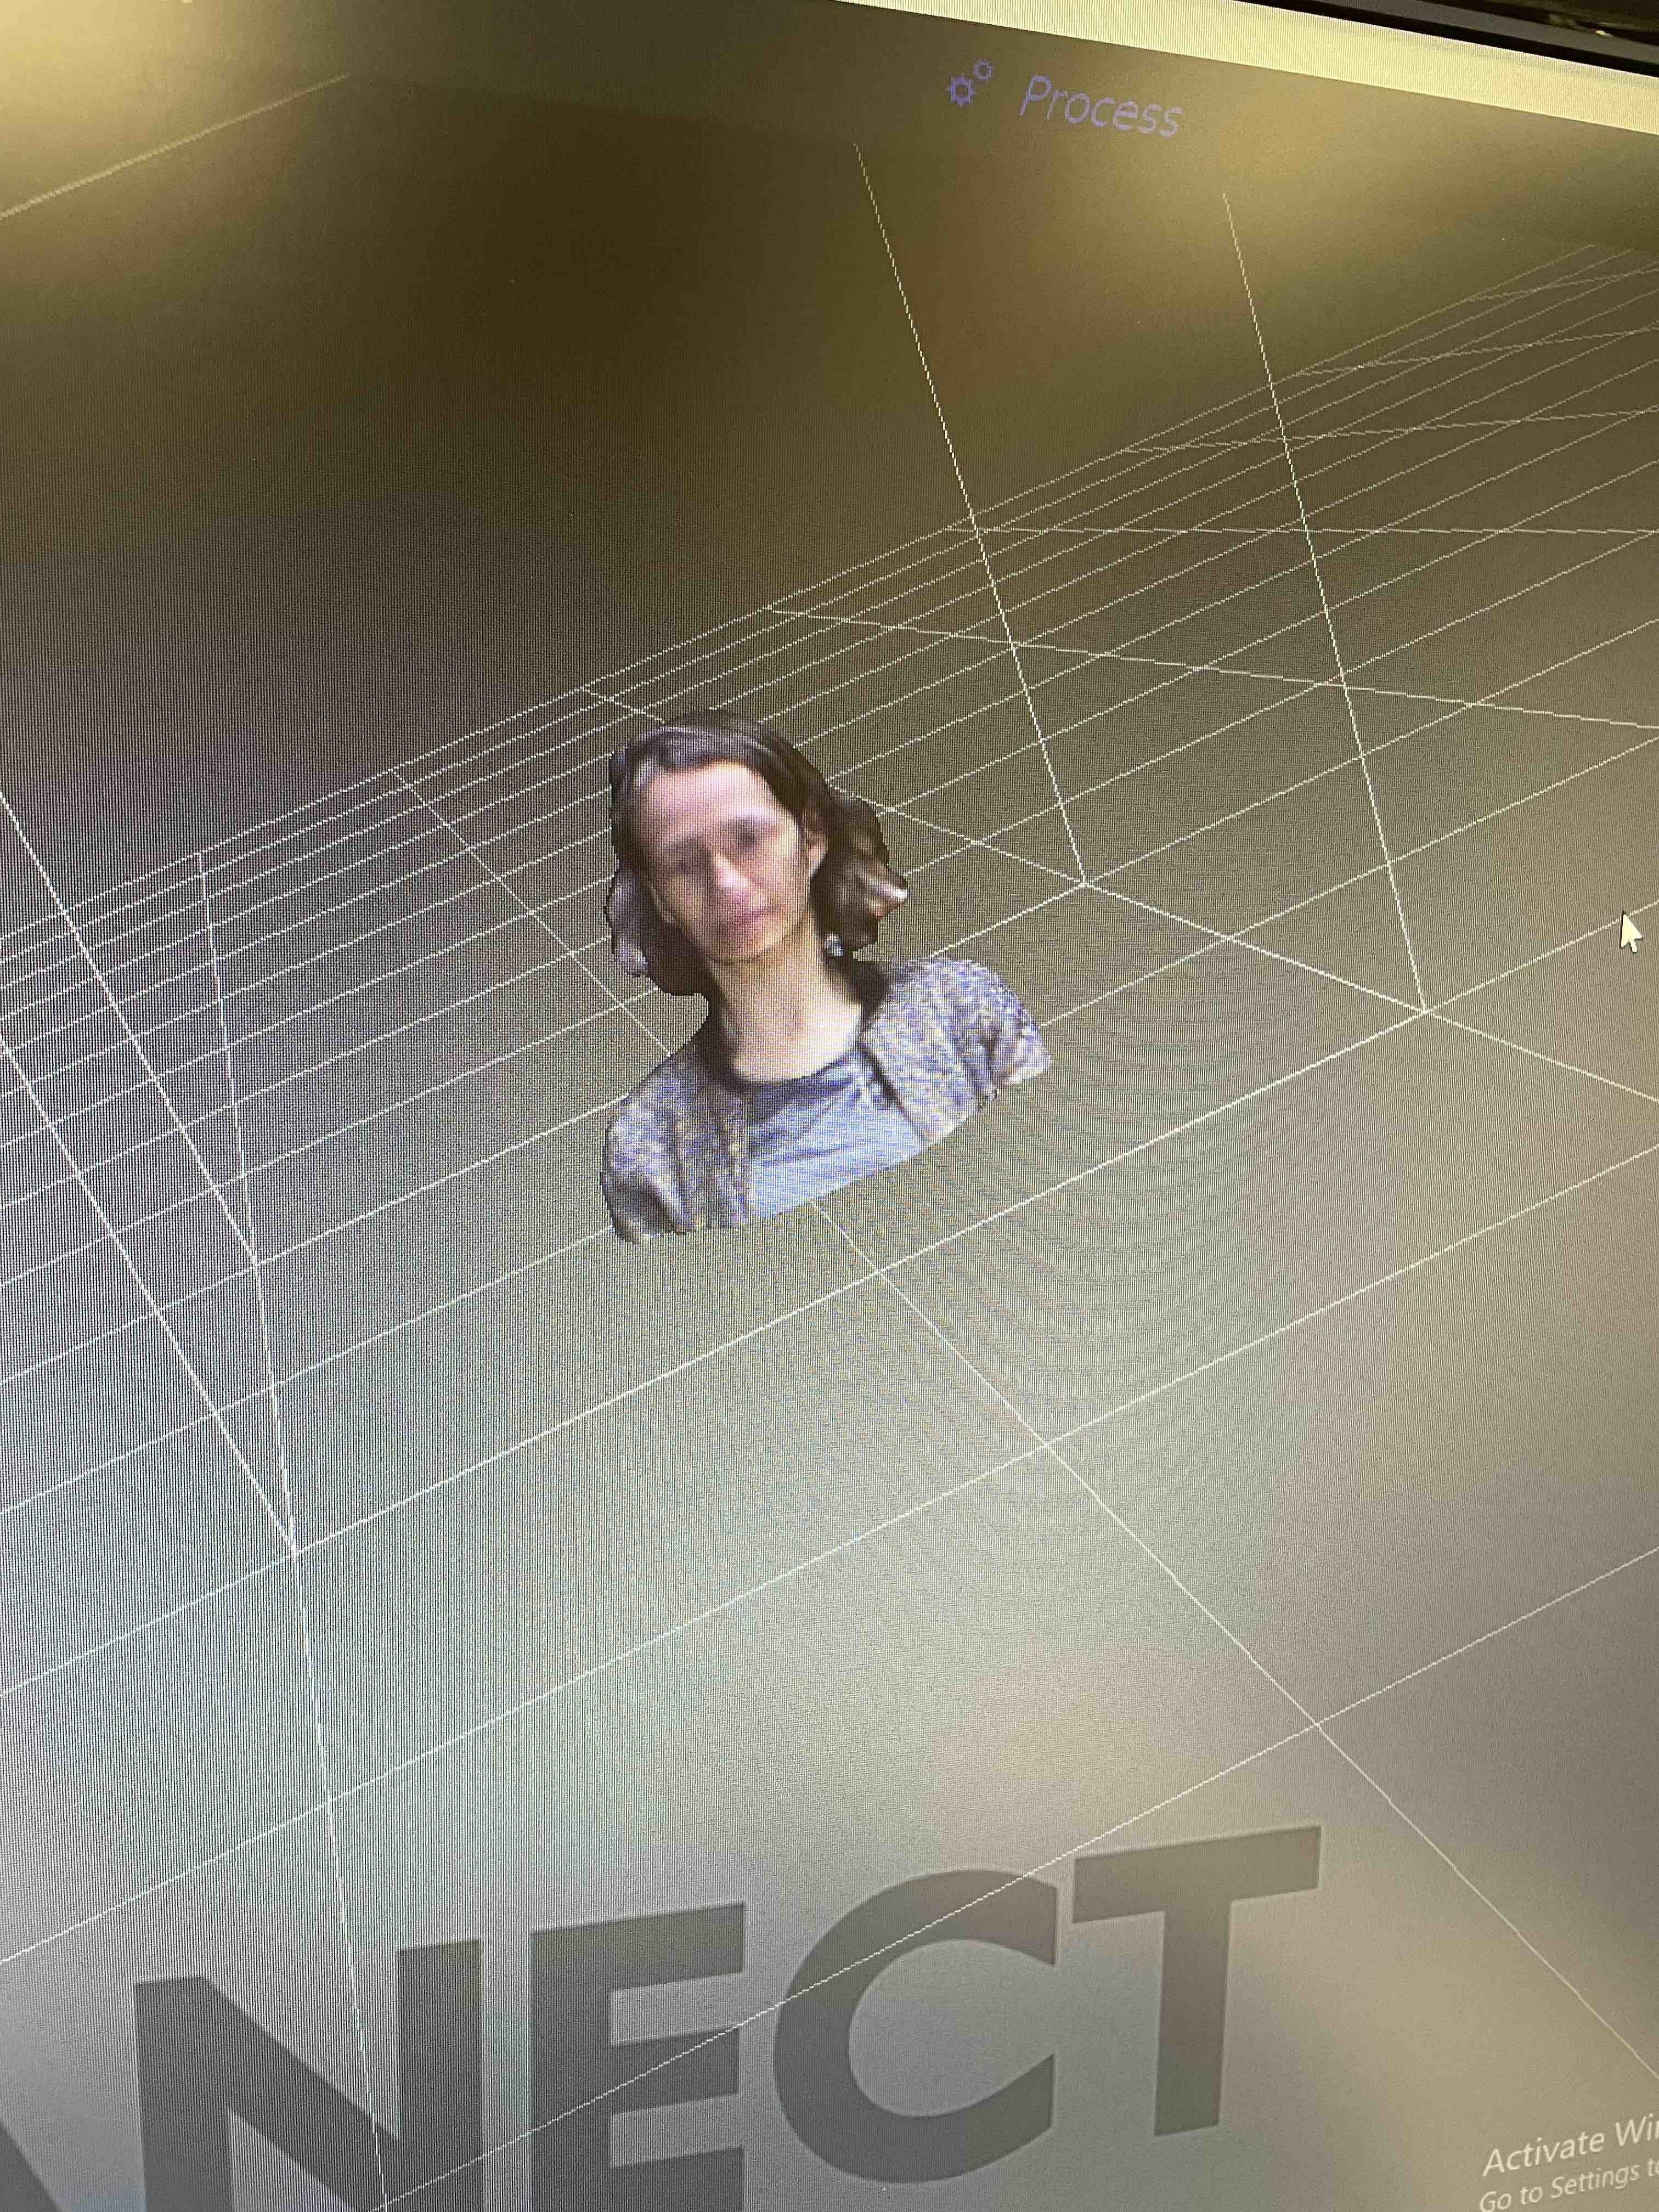
- Once the object is scanned, the file can be edited. For editing, I chose the "fill holes" option to fill in smaller holes. Additionally, I trimmed the object and closed the bottom, as the object was open towards the bottom, since my body does not end at one point. These options were offered to me by the program, so I only had to select them. Then I exported the file and stored it in the IAAC Cloud.
With some practice, the scan was relatively easy to perform overall, and the result was impressive.
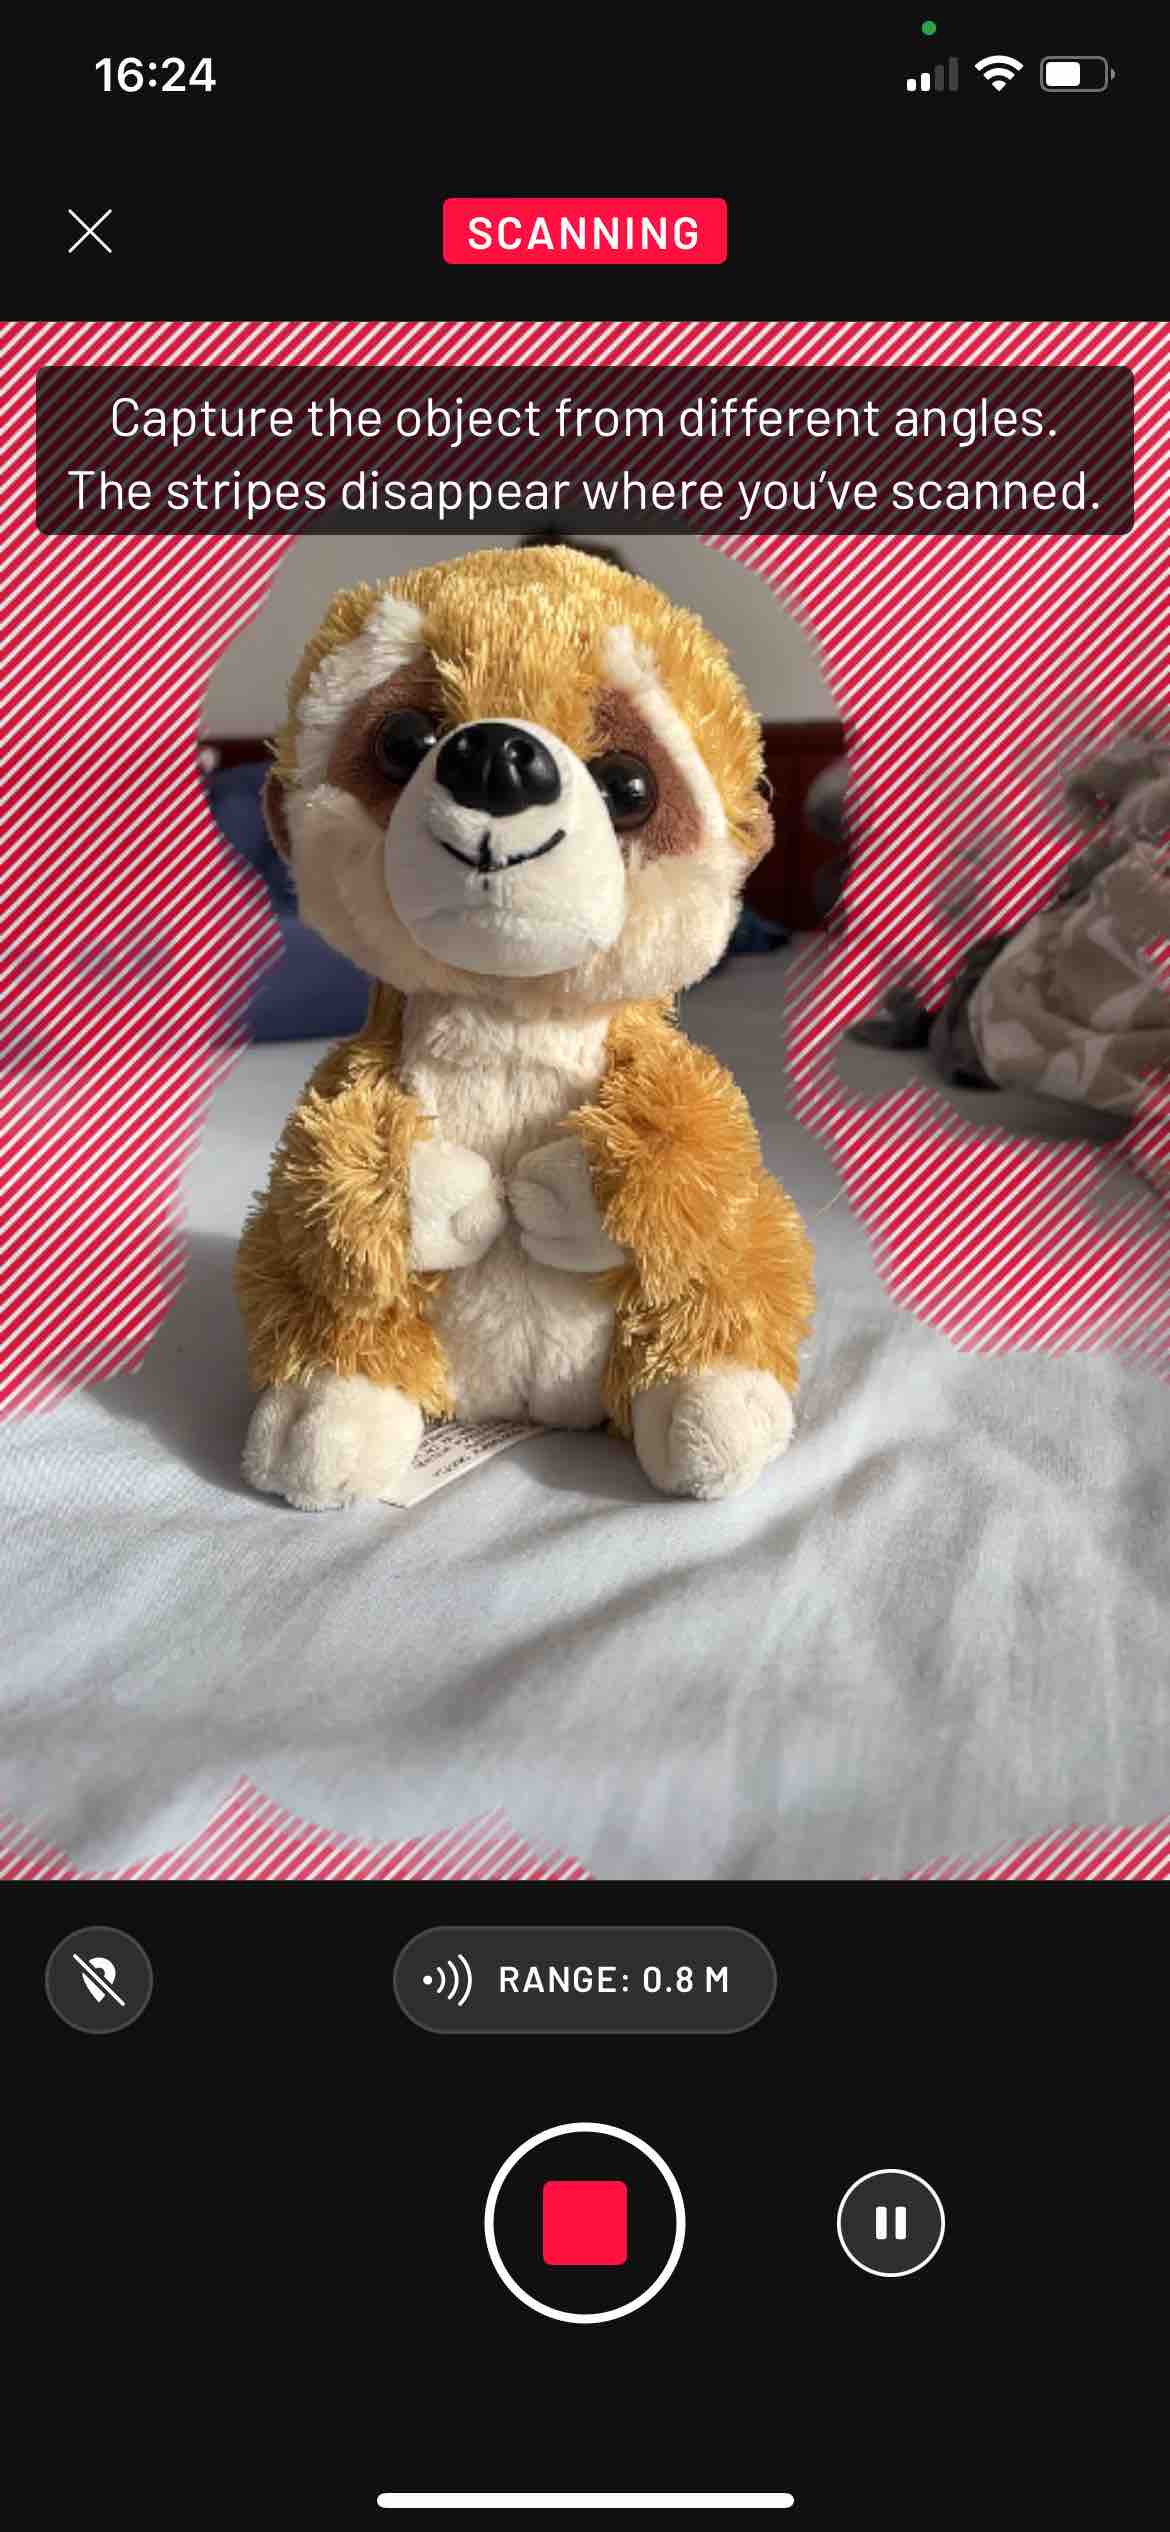
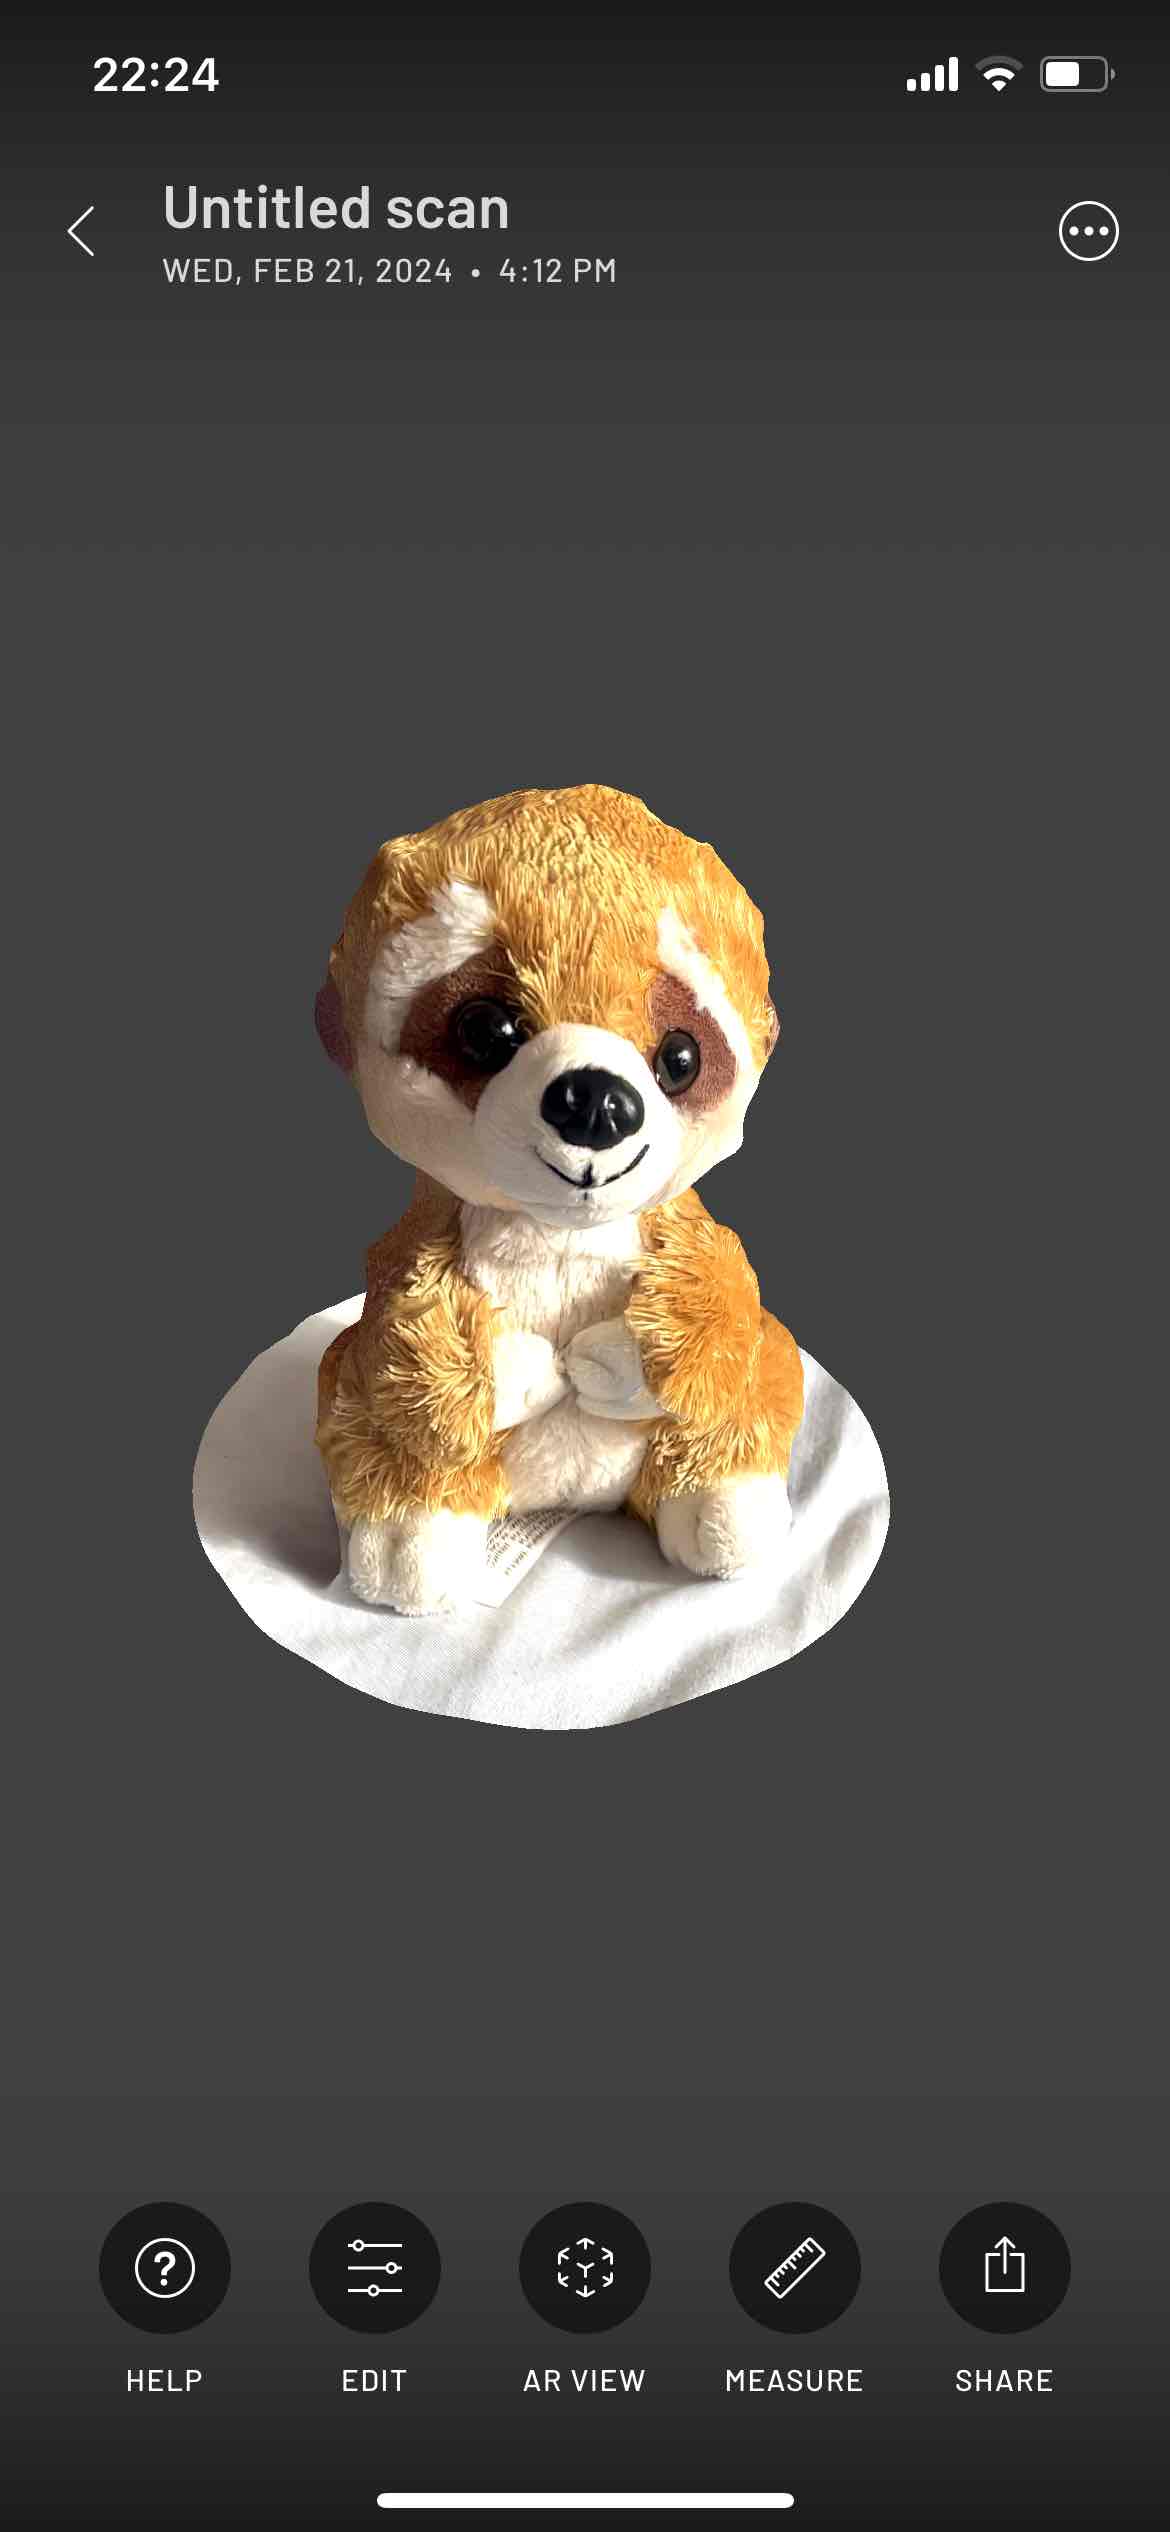
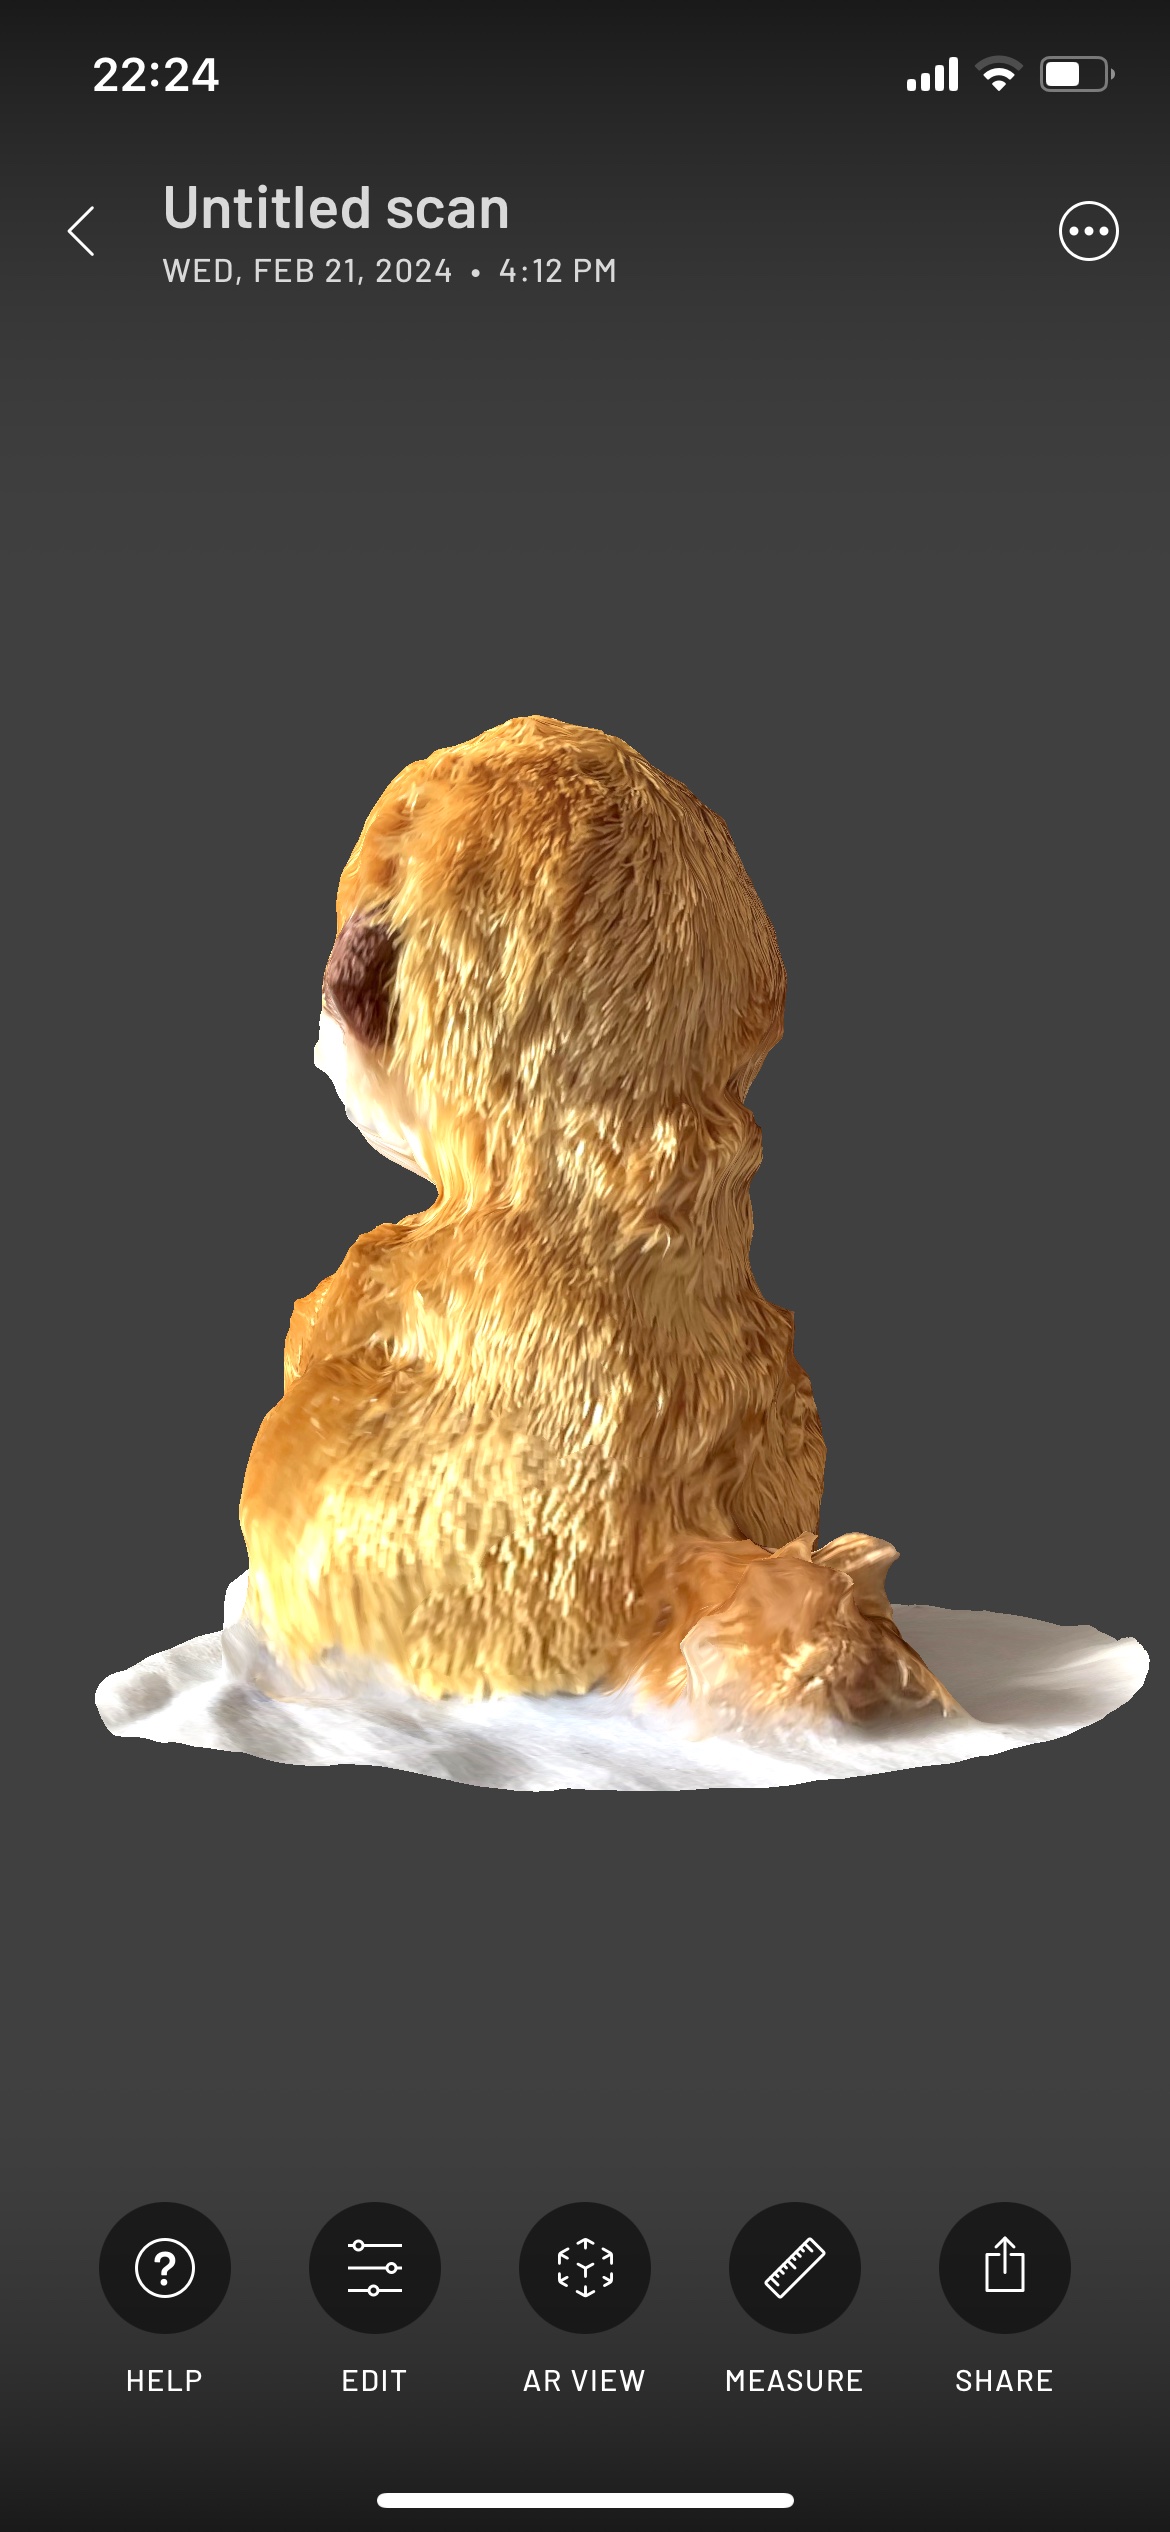
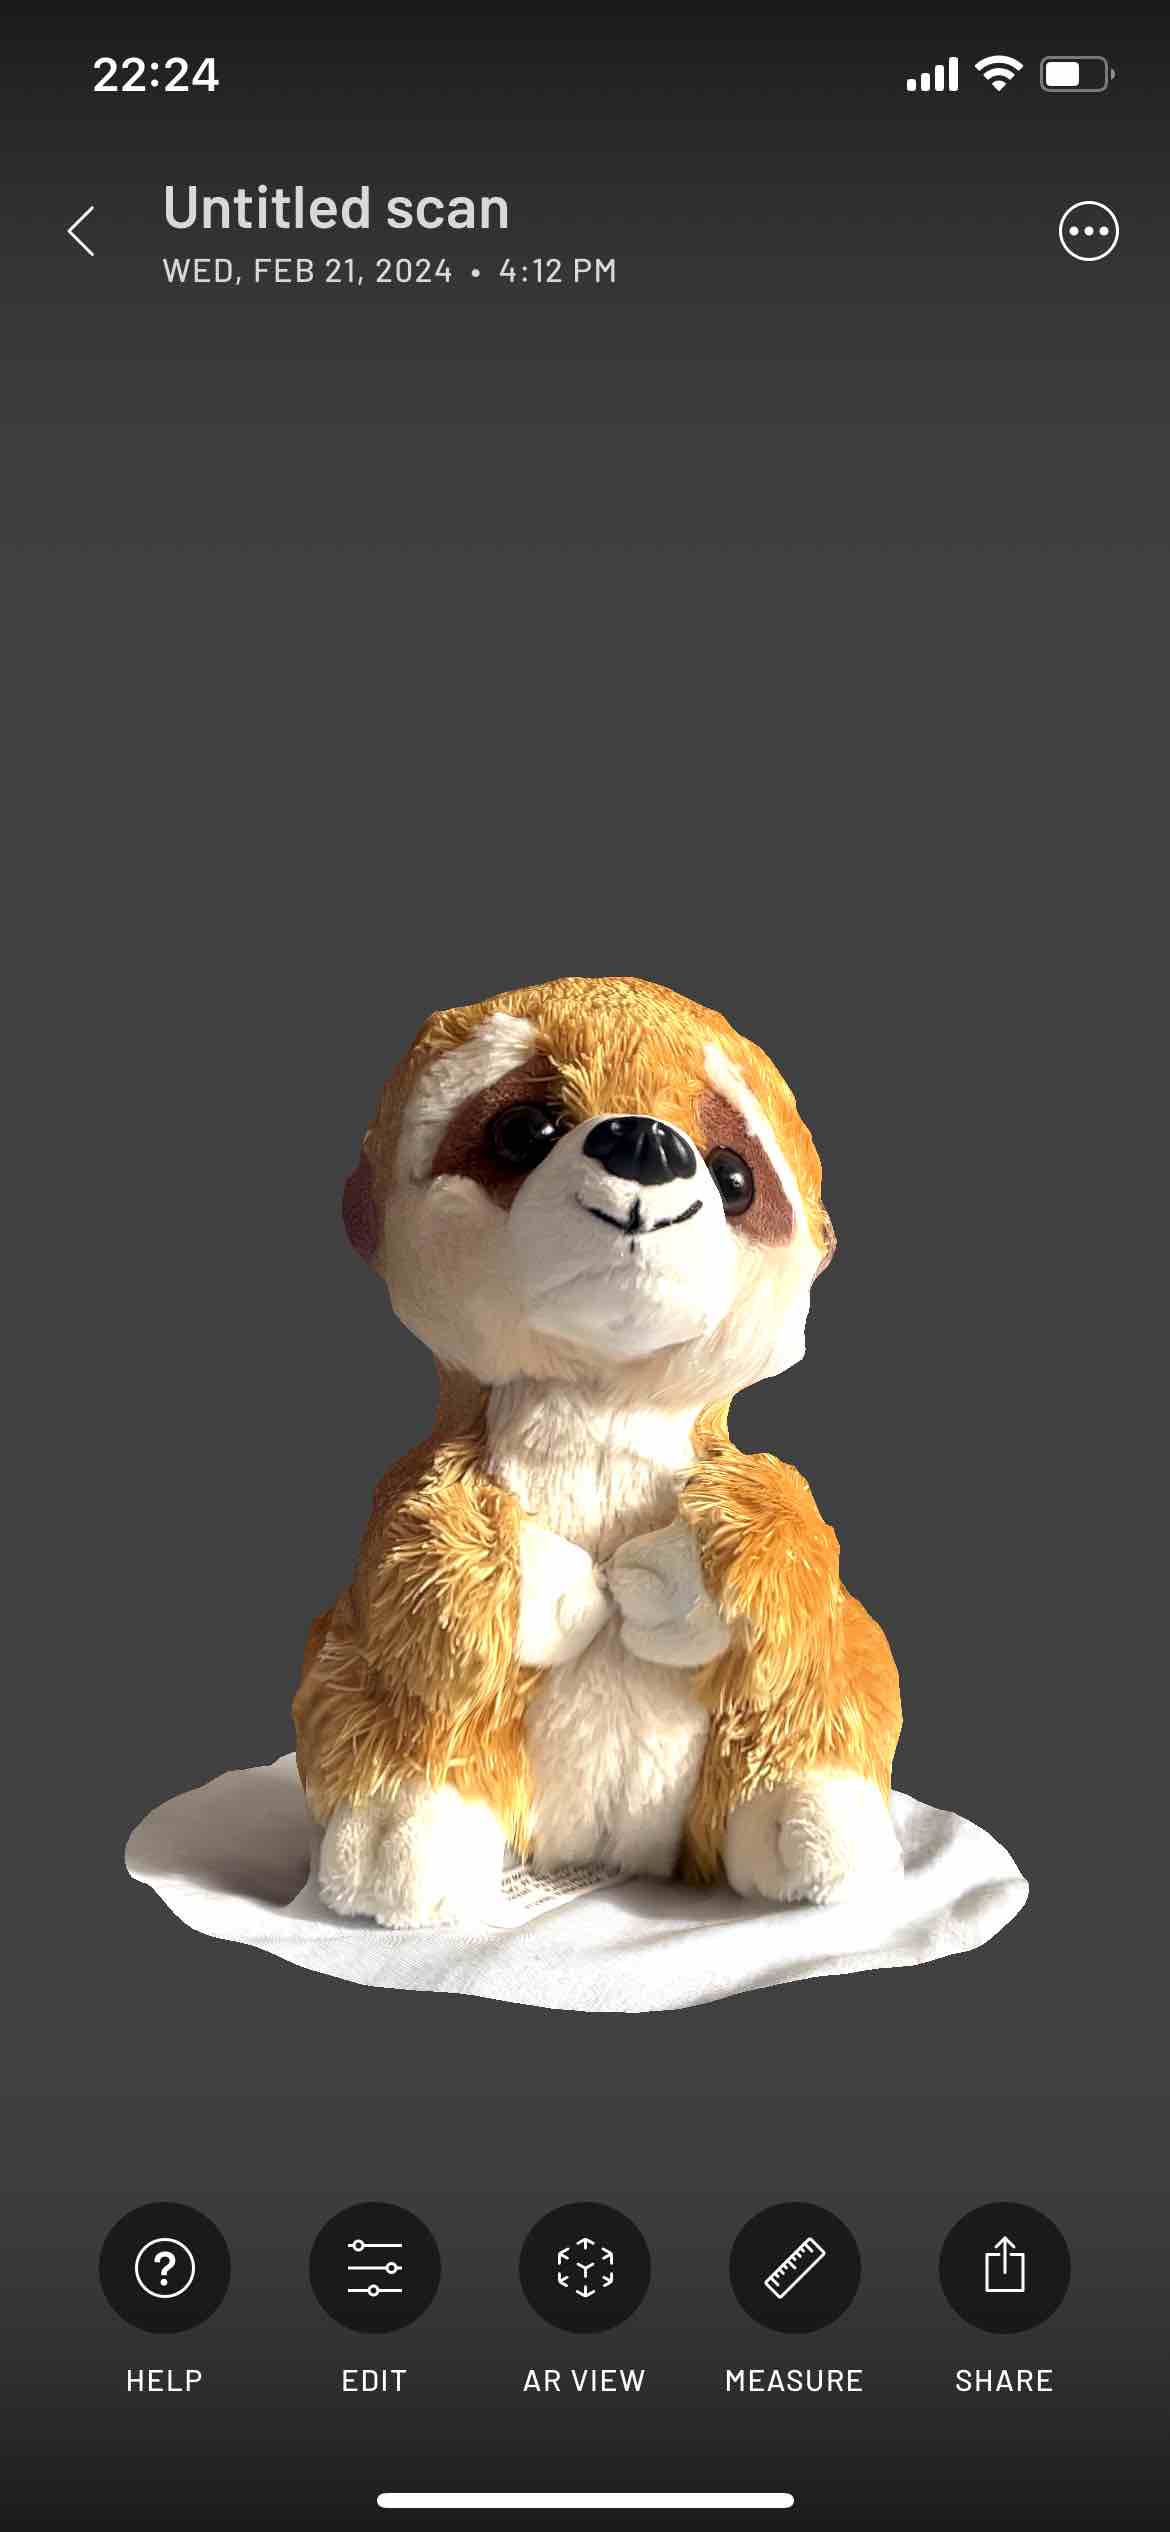
Scaniverse - 3D Scanner
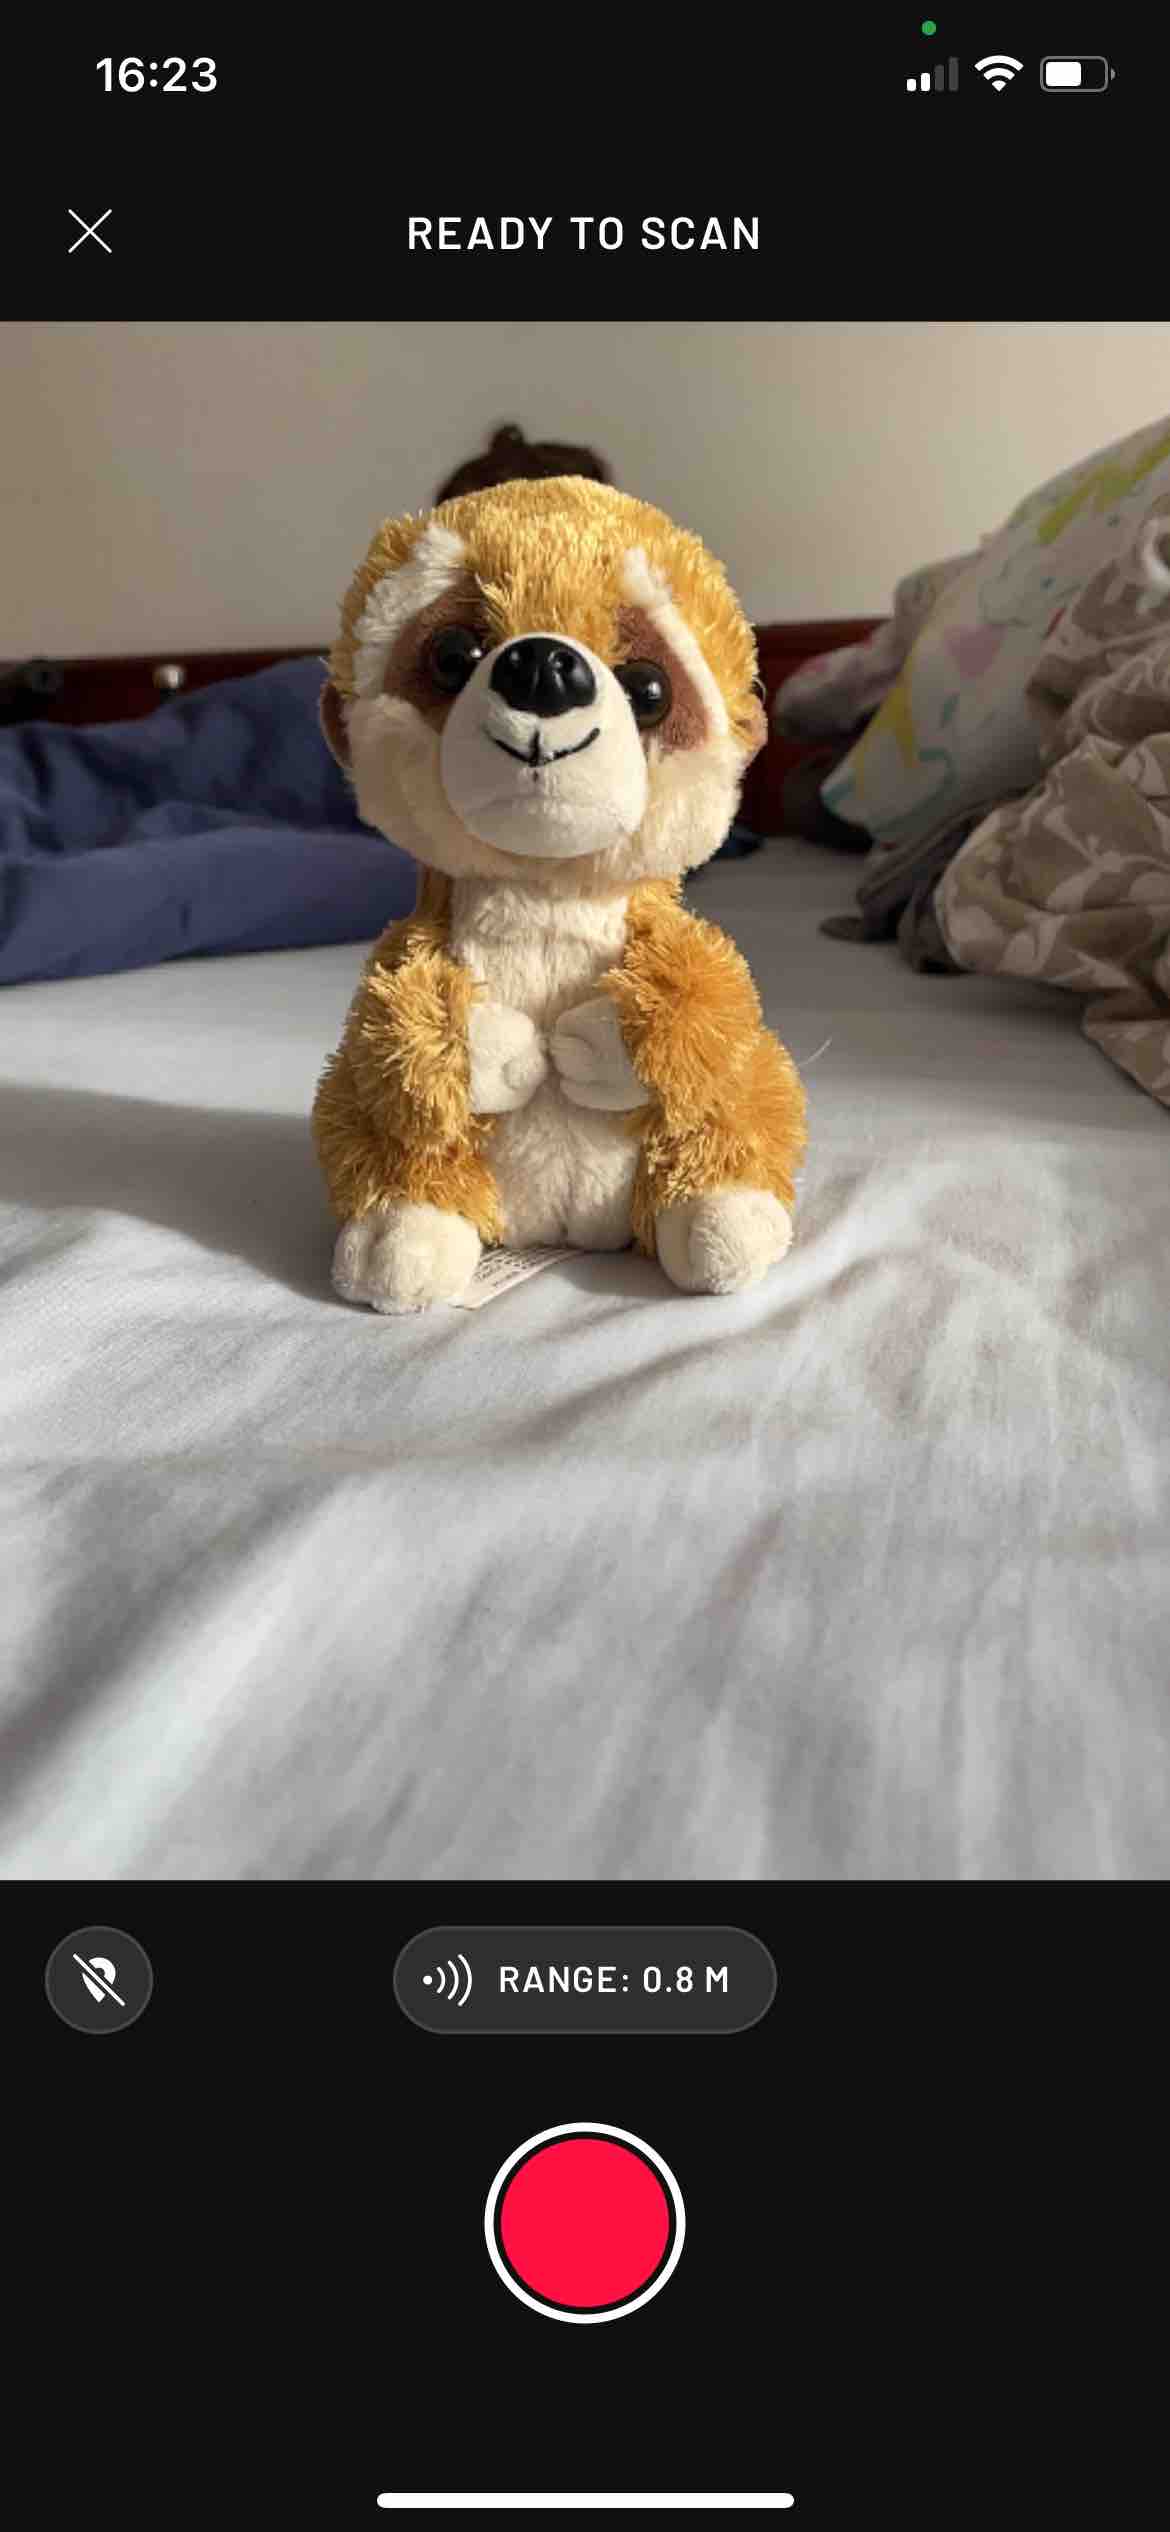
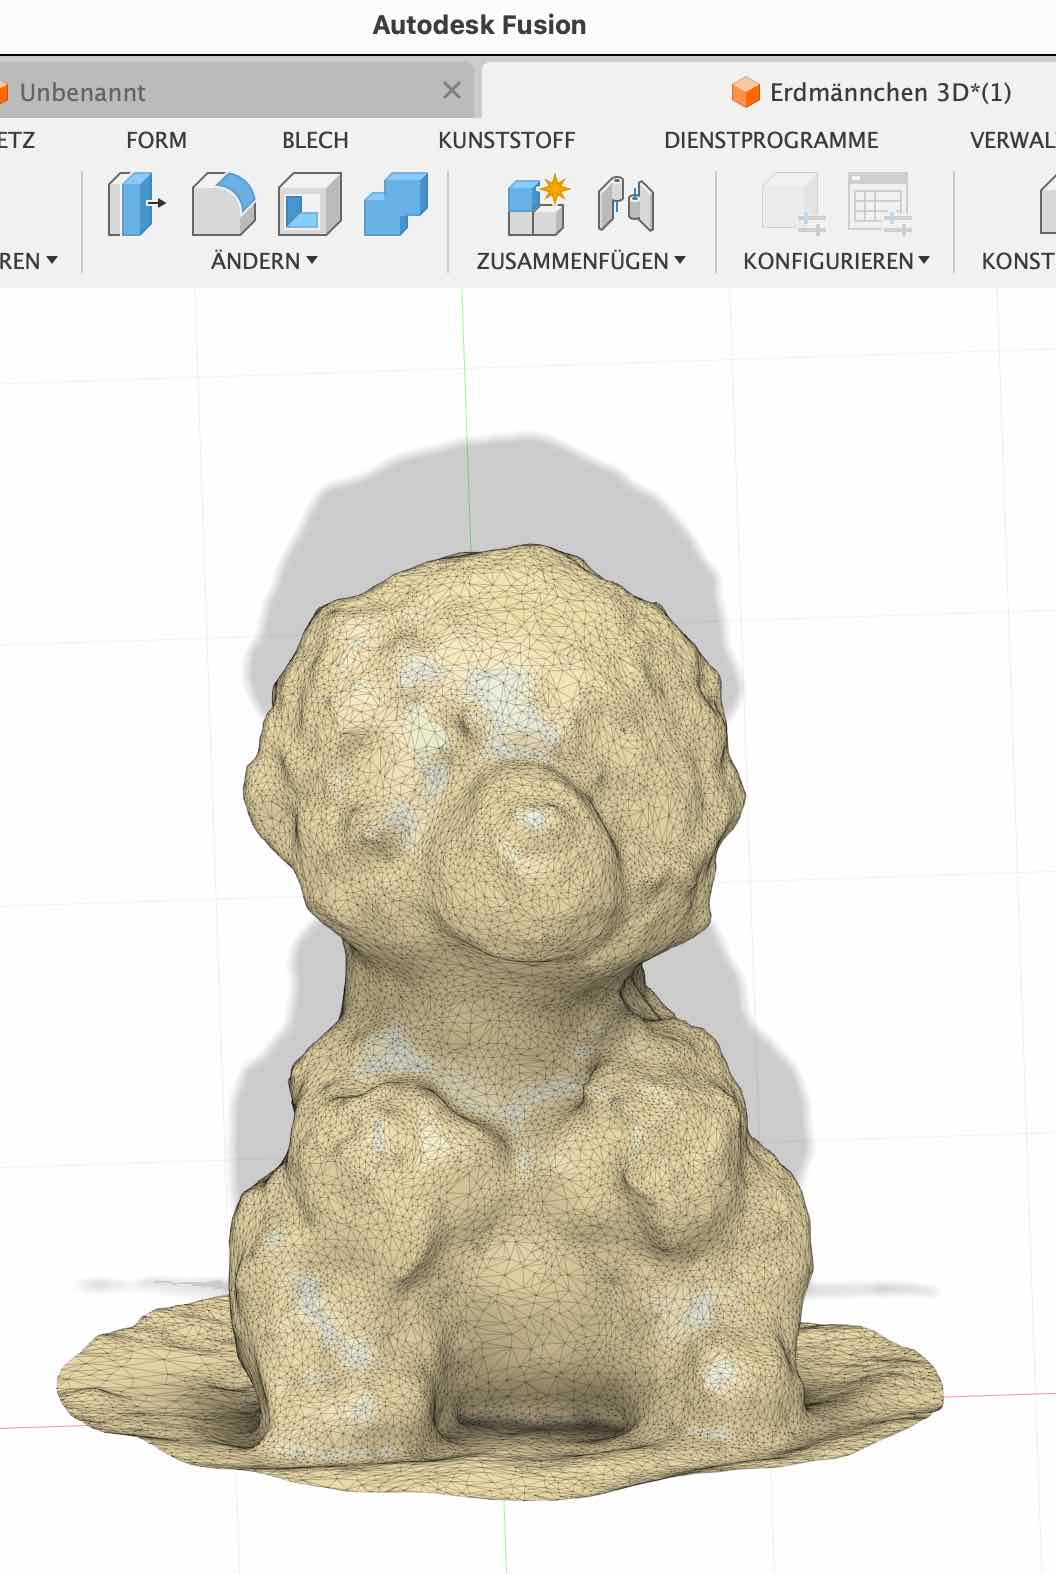
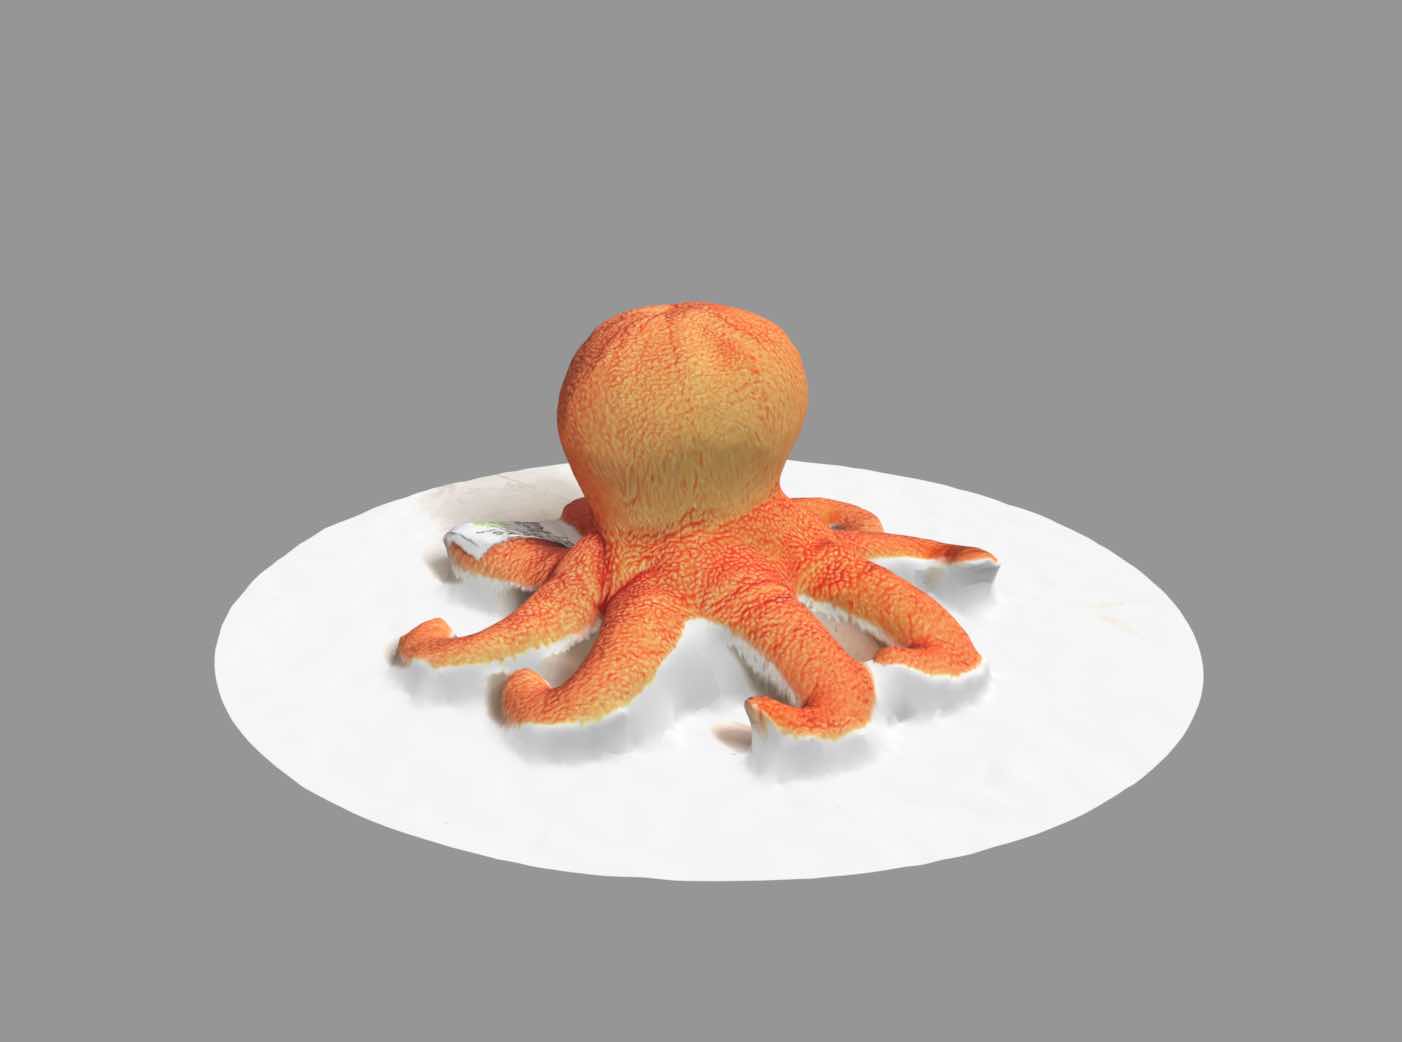
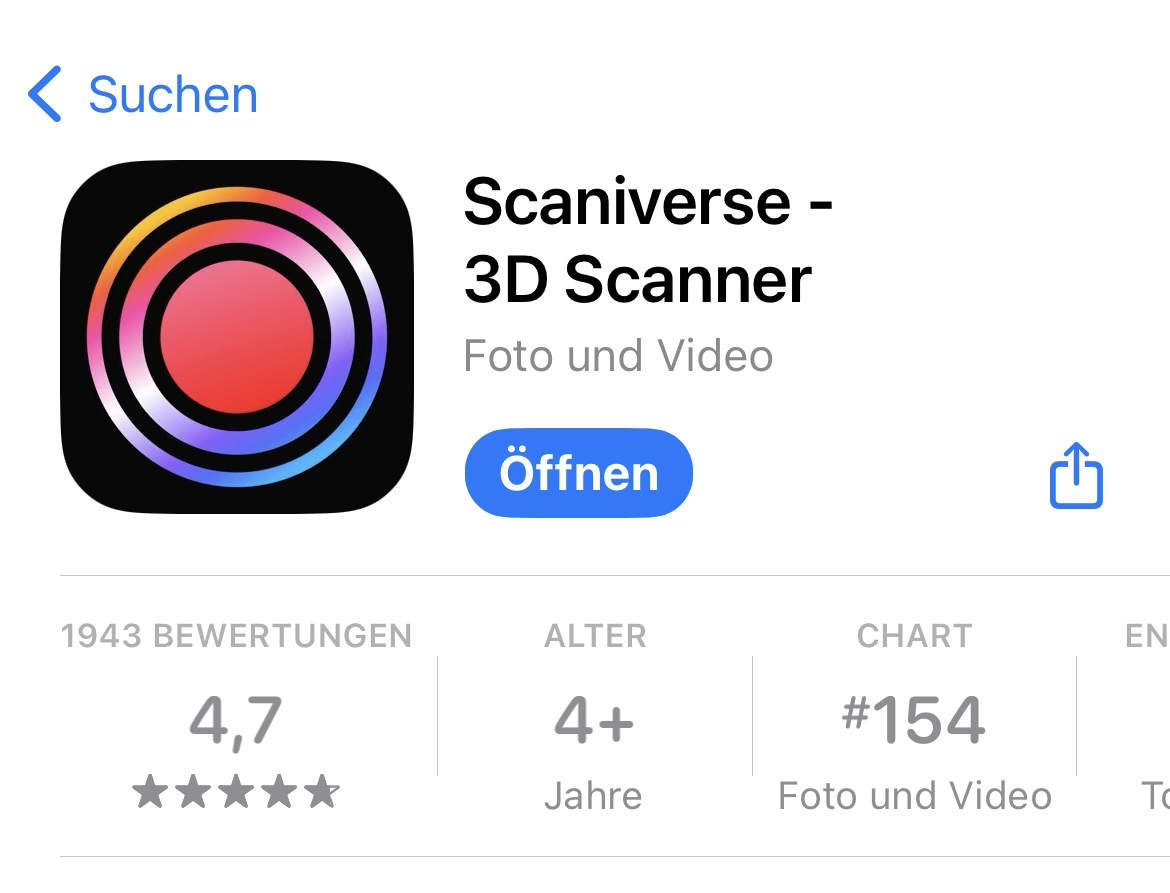 For my phone, I downloaded the Scaniverse app and scanned my children's stuffed animals with them. This was very easy by simply walking around the stuffed animal with the phone. The results were impressive. I then uploaded the files to my computer and converted the USDZ file to an STL file with an online converter. I opened the file in Fusion to see how the file looks and how it could be further edited.

Creation of 3D printing file
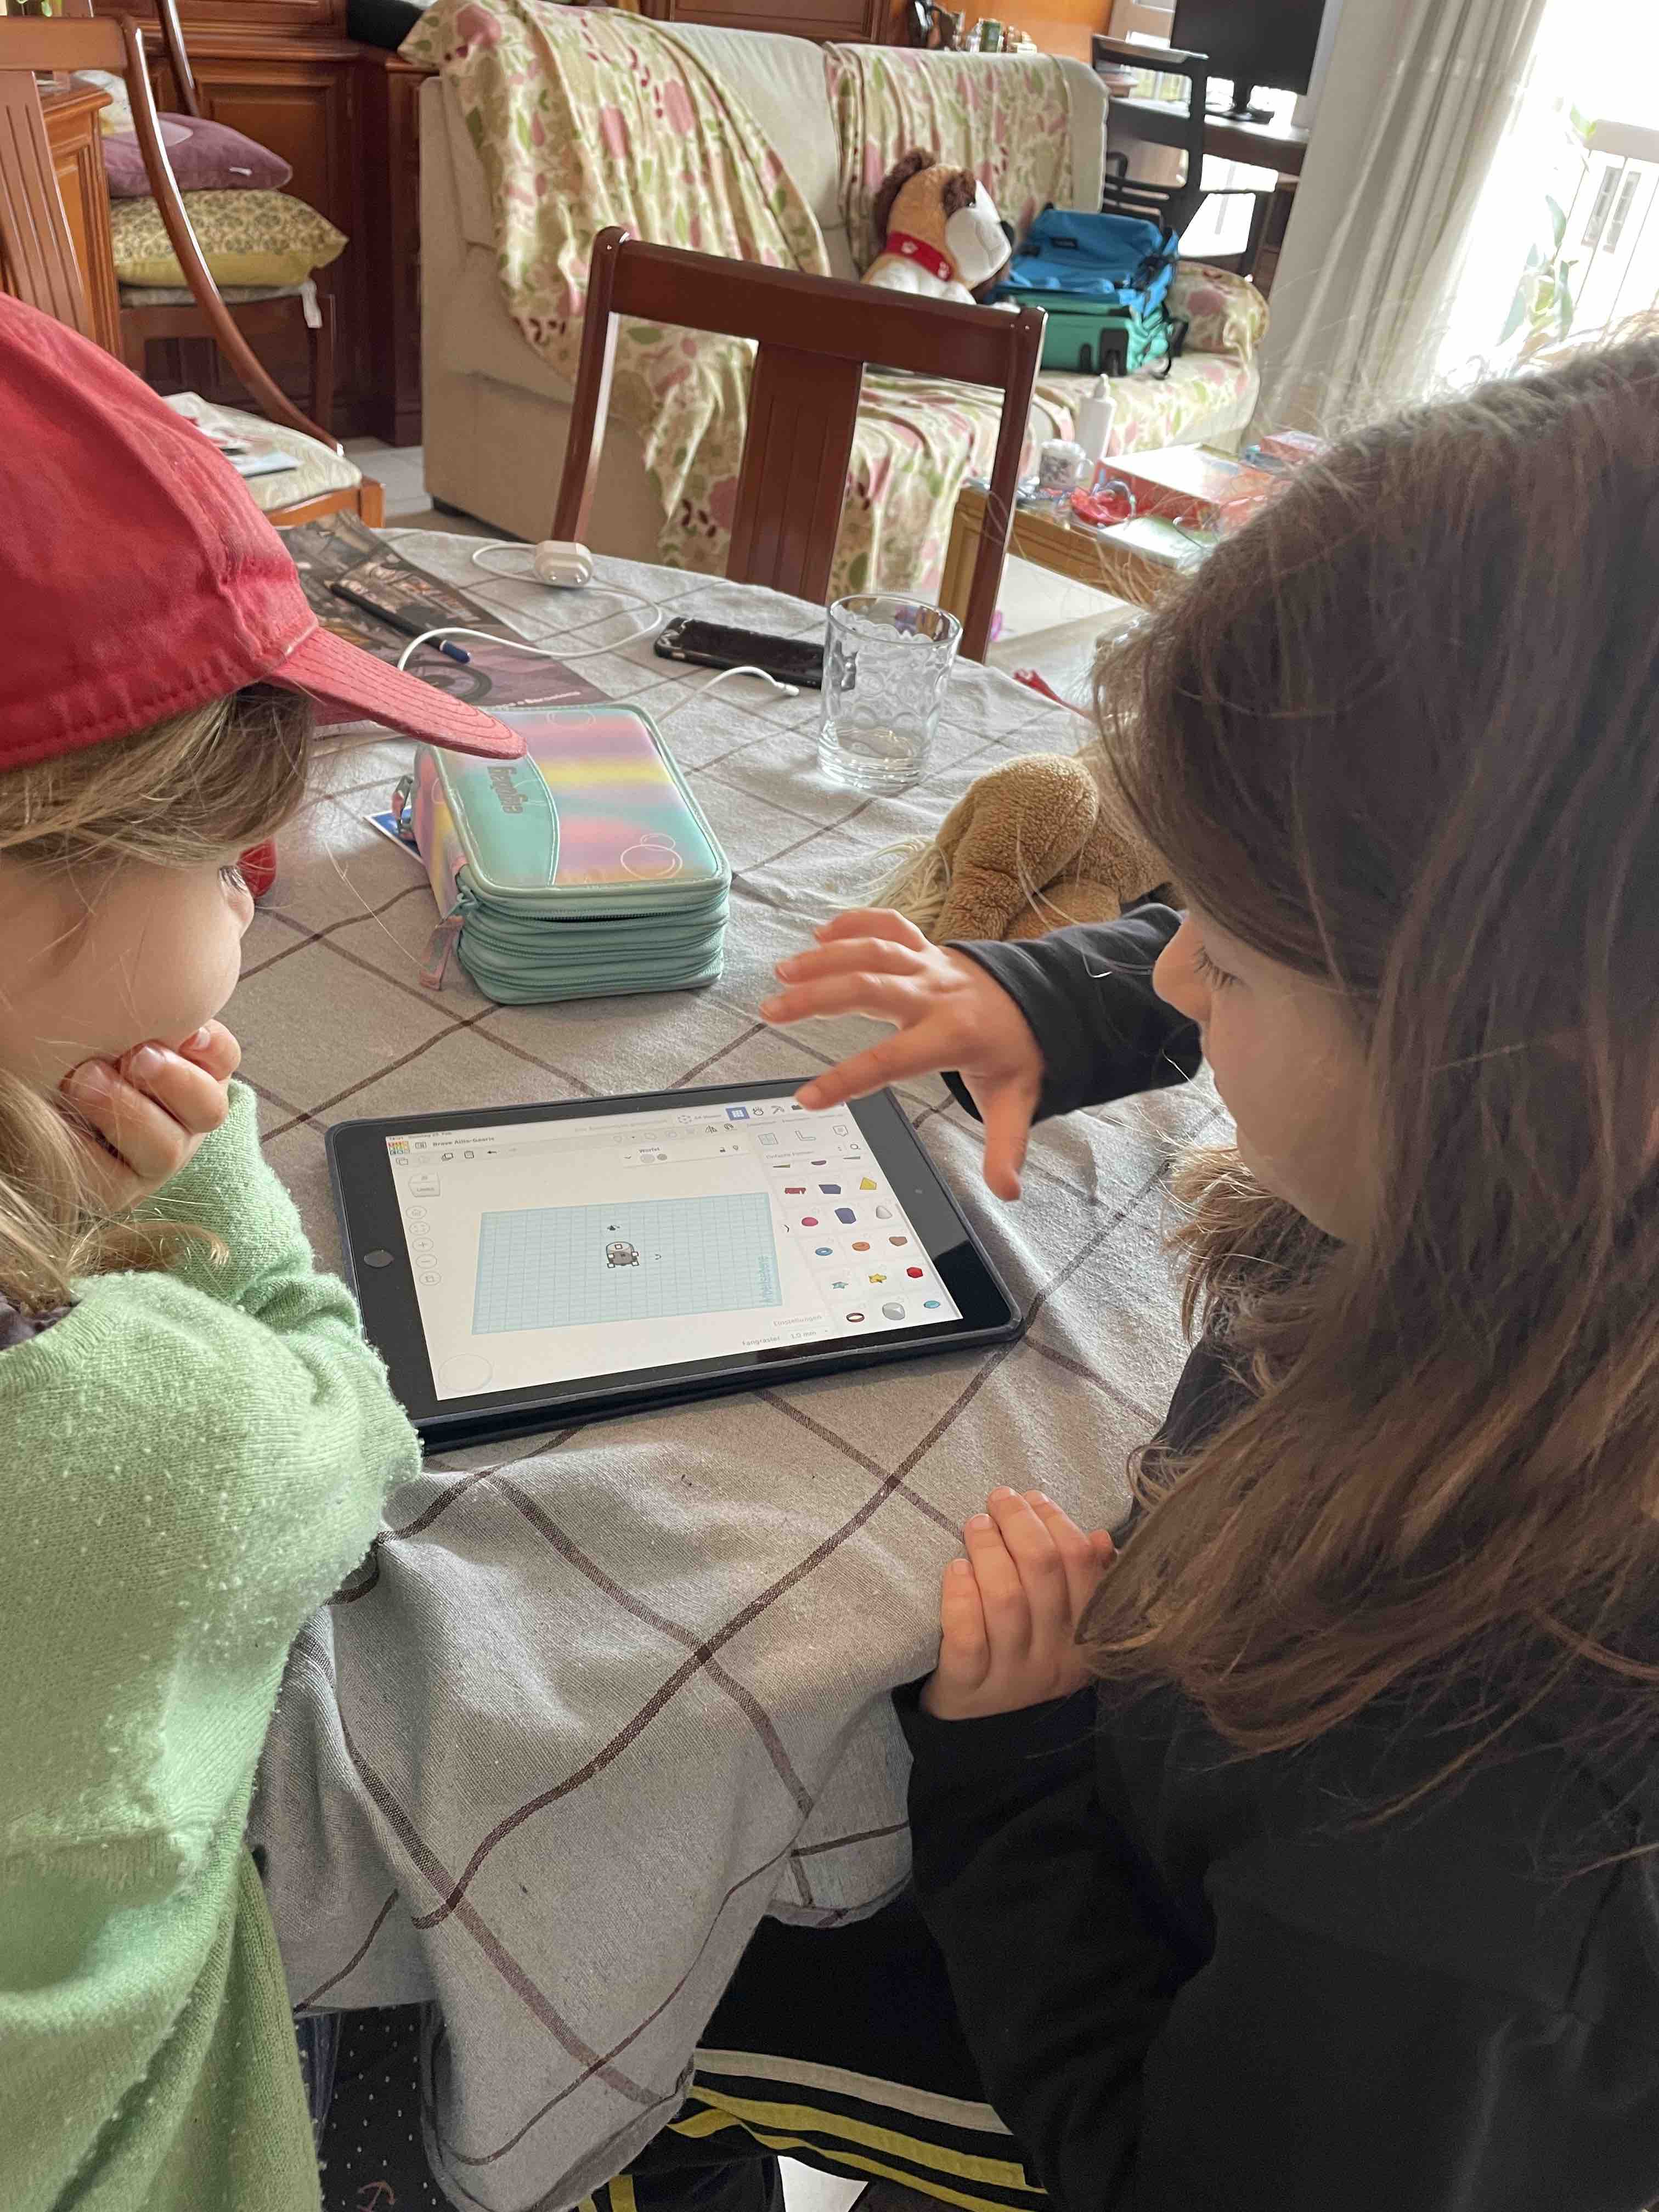
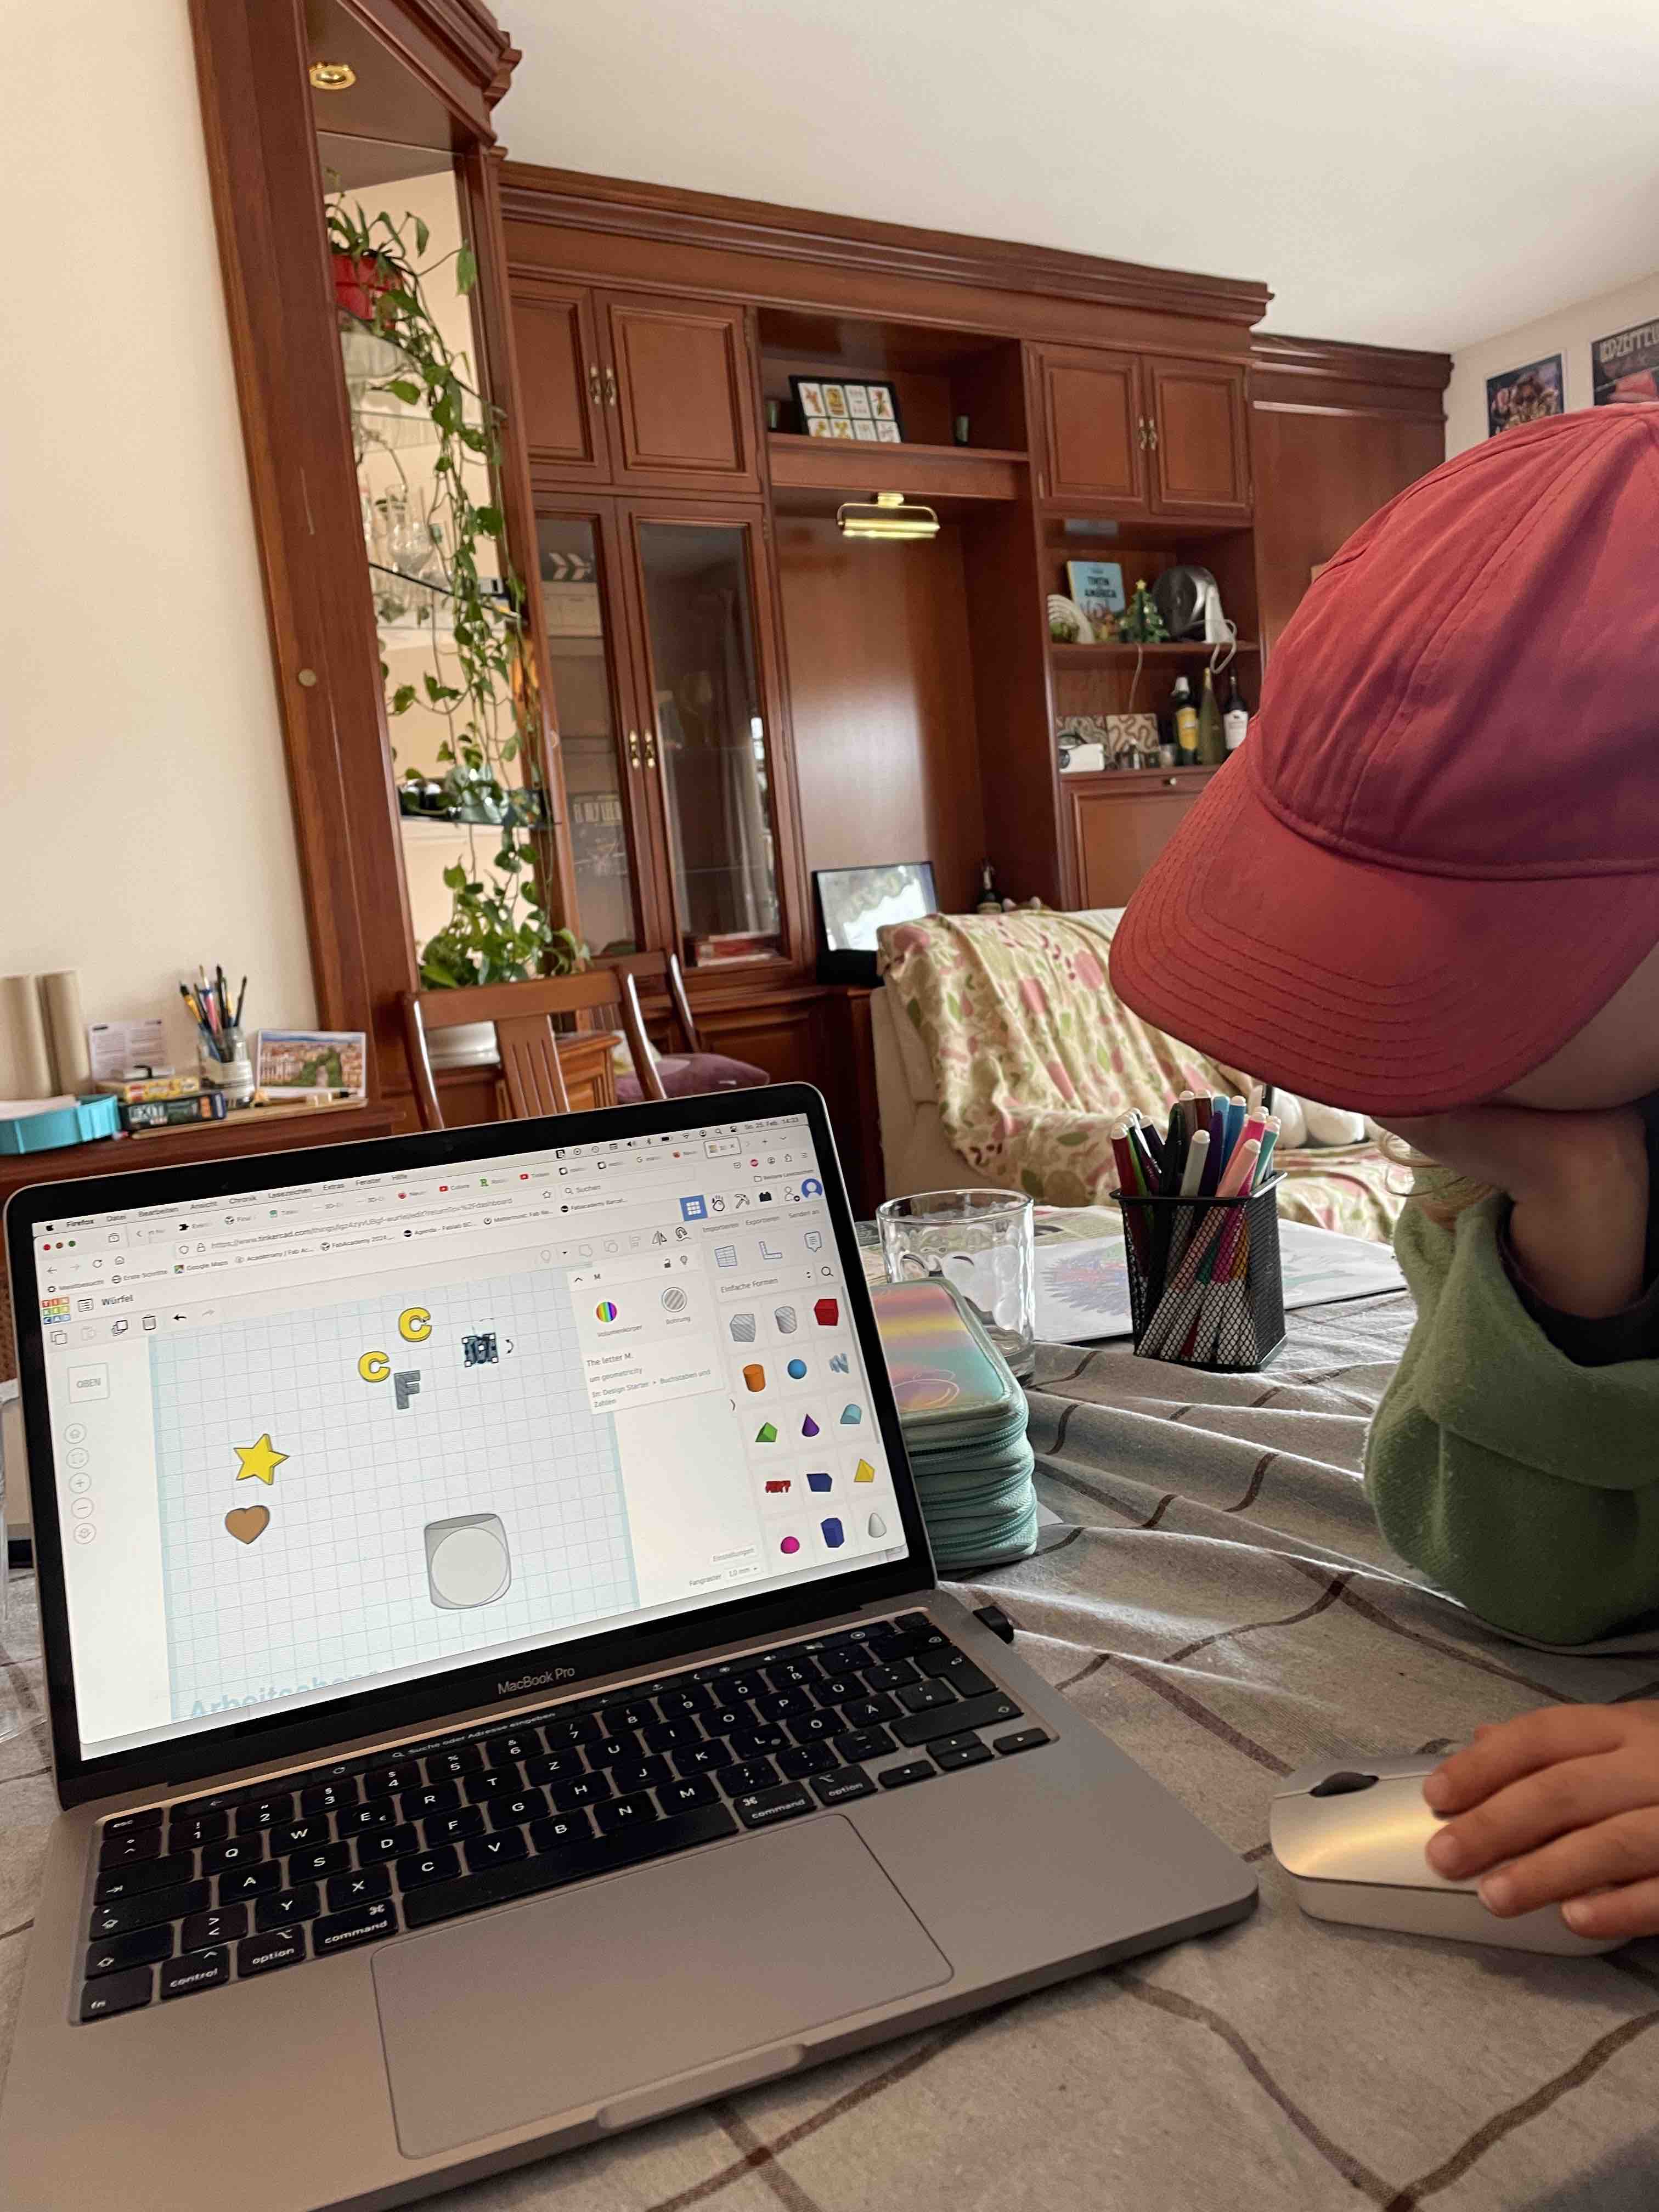
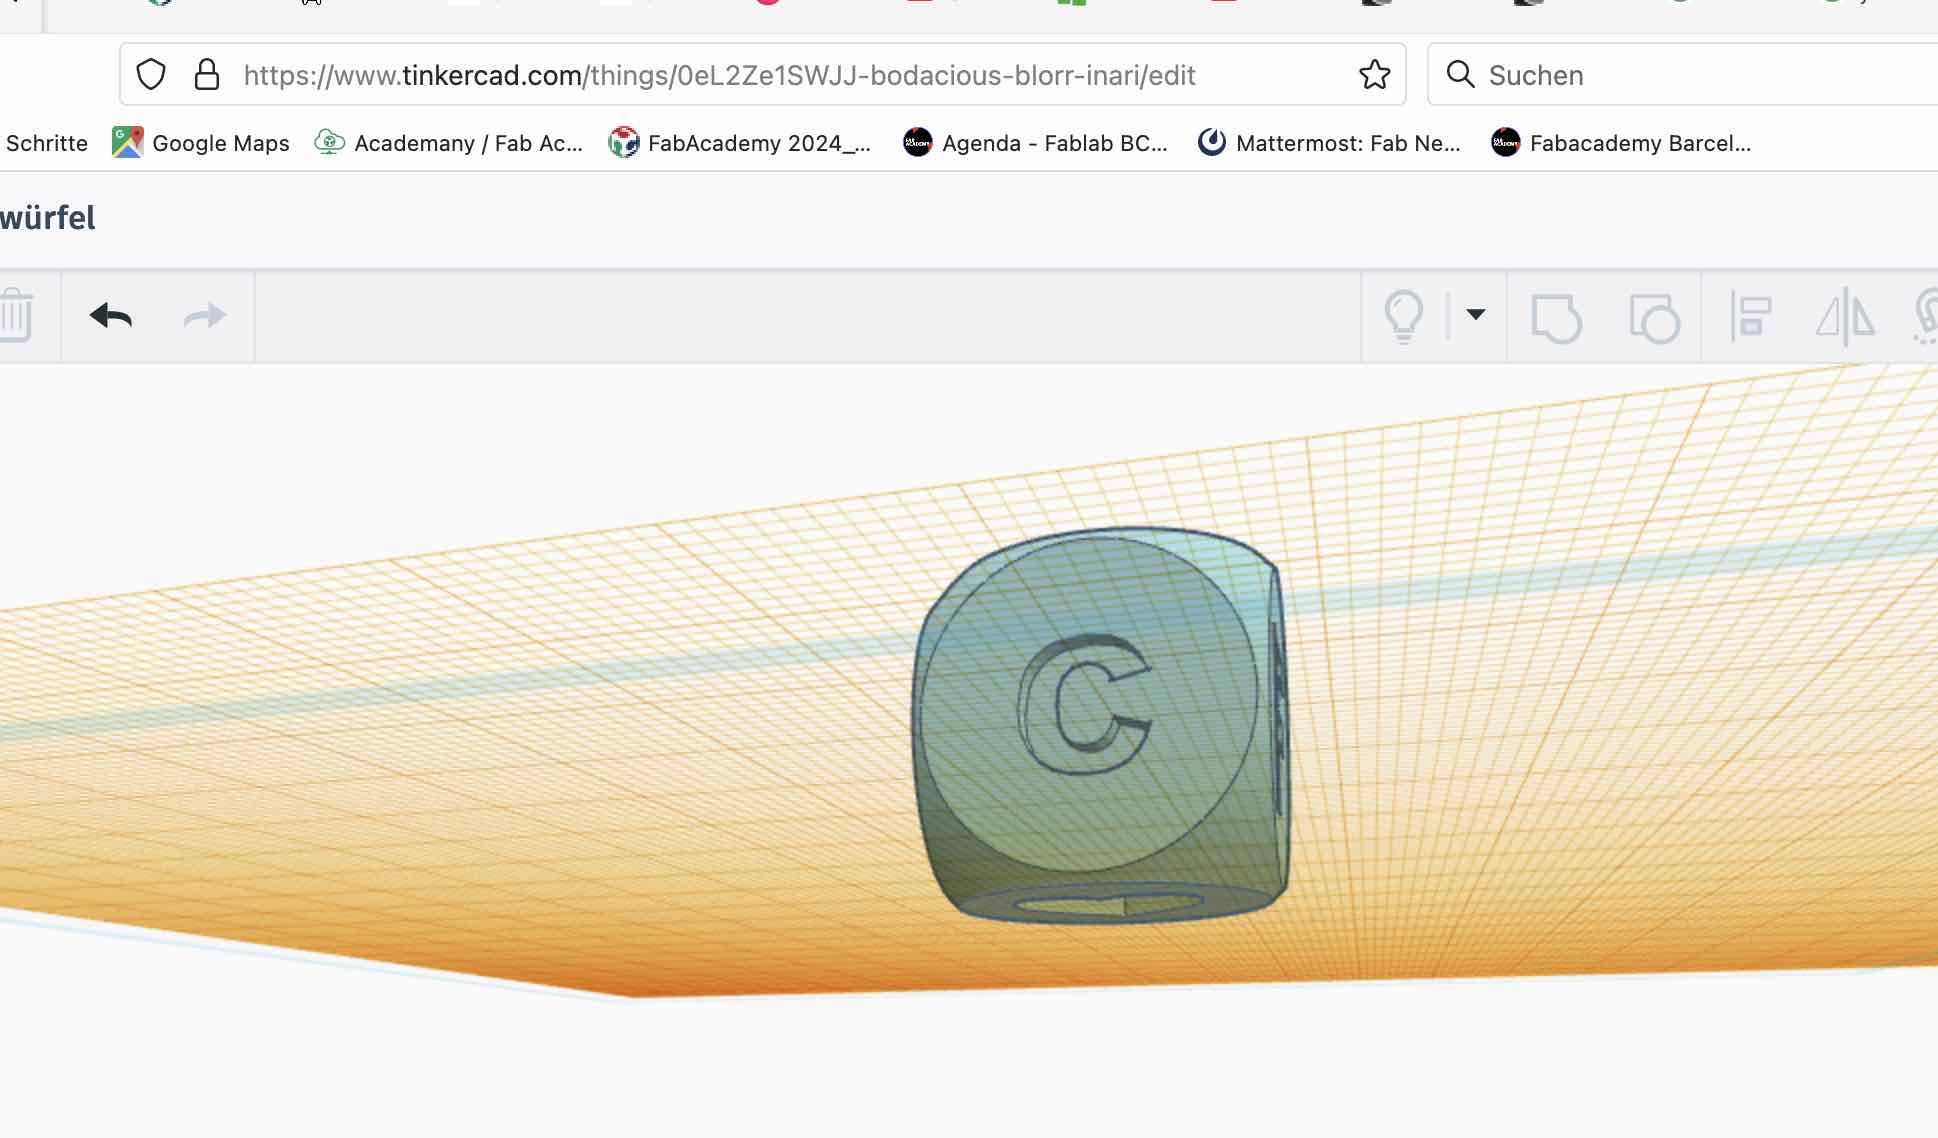
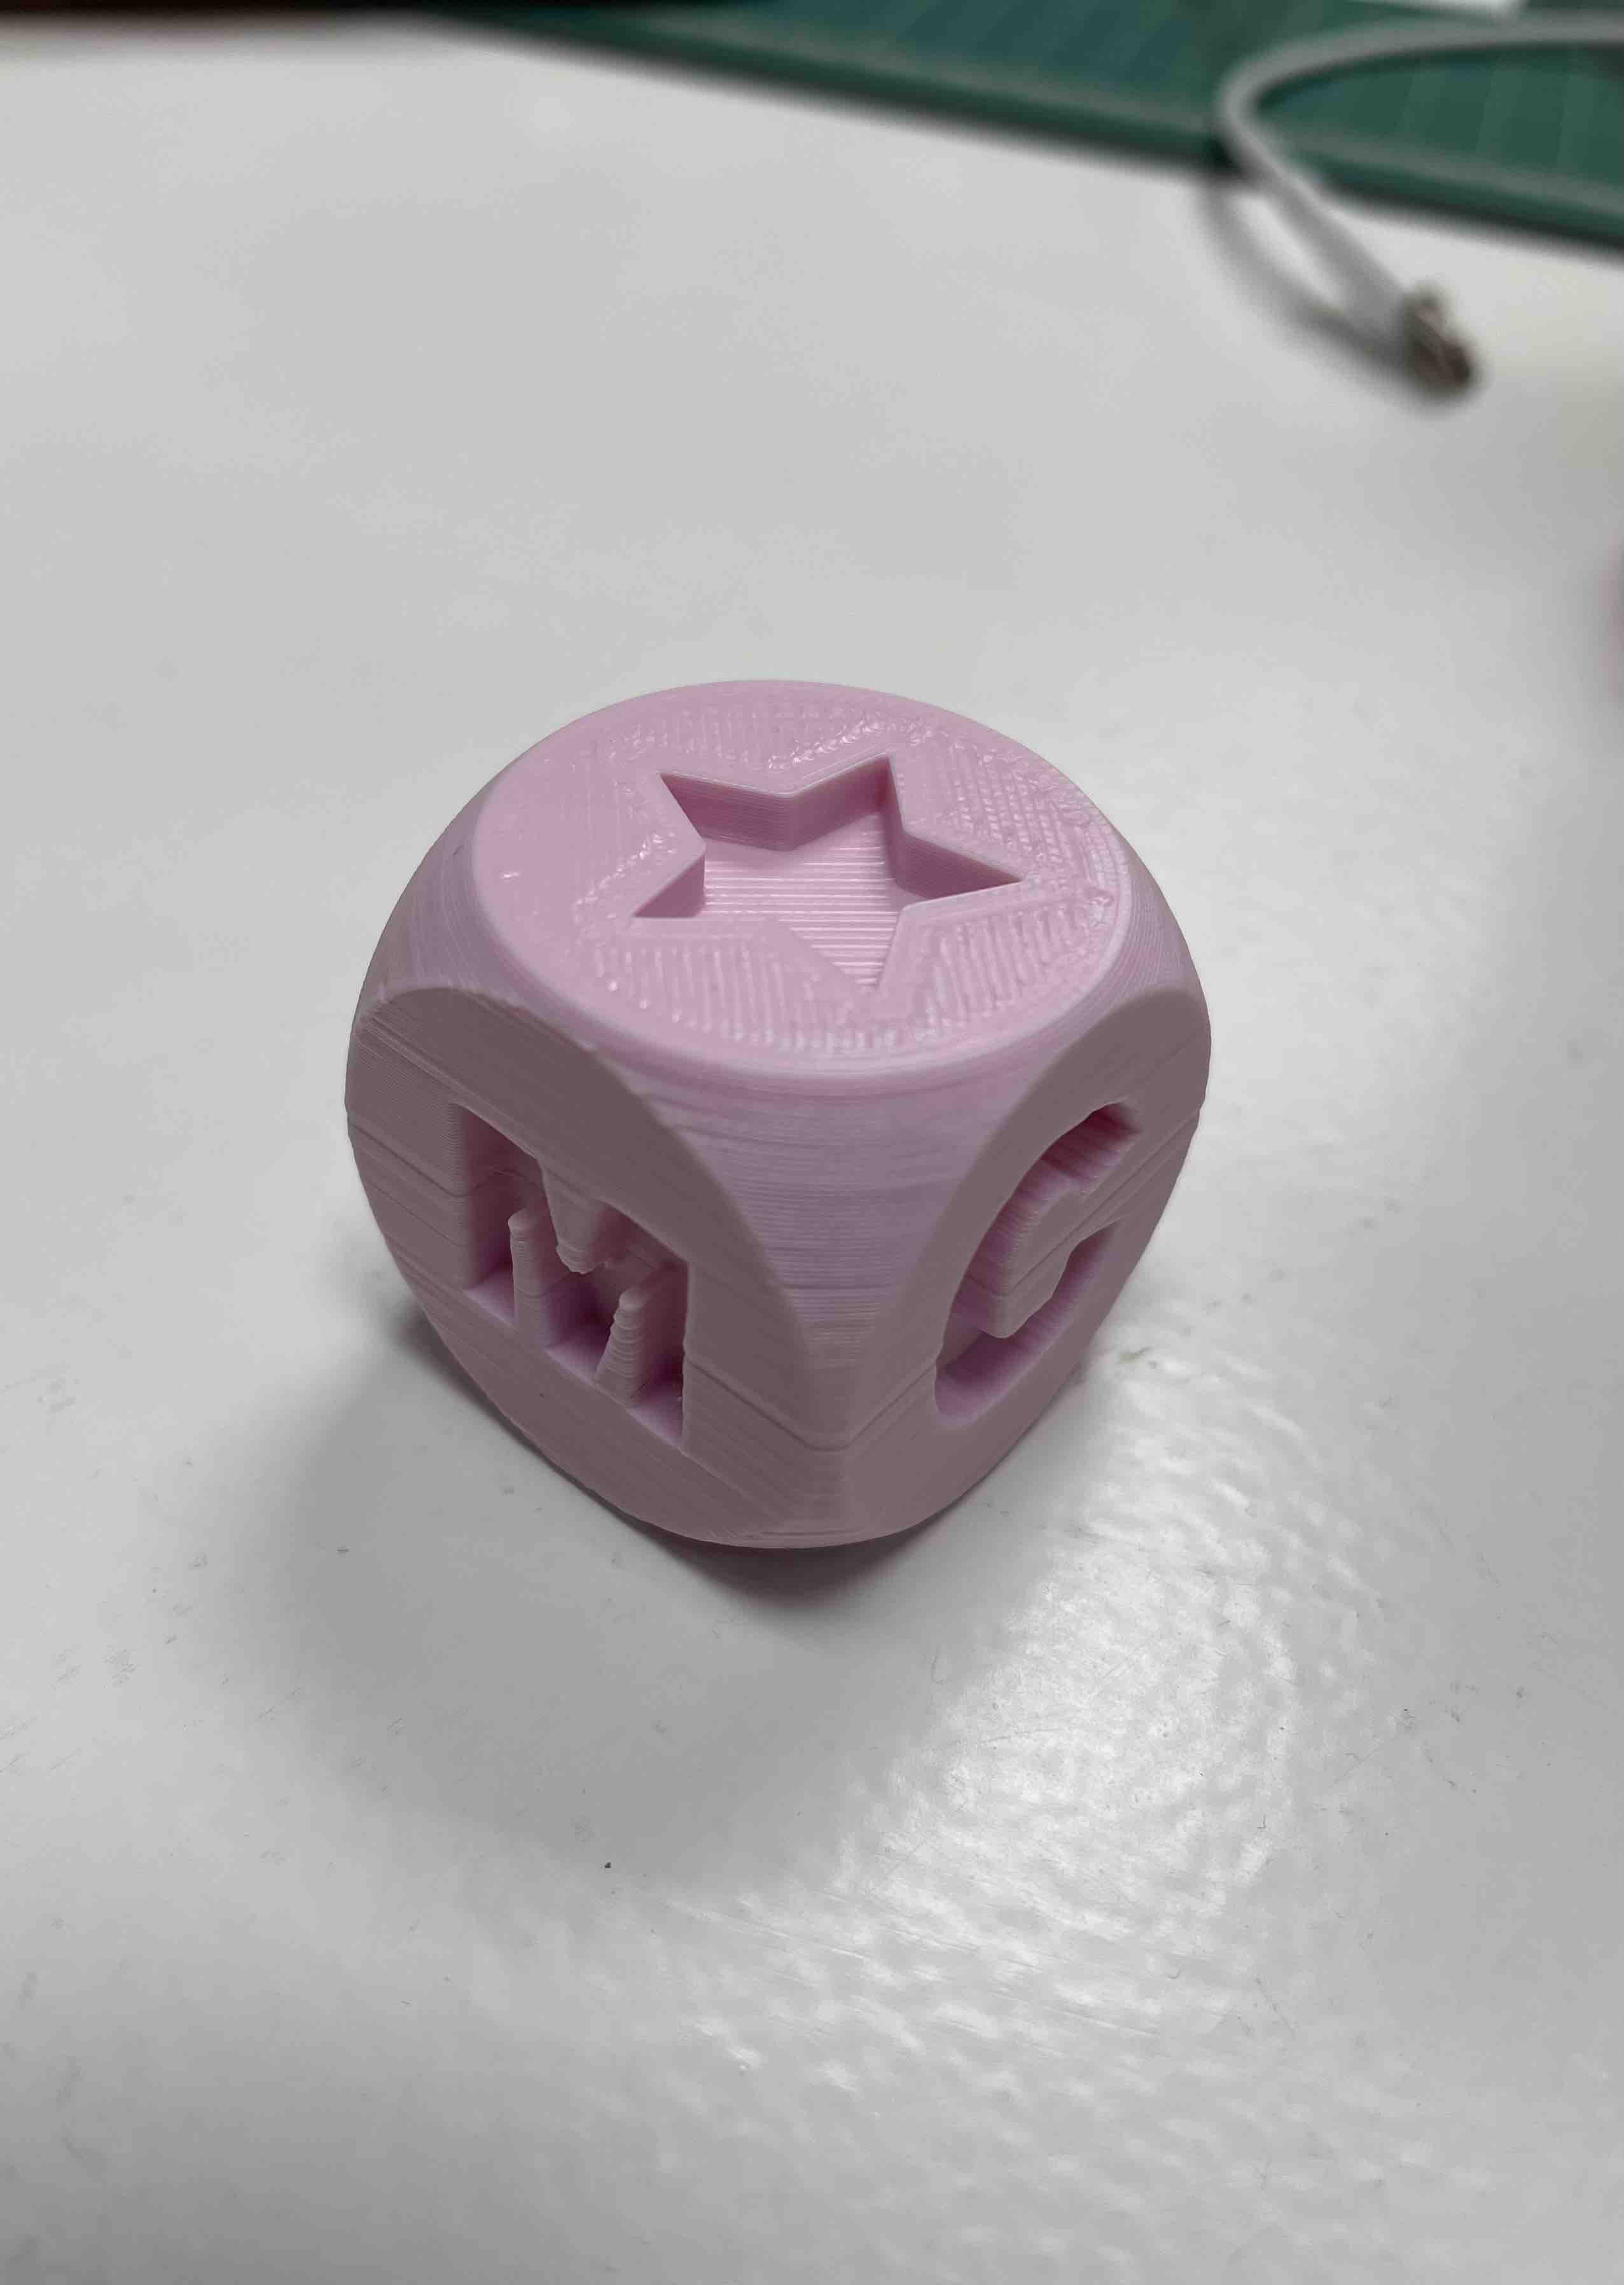
As I am very interested in working with children and it is possible to engage in 3D printing and 3D design with them, I have decided to incorporate the weekly task into my activities with the children. Since Tinkercad is designed to be accessible even to children, I chose Tinkercad as the 3D program. First, I watched a tutorial on working with children in Tinkercad. It listed the key aspects that should be explained. I then gave my children (5 and 9 years old) a brief introduction to the program. Thinking that operating on a tablet would be easier for both of them, I downloaded the app. Operating was indeed easier, but unfortunately, the program crashed several times, so we continued building on the laptop. Initially, I proposed an idea of what we could build. However, the children preferred to build a "family cube" instead. A cube with our initials on different sides (four in total), as well as a heart and a star on the remaining two sides. We proceeded as follows:
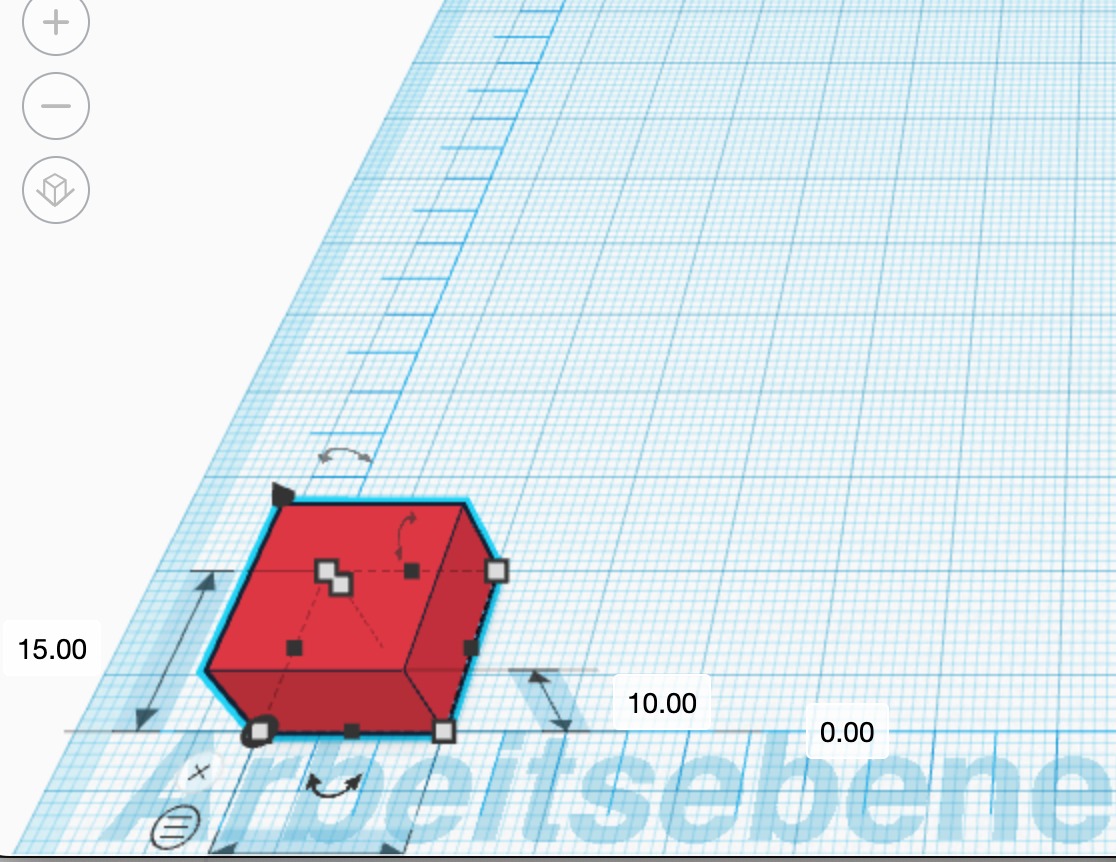
- We dragged the cube onto the workspace.
- We discussed which letters and shapes we needed.
- By clicking on the cube, we could adjust its size. We set the size to 30 mm for all sides.
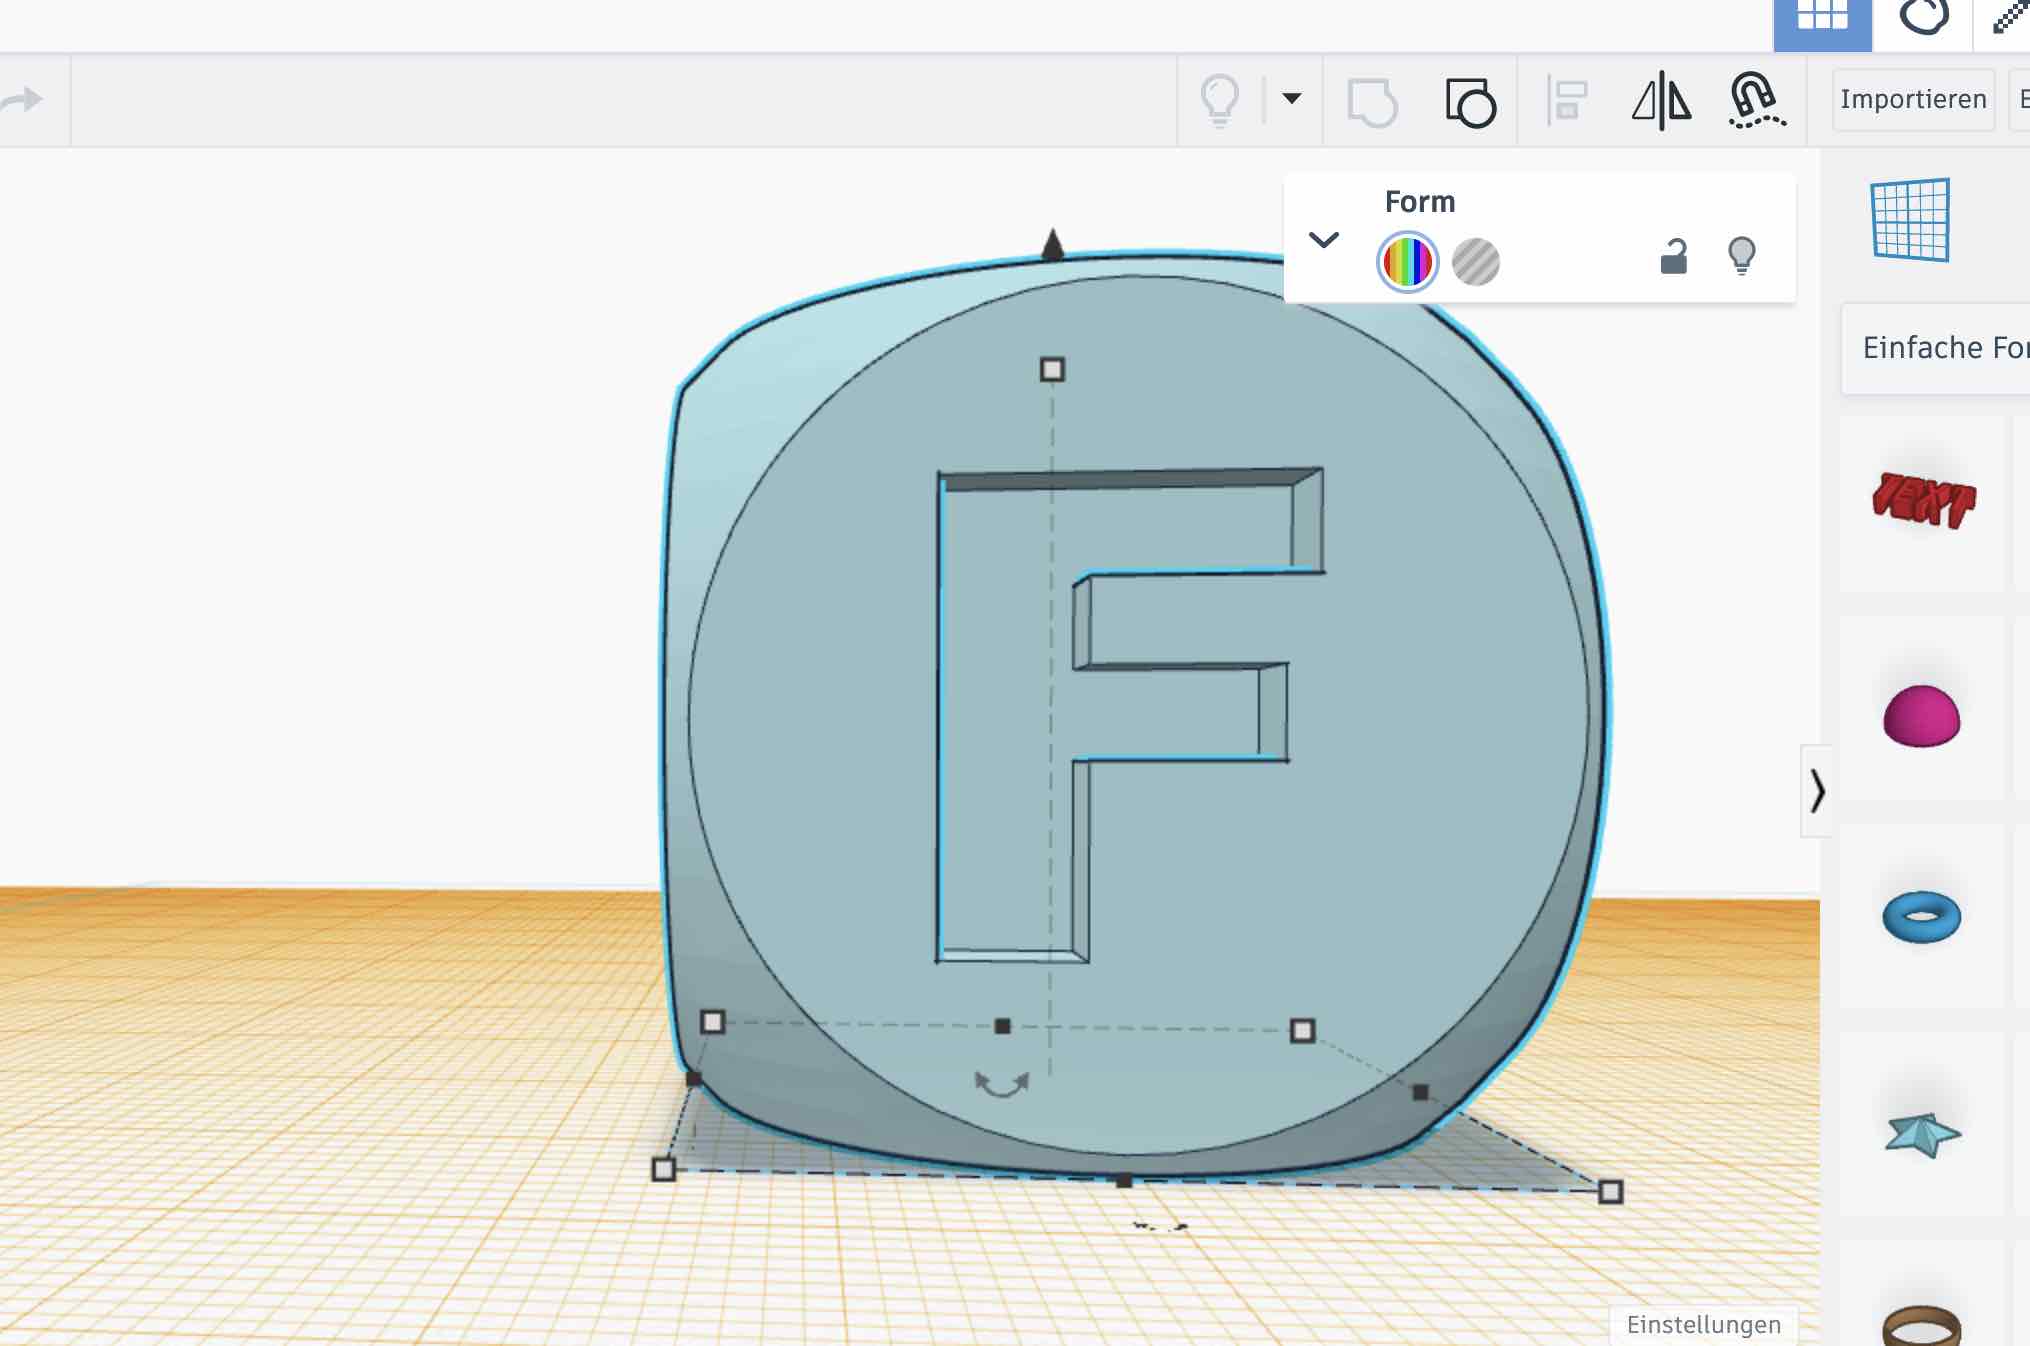
- To place the letters on each side, we first selected the „workplane“ tool and chose one side of the cube as the workplane.
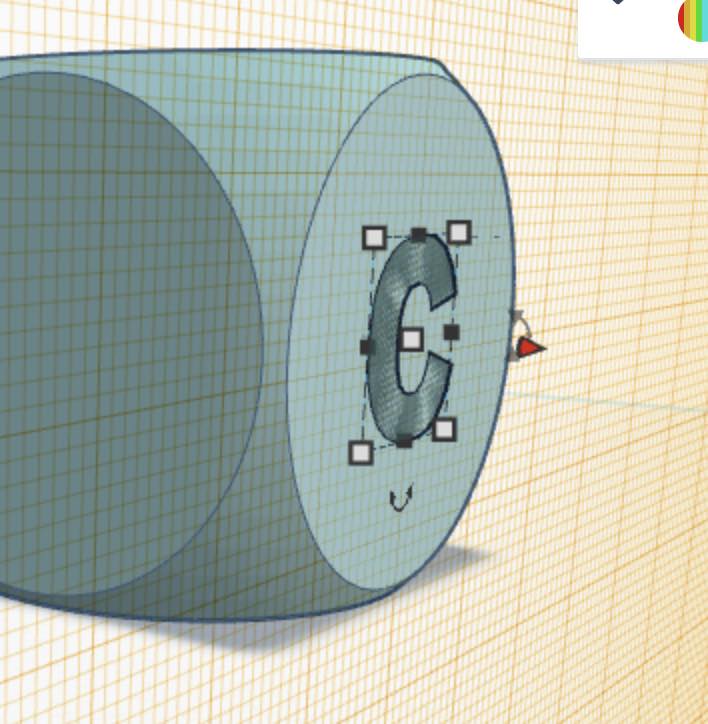
- Next, we selected the letter C from the symbols panel and placed it on the workplane, by dragging.
- We selected the letter and enlarged it by pressing "Shift" + right mouse button to maintain proportions, then setting the depth to 3 mm.
- Then, we selected both shapes (cube and letter) and chose the „align“ tool. By clicking on the lines, we aligned the letter in the center.
- We turned the letter into a hole by clicking on the „hole“ tool.
- Then, by clicking on the black triangle, we pulled the letter inward and grouped both shapes.
- Since we had defined the letter as a hole before, the letter was now cut out, and we had the first letter on the cube.
- We followed the same process for all other letters and symbols: M, F, C, star, heart.
- After completing the file, it was exported as a .stl file.
It was my first object which I created for a 3D printer. It has shapes or letters integrated into all sides, essentially hollowed inward. These complex internal structures make it difficult to produce the cube using subtractive manufacturing methods, which typically remove material from a solid block. The subtractive method would limit access to the internal cavities and fine details. However, with 3D printing, each layer can be precisely built up, allowing for the creation of complex internal structures that would not be achievable with traditional subtractive methods.
Why the cube meets the assignment requirements
The cube I designed fulfills the assignment requirements because it incorporates intricate internal structures that are hollowed inward, such as letters and shapes on each side. These features are not feasible with subtractive manufacturing methods, which rely on removing material from a solid block and are limited in accessing internal cavities and fine details. In contrast, 3D printing builds up each layer precisely, making it possible to create complex internal geometries that traditional methods cannot achieve. Thus, the cube represents an object that could not be made subtractively, adhering to the guidelines of the assignment.
Additionally, the cube cannot be produced with the same speed and precision using other methods. It incorporates detailed features on all six sides, which would require multiple repositionings if attempted with subtractive techniques. This process would be highly prone to errors and would not achieve the same level of accuracy. The ability to print the entire cube in one continuous operation with 3D printing in a short time ensures a seamless creation.
Conclusion
The cube was completed, and everyone was satisfied. However, it was quite challenging for my children, and it might have been easier to start with a different and more open form, where it is not so important how long the edges are and whether everything is aligned correctly. Furthermore, I realized again how important it is to know all the steps very well as a facilitator and to be able to provide help. Frustration quickly grew when something didn't work out, and it wasn't clear why.

To prepare and print the 3D File
To start the 3D printing process, it is necessary to prepare the STL file for printing. For preparation, I chose Cura. I found a good introduction text that outlined the essential steps to start a 3D print:
- Compile the data of the 3D printer.
- Transfer settings of the respective 3D printer to CURA.
- Load a 3D object.
- Start and monitor 3D printing.
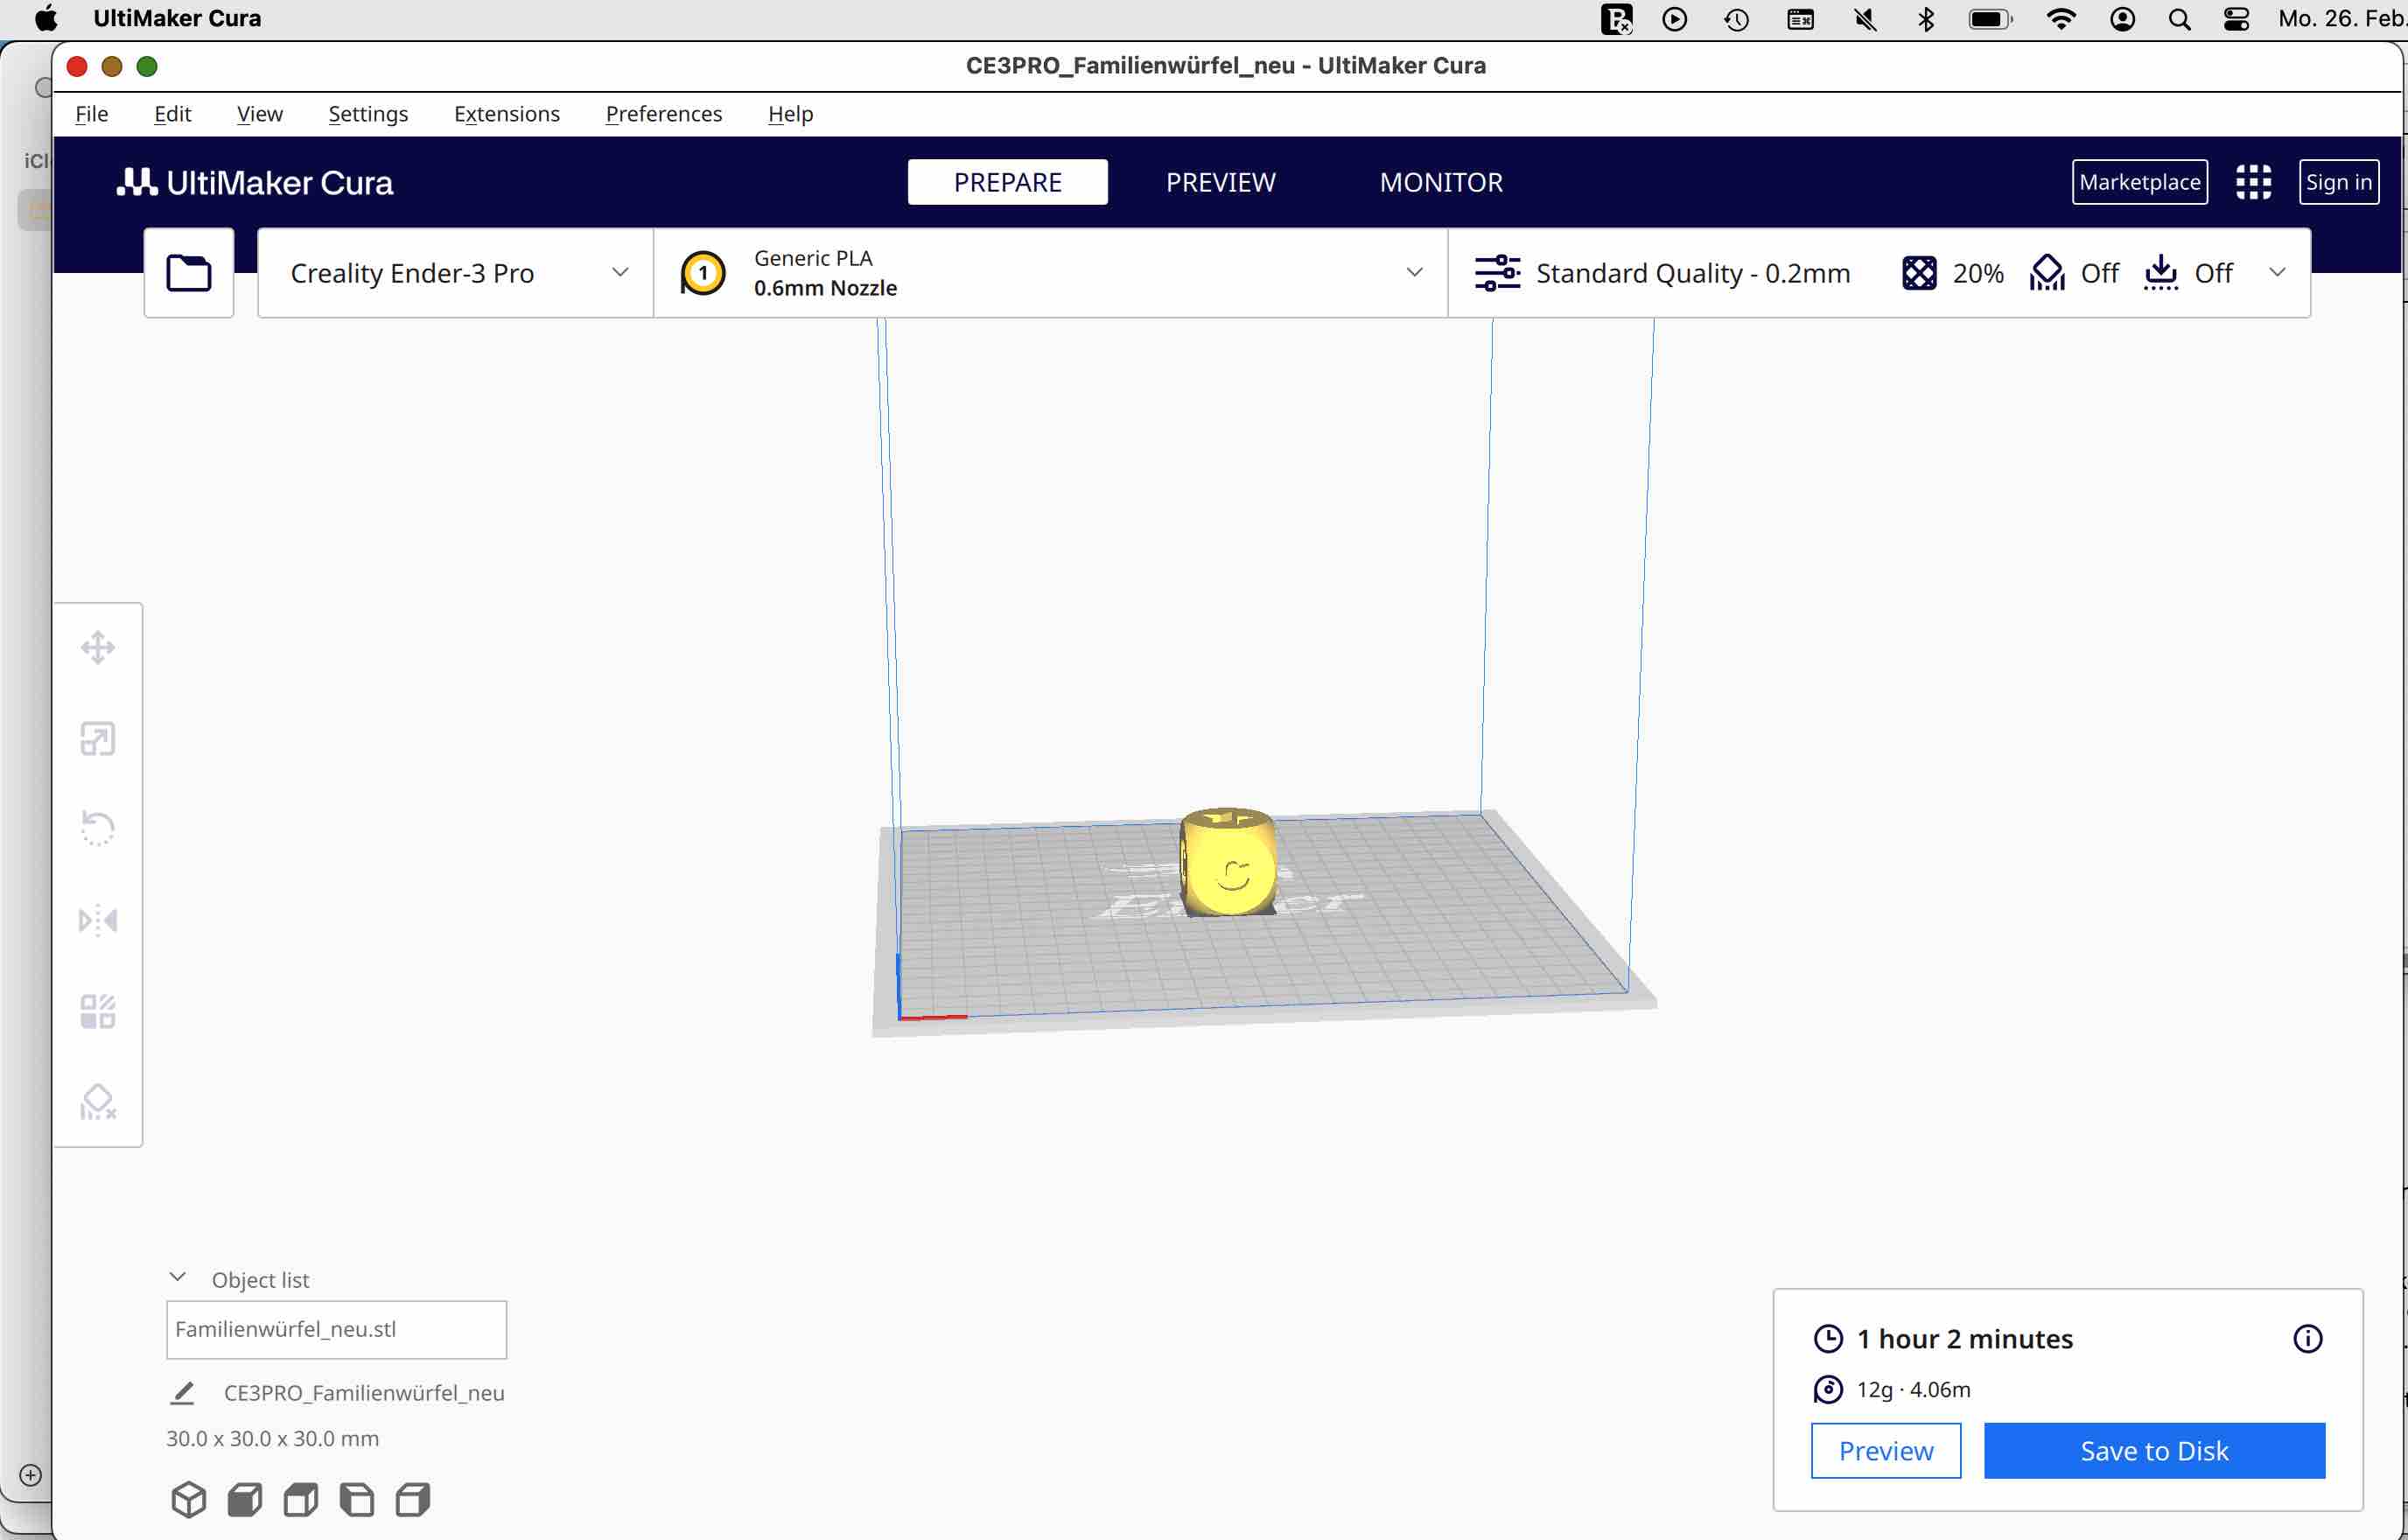
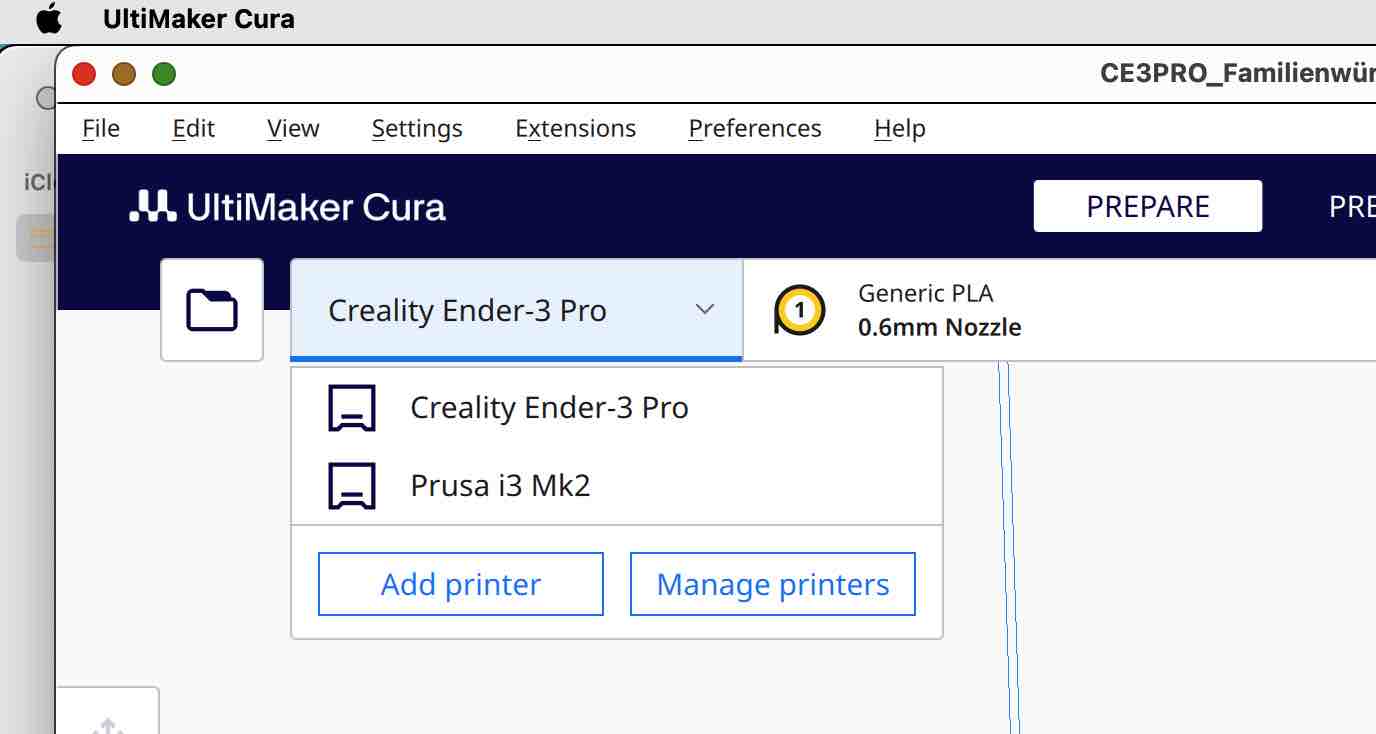
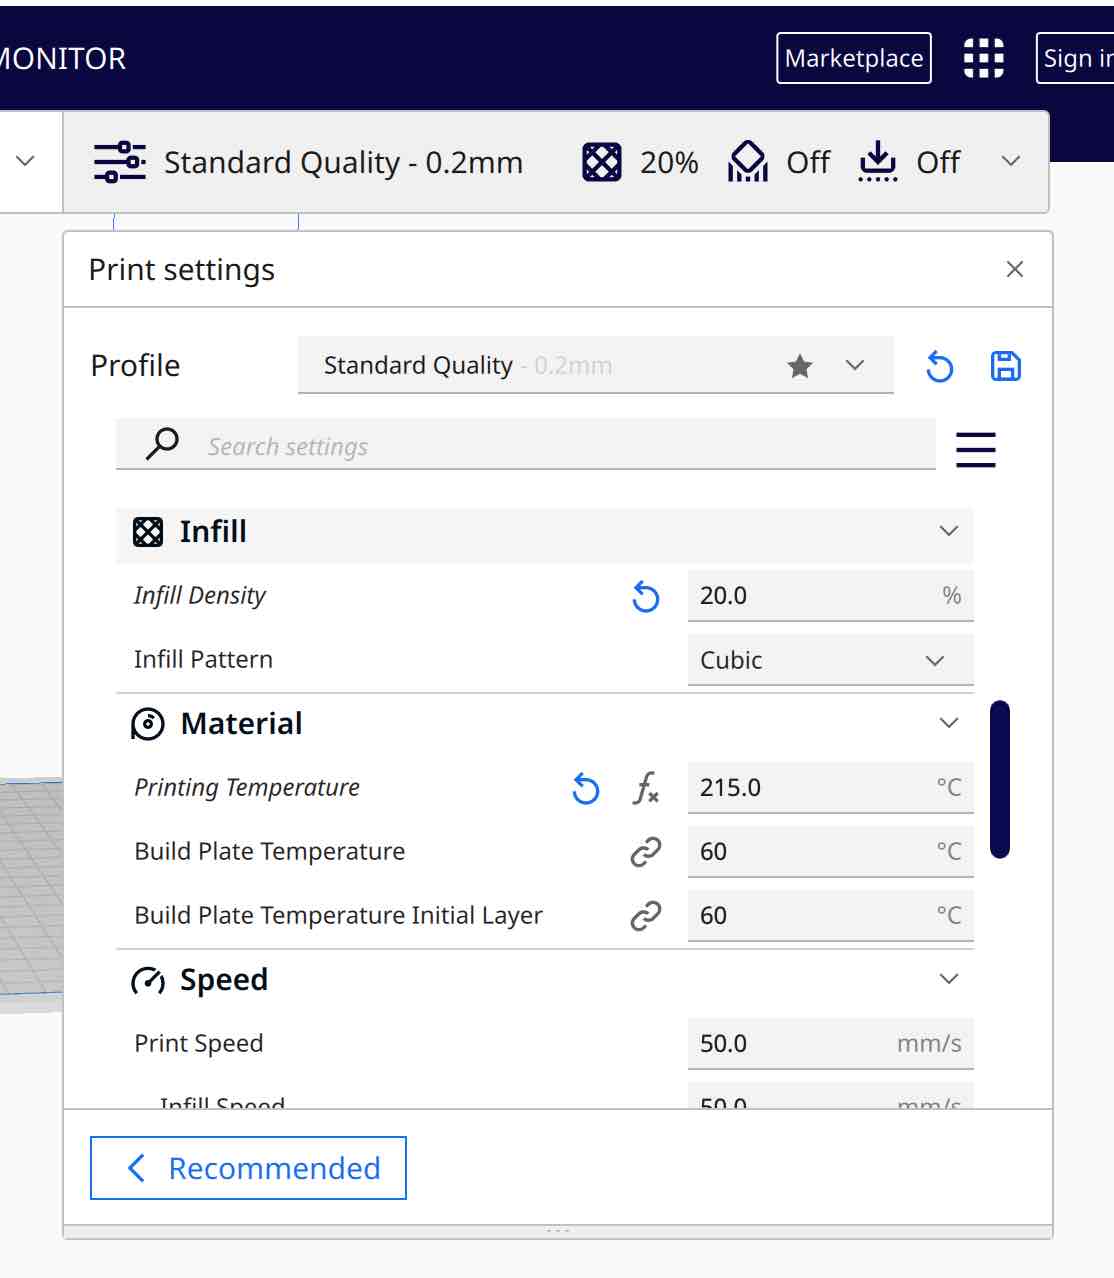
Firstly, I opened Cura and then checked or entered the following parameters:
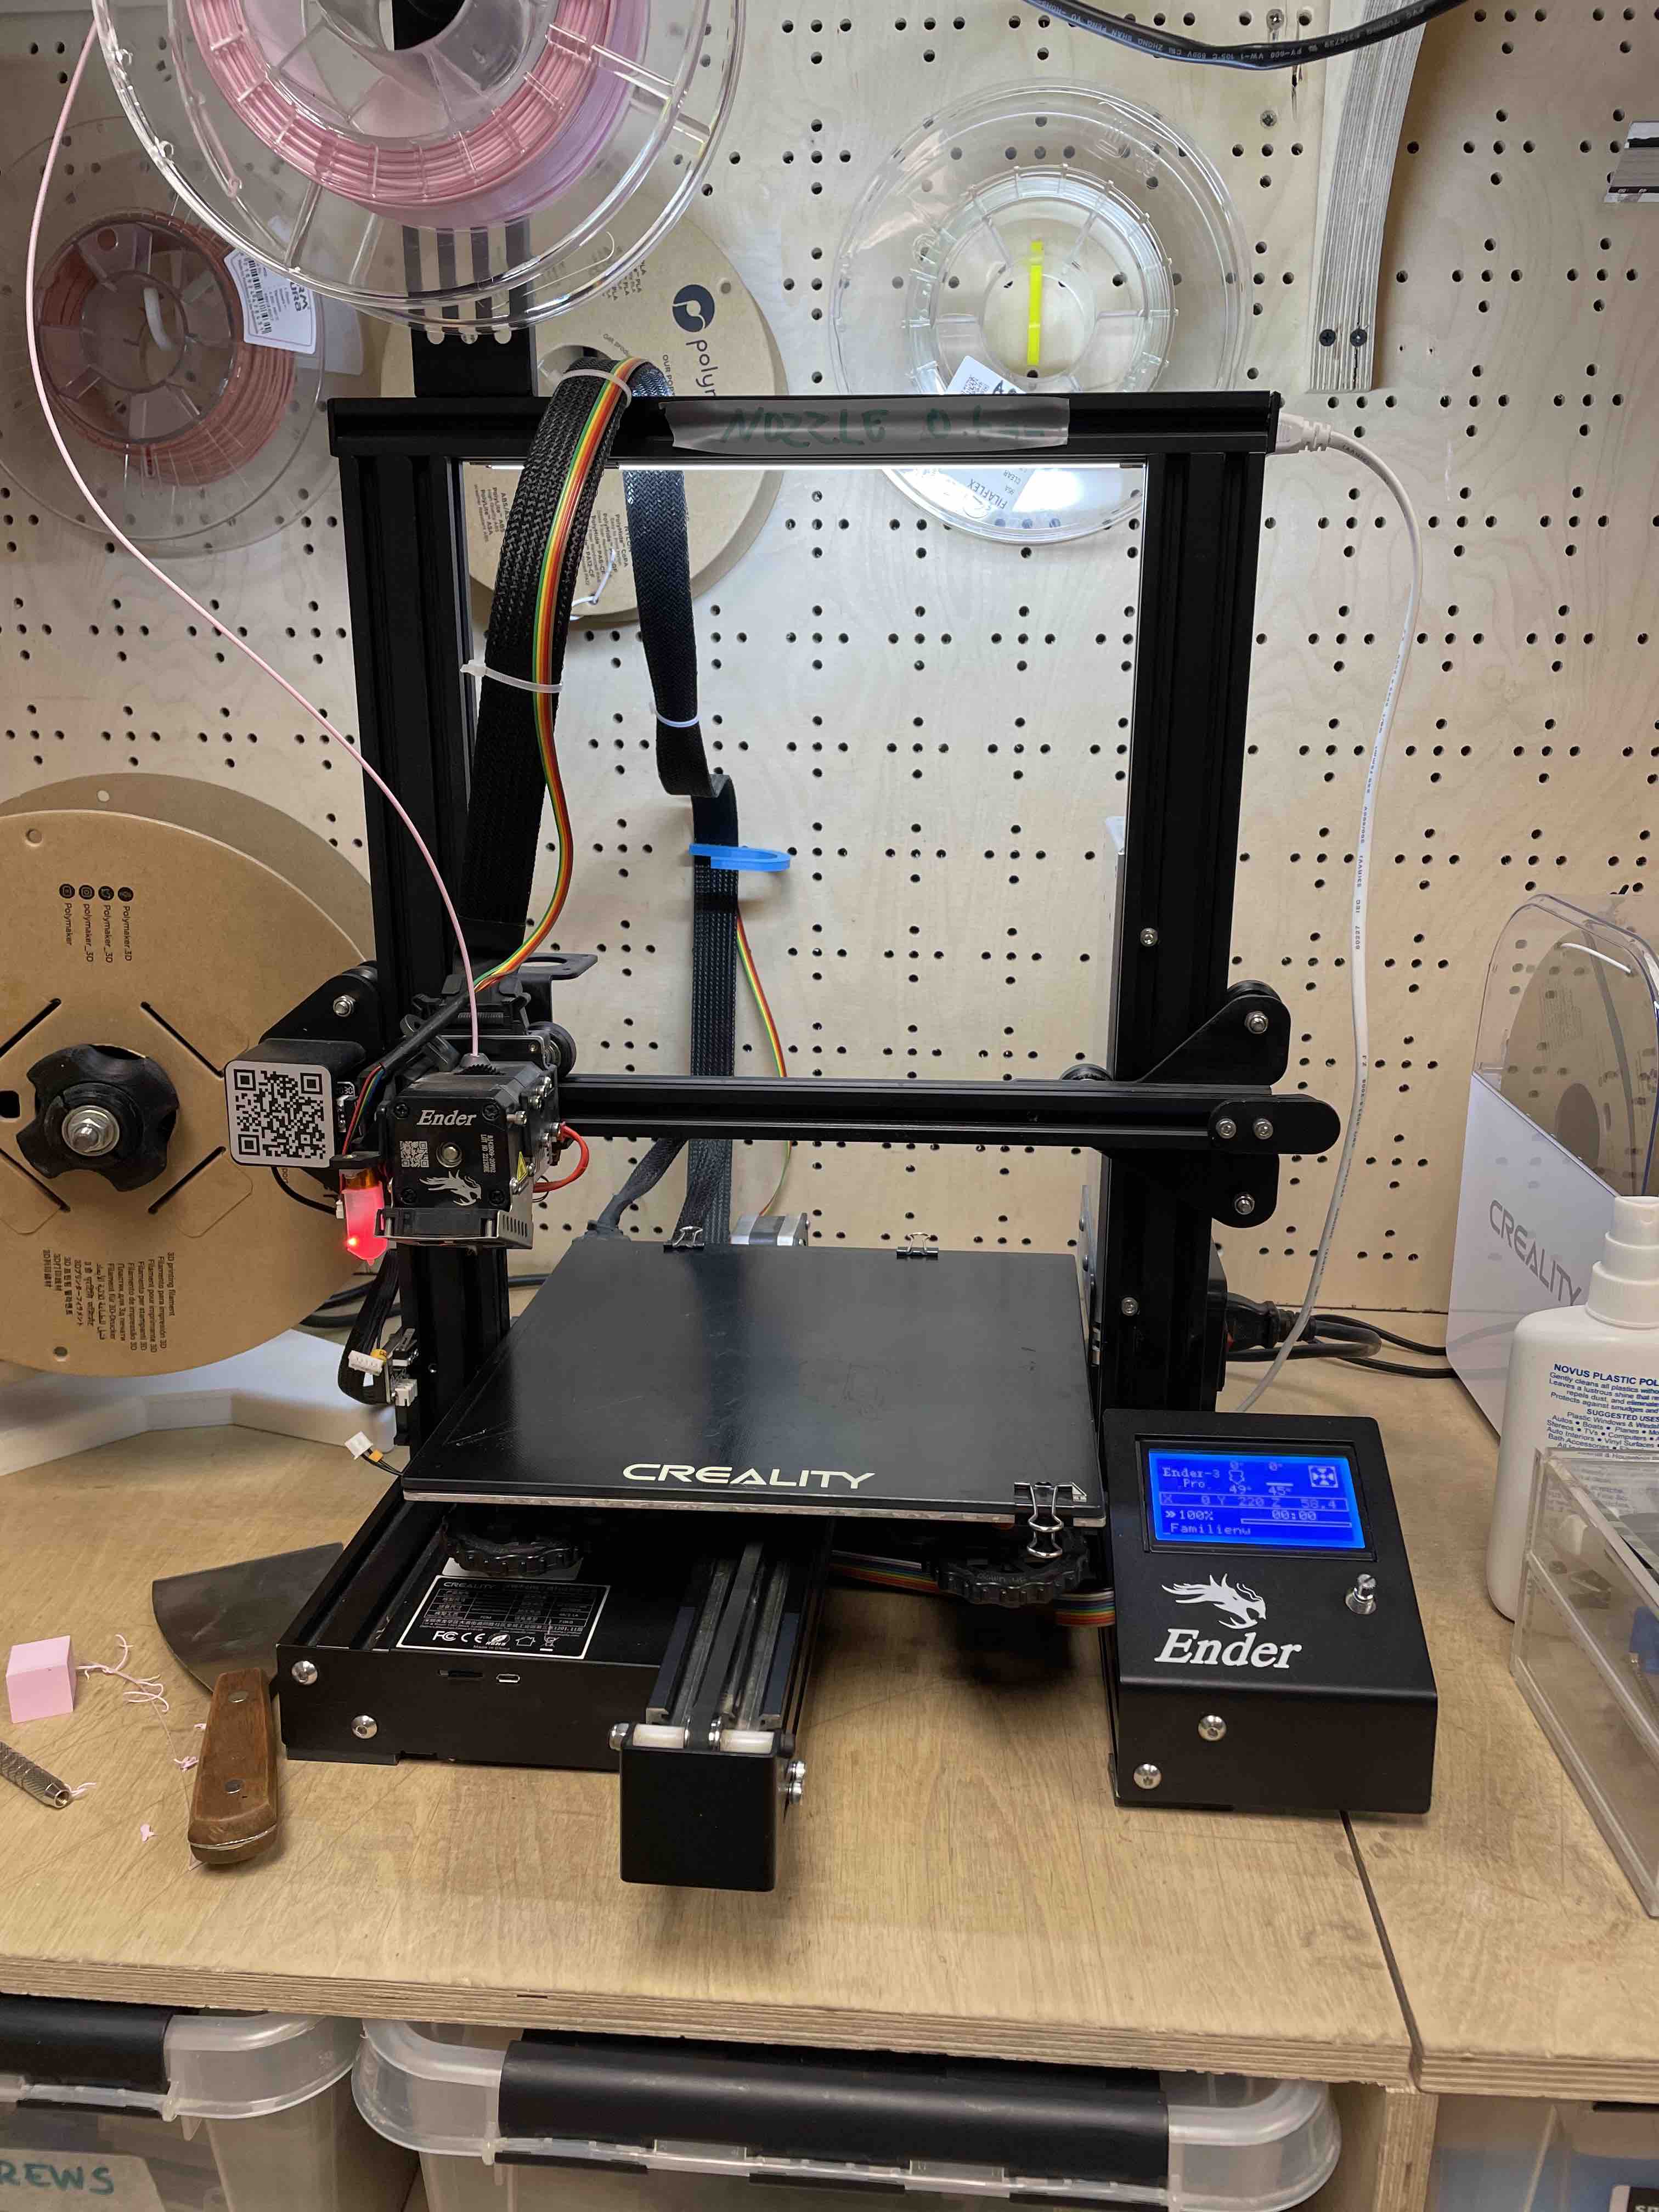
- Which printer? Ender 3-Pro
- Which material? PLA
- Load a 3D object.
- What is the diameter of the filament? 1.75mm
- What is the diameter of the print nozzle? 0.6mm
- At what temperature should it print? 200
- At what temperature should be heated the print bed? 60
I checked all these settings and did not change any other settings.
Then, I selected the "Slice" option and saved the file. It gave me an estimated print time of one hour. This seemed like a lot to me, but after checking, the time was considered "normal."
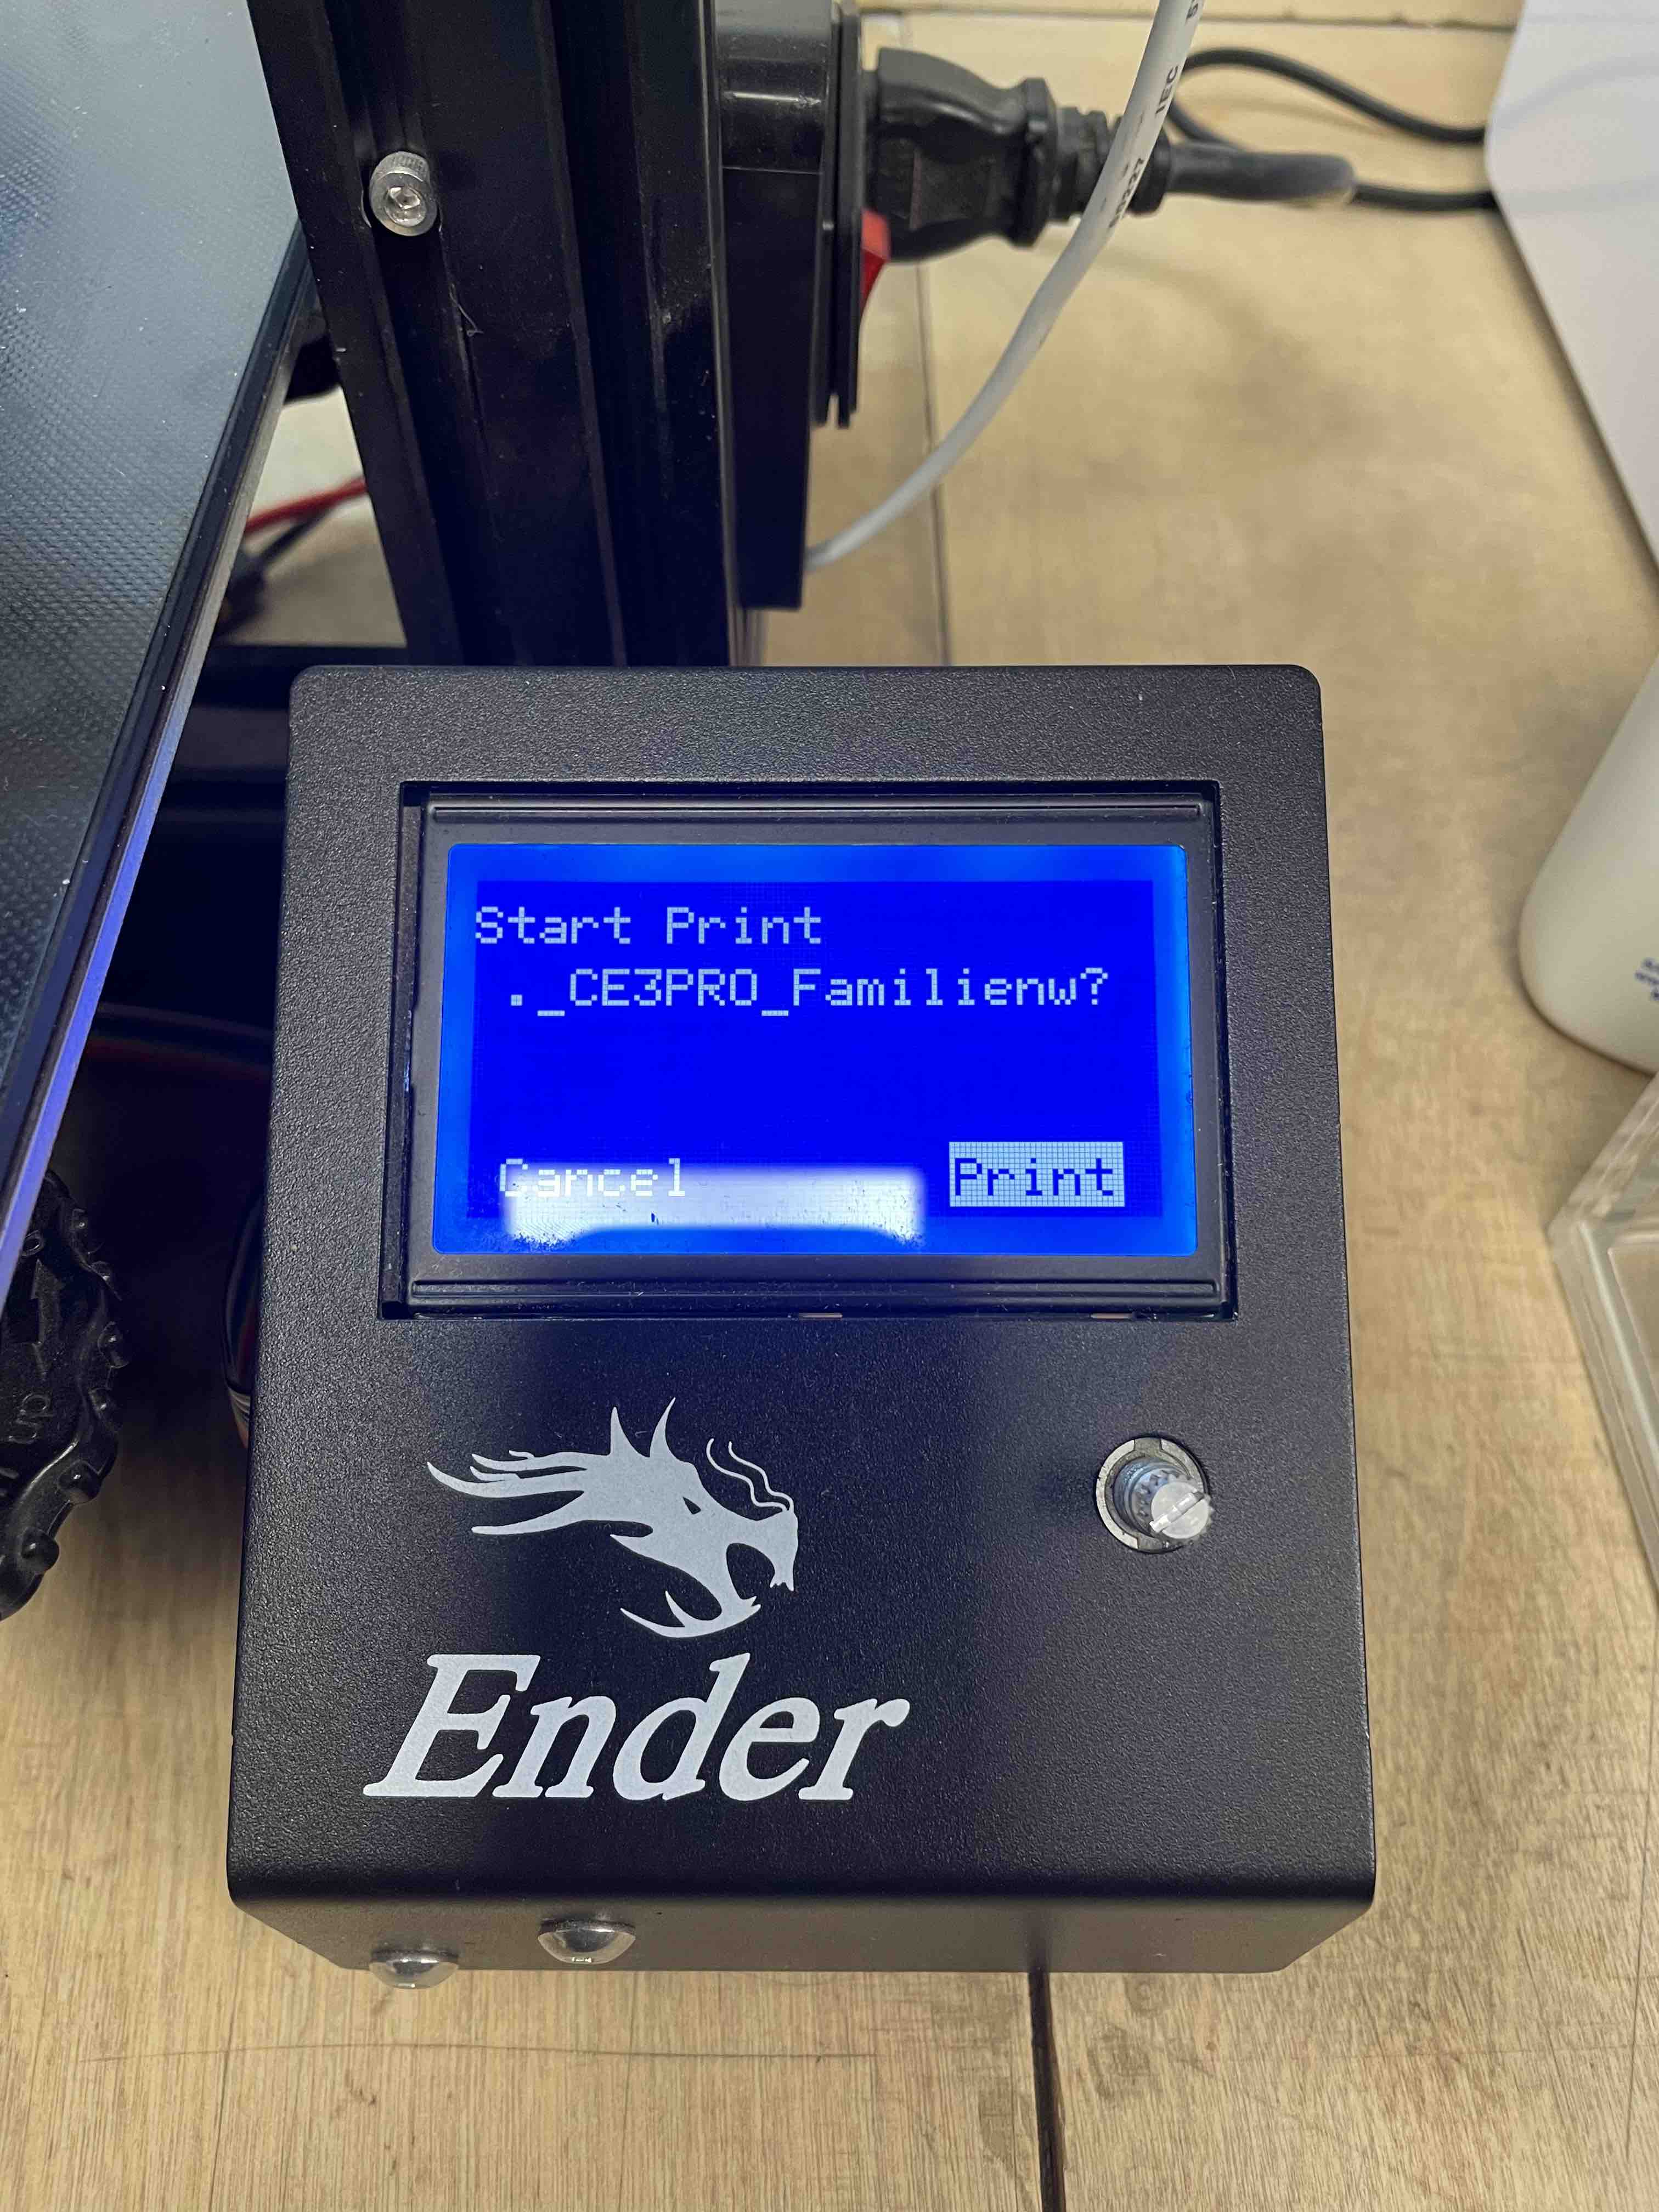
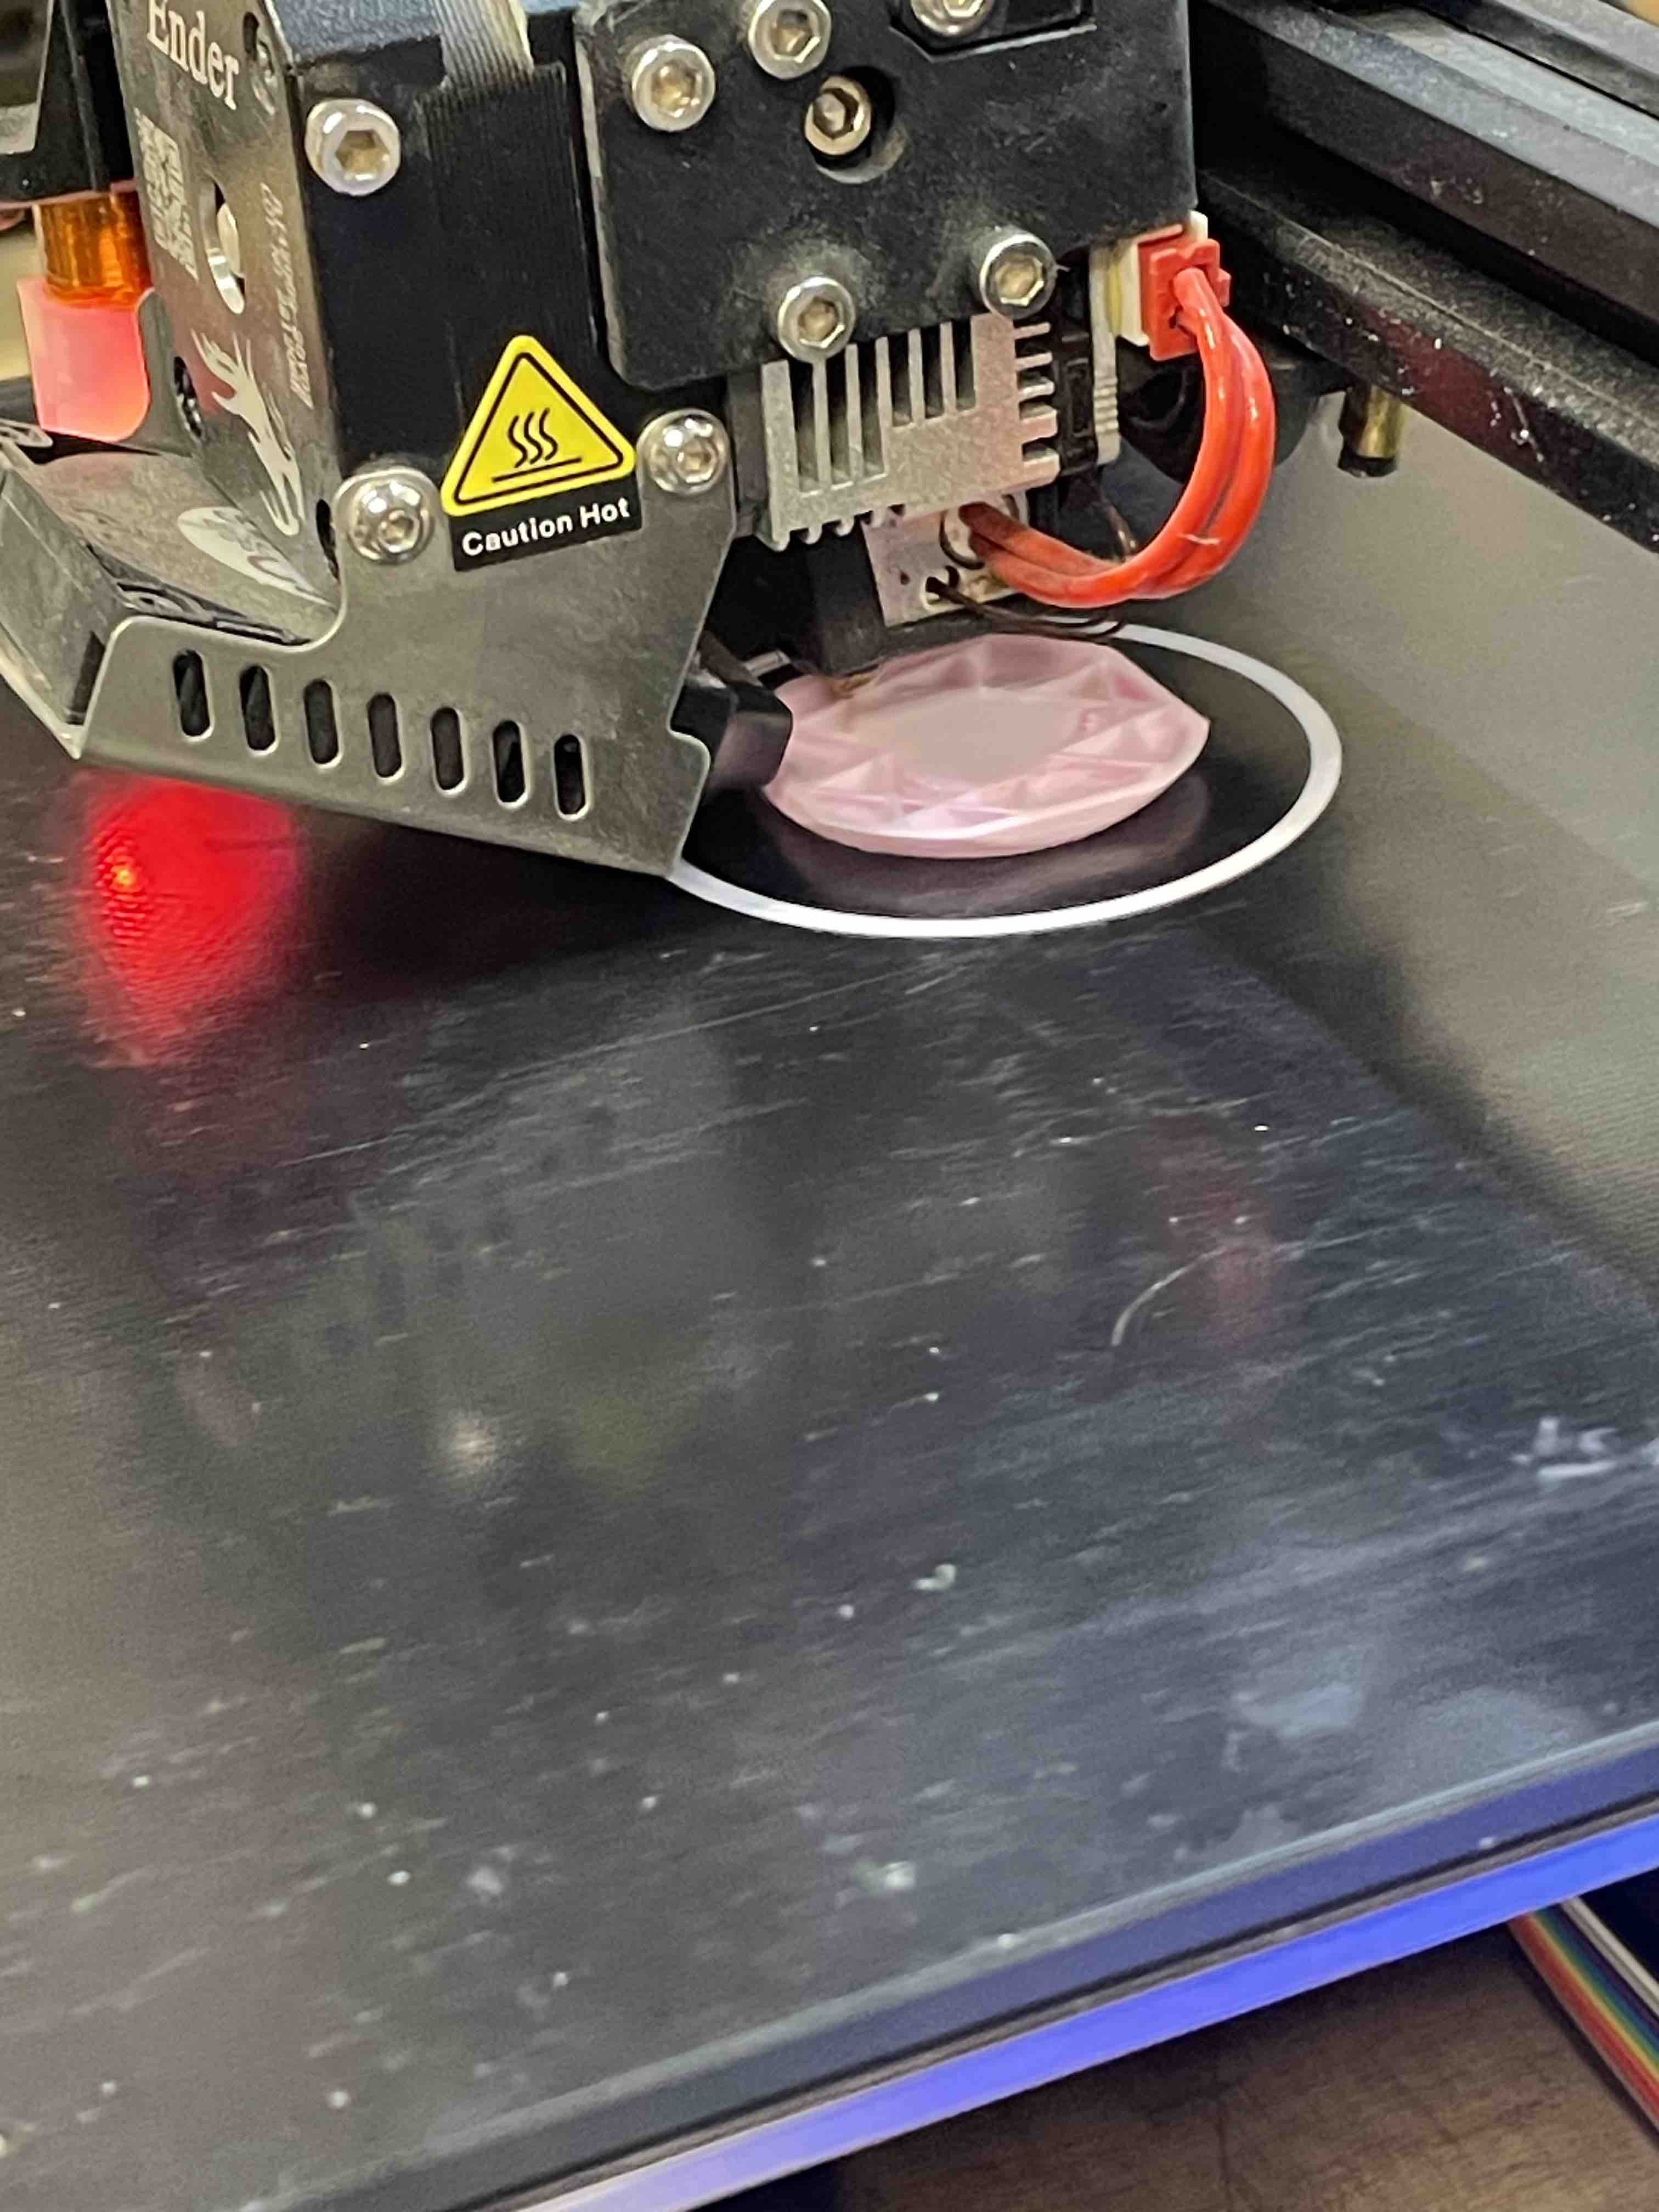
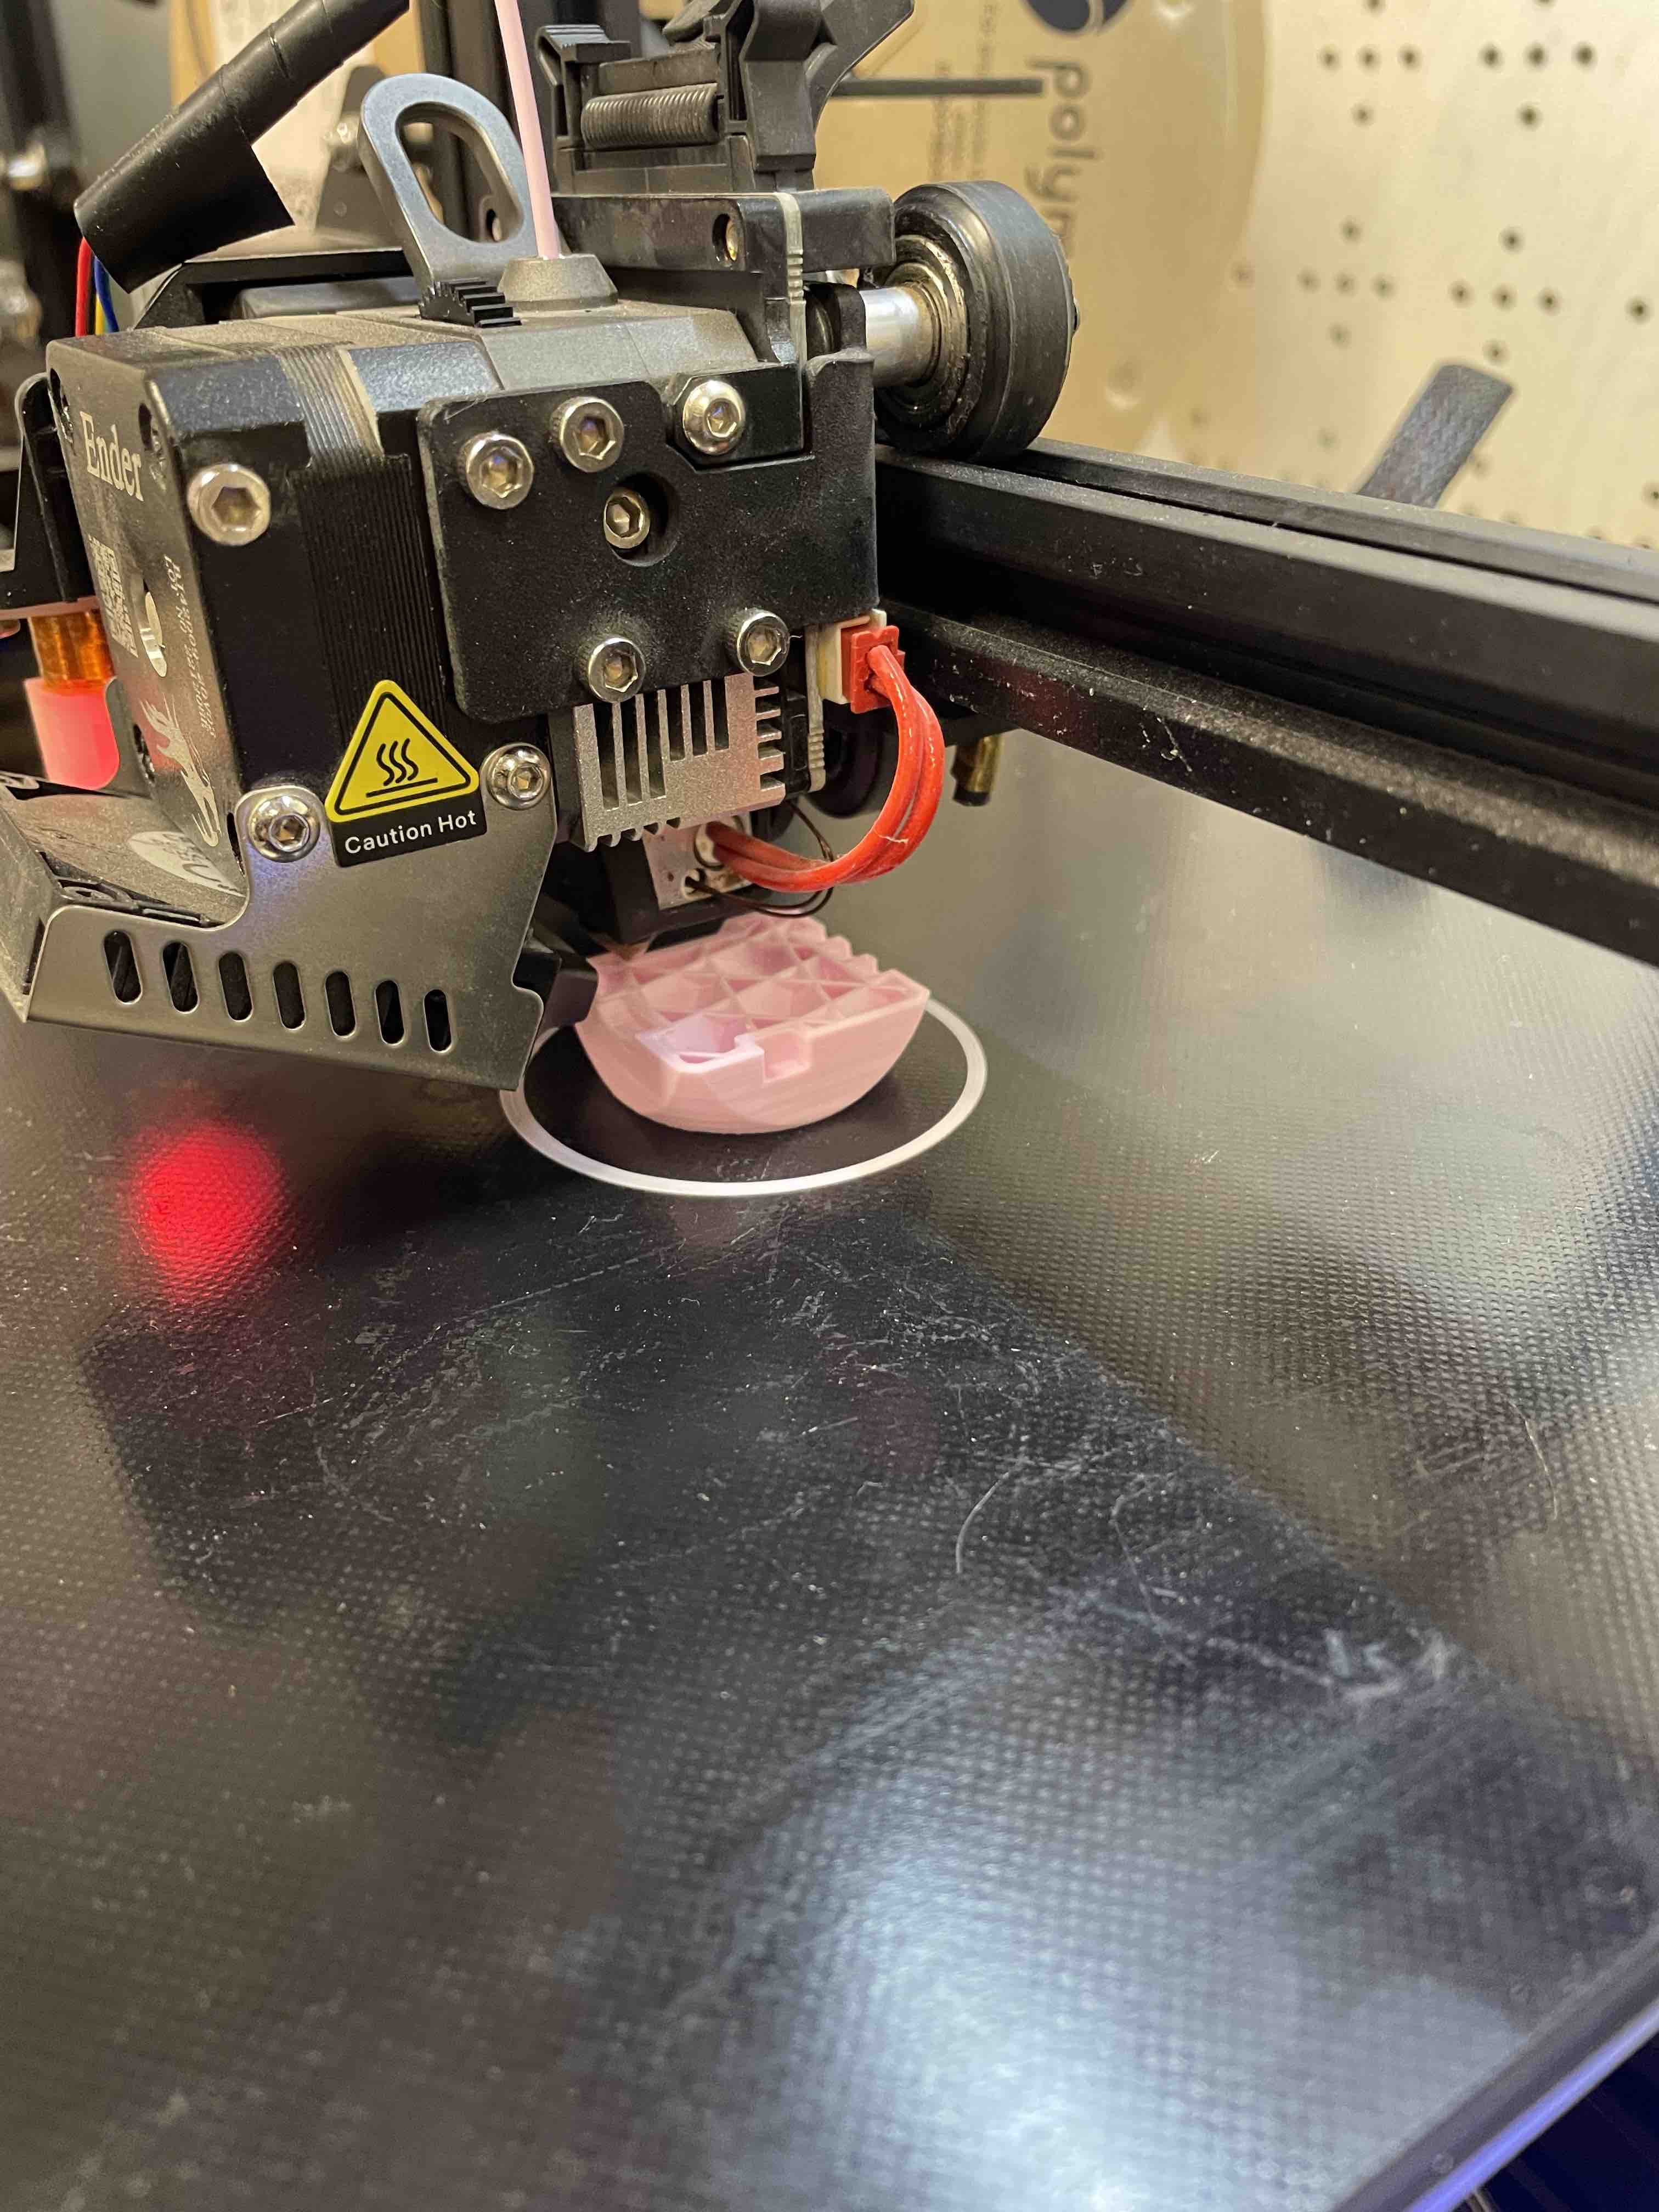
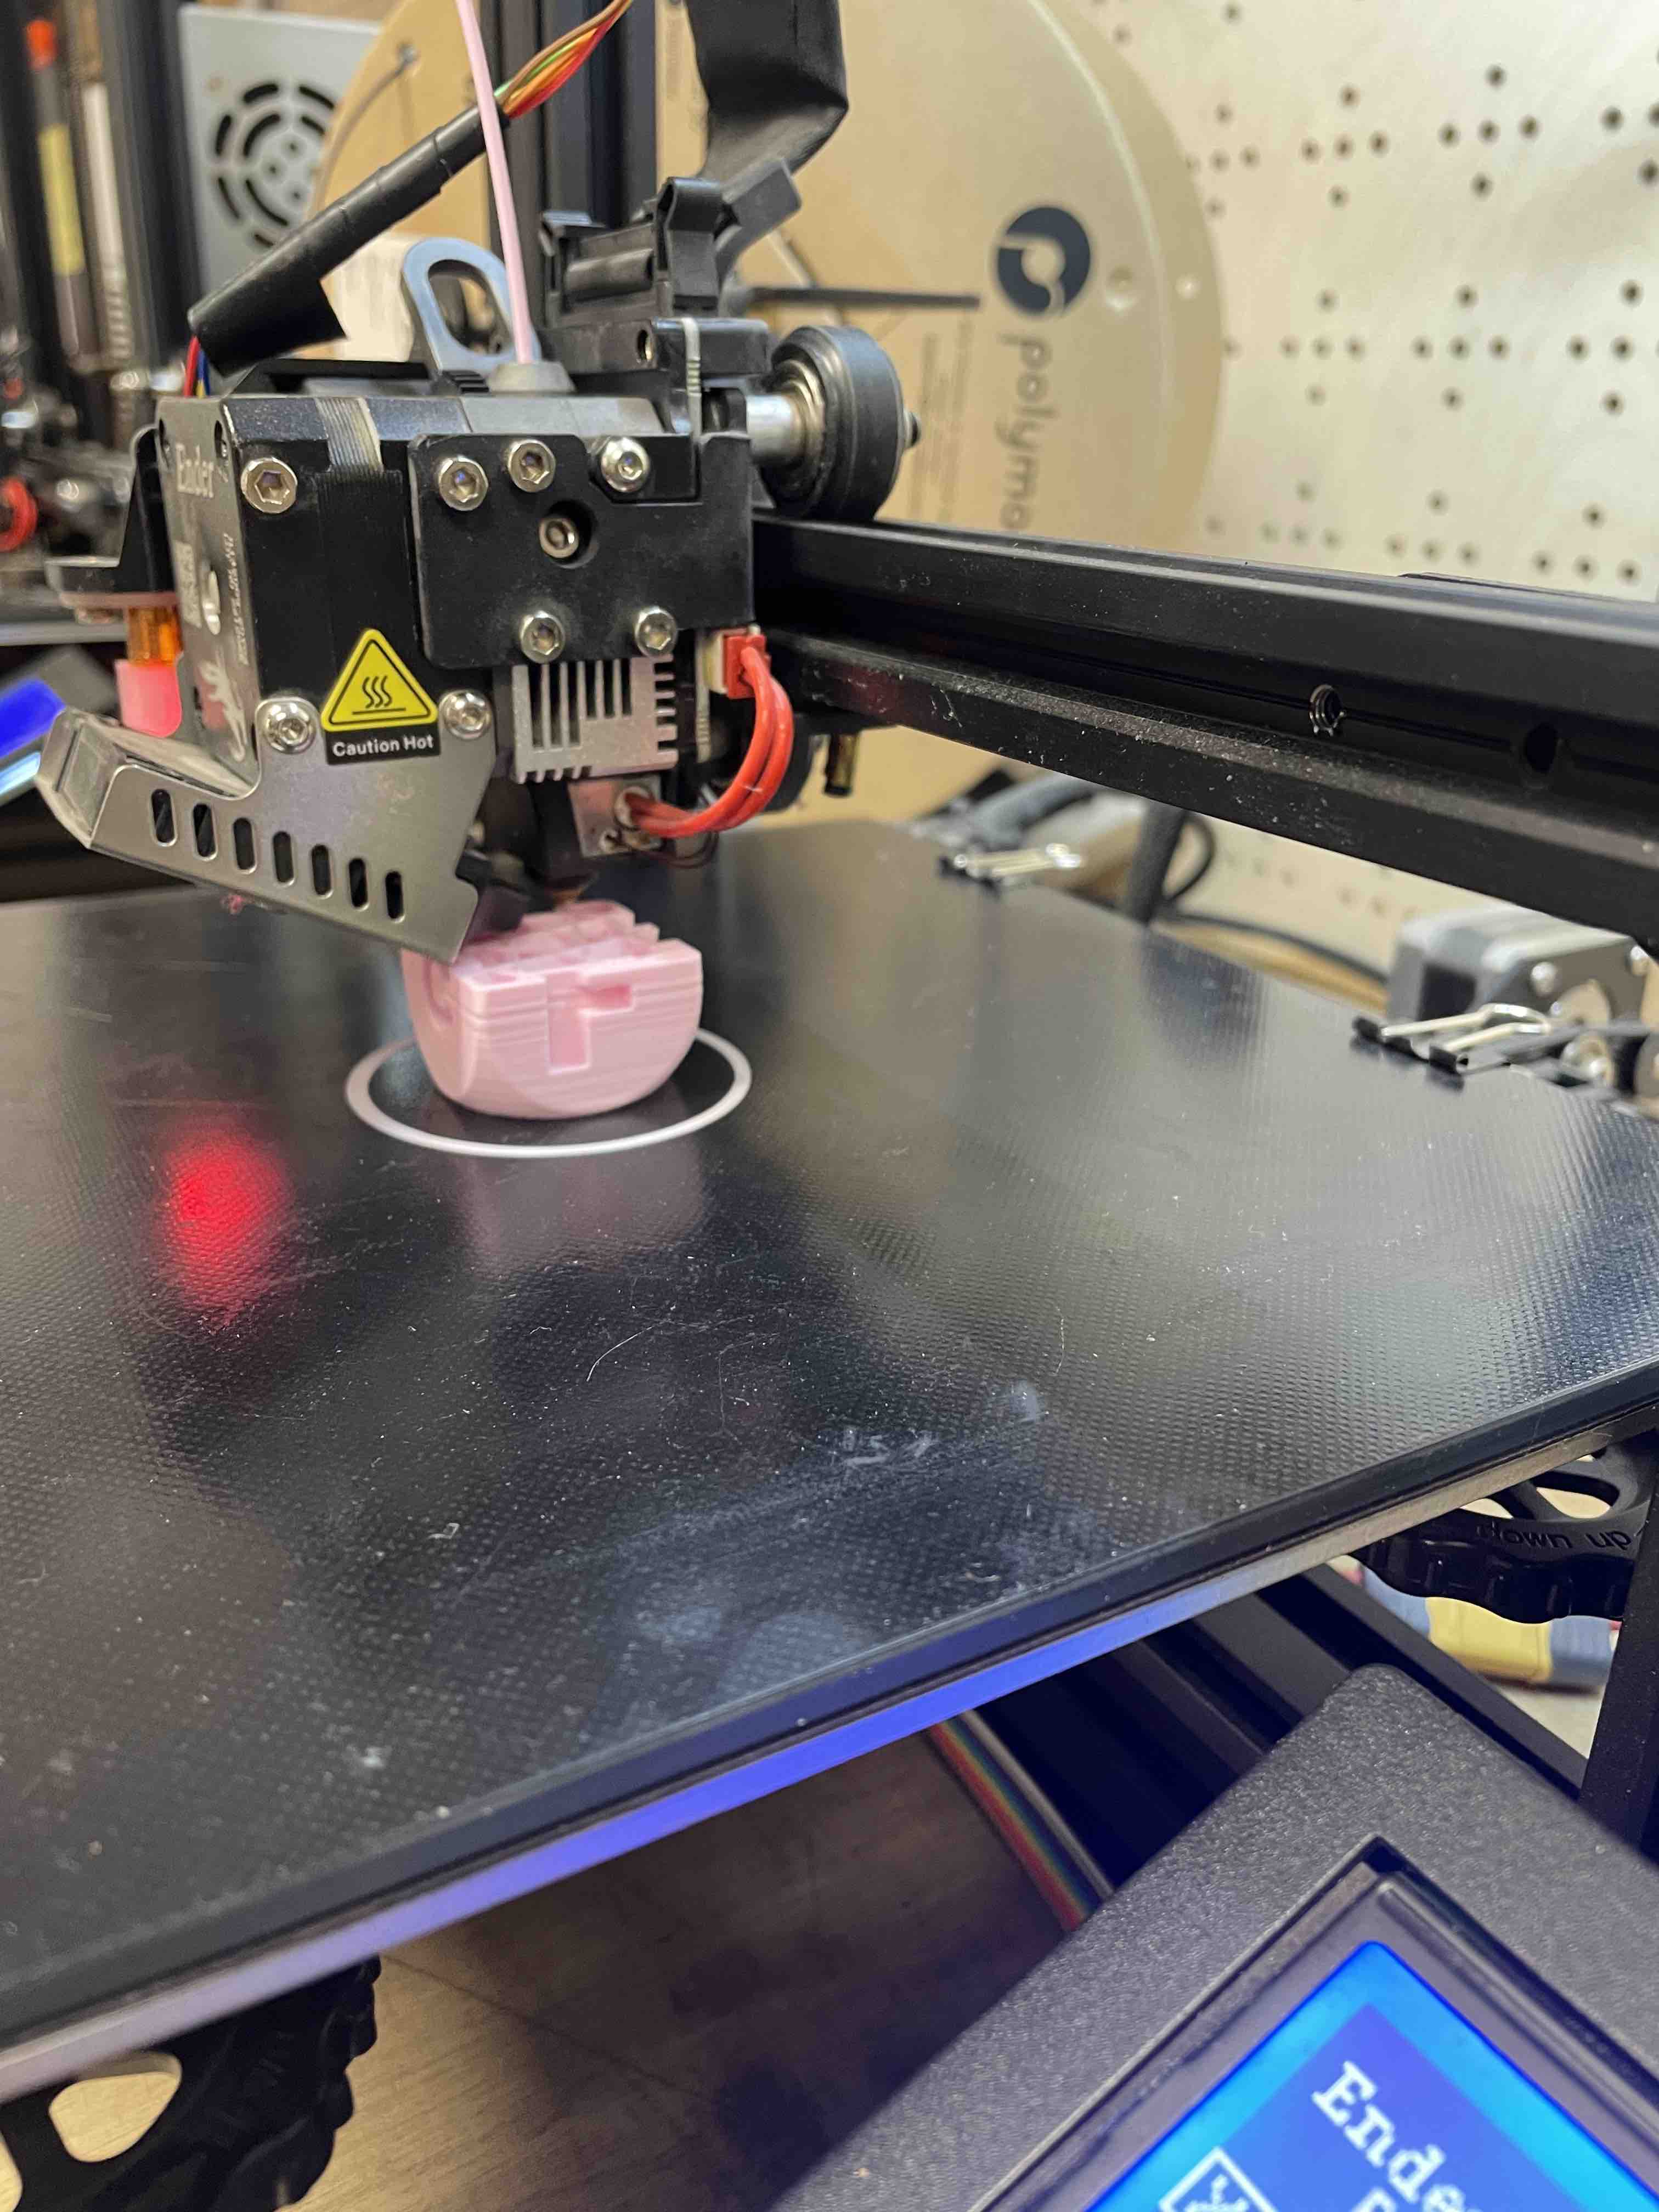
Next, I loaded the file onto the SD card, which I had previously removed from the printer. I then inserted the SD card back into the 3D printer. Through the menu on the printer, I selected the file and gave the command "Print." Unfortunately, the print did not start. It was unclear what the error was. I was then advised to reopen the STL file on another computer in Cura and save it again. I did that. I then reloaded the file onto the SD card and started the print job again with the new file. This time, it worked, and the print started. After the print finished, I carefully removed the cube from the plate.
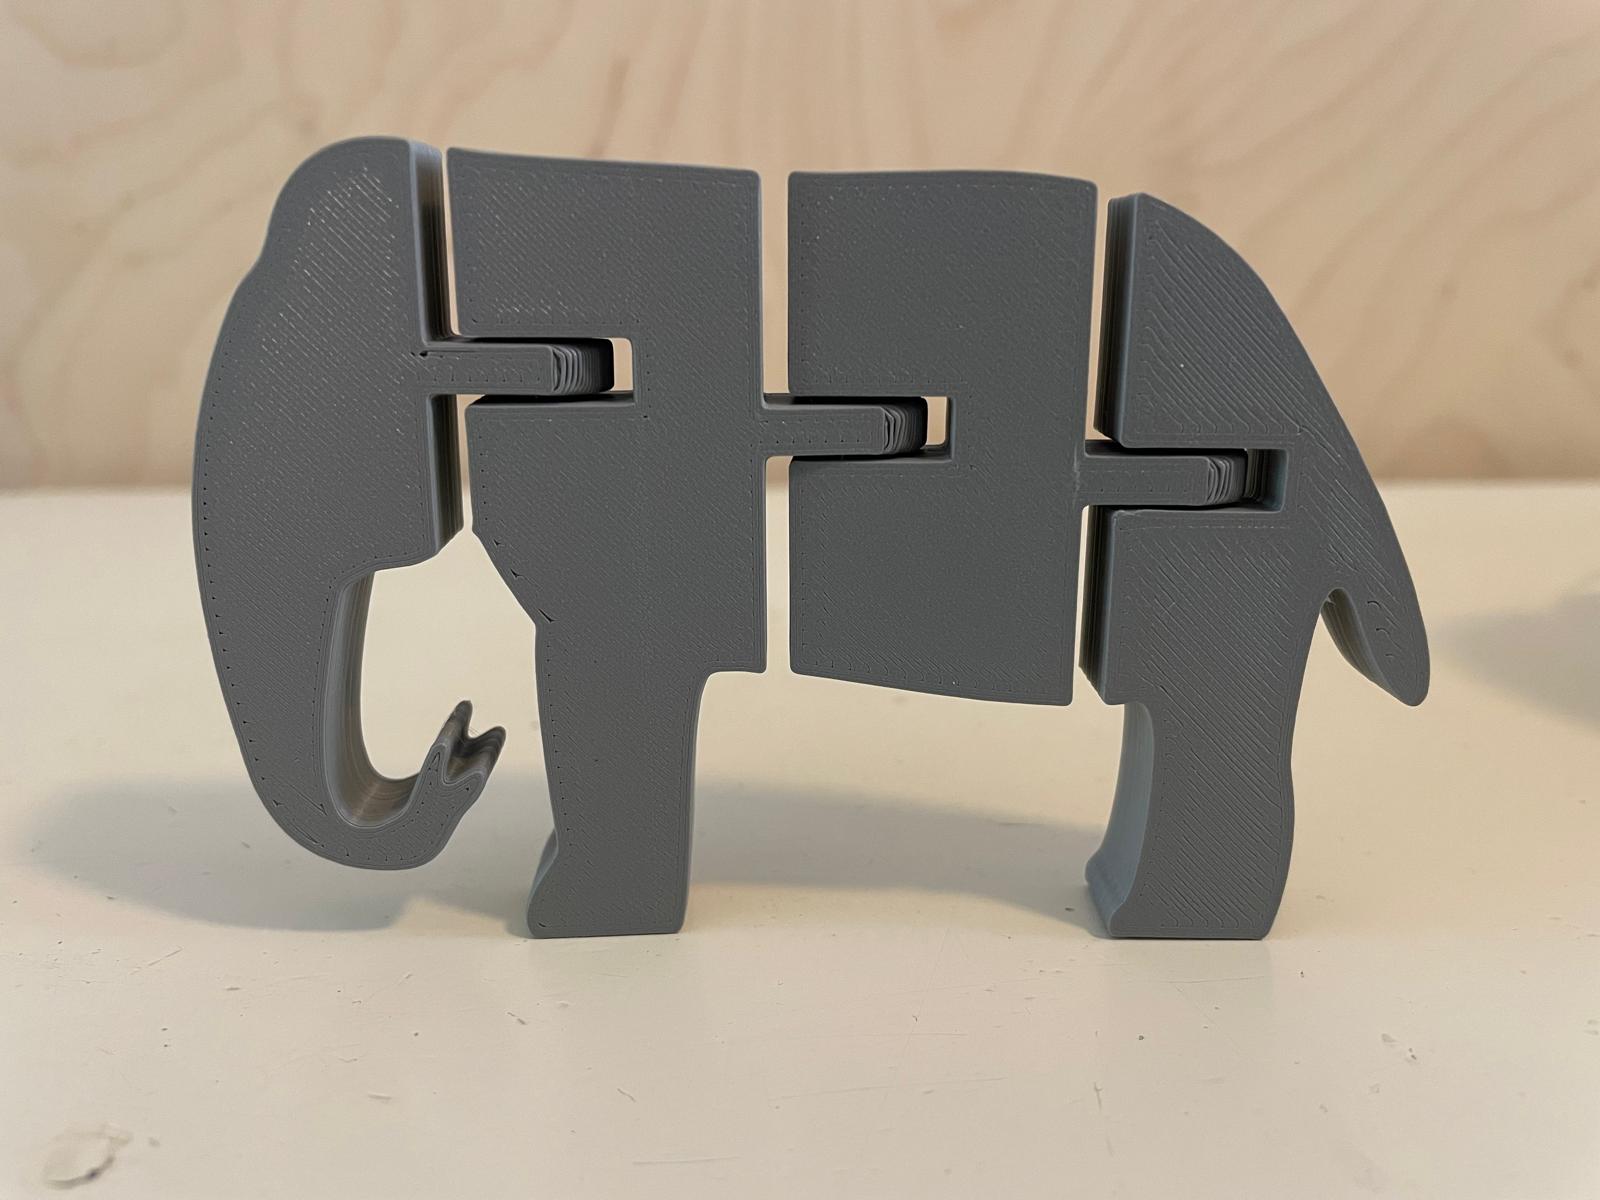
Flexible animal
To print a project that can only be created with a 3D printer, I decided to print a flexible animal. I had seen flexible snakes with hinges before. First, I looked up a tutorial. Since I wanted to work with Tinkercad again, I searched for Tinkercad tutorials. These two tutorials, tutorial ball hinge, tutorial animal, were helpful:
I divided the design into two steps. First, I designed the hinge (ball hinge), which was the more challenging part, and then I inserted the hinge into an animal shape imported into Tinkercad.
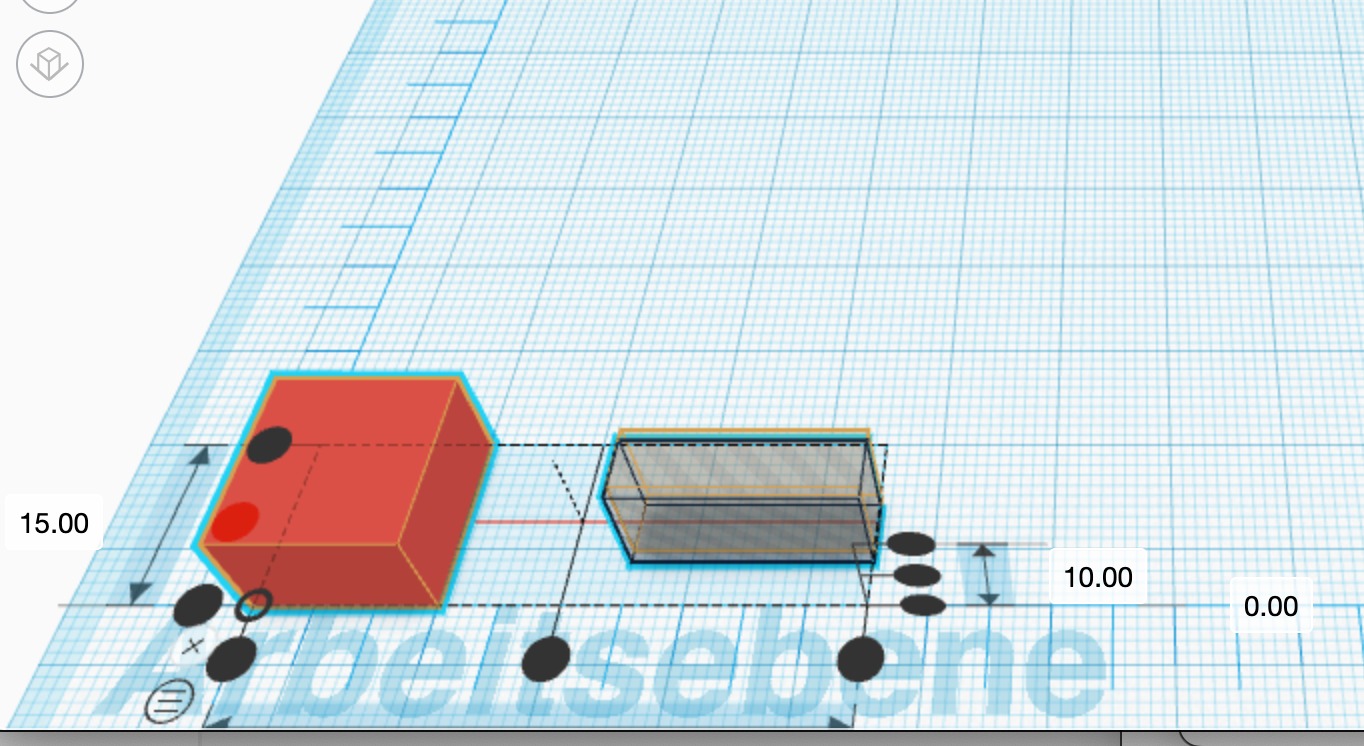
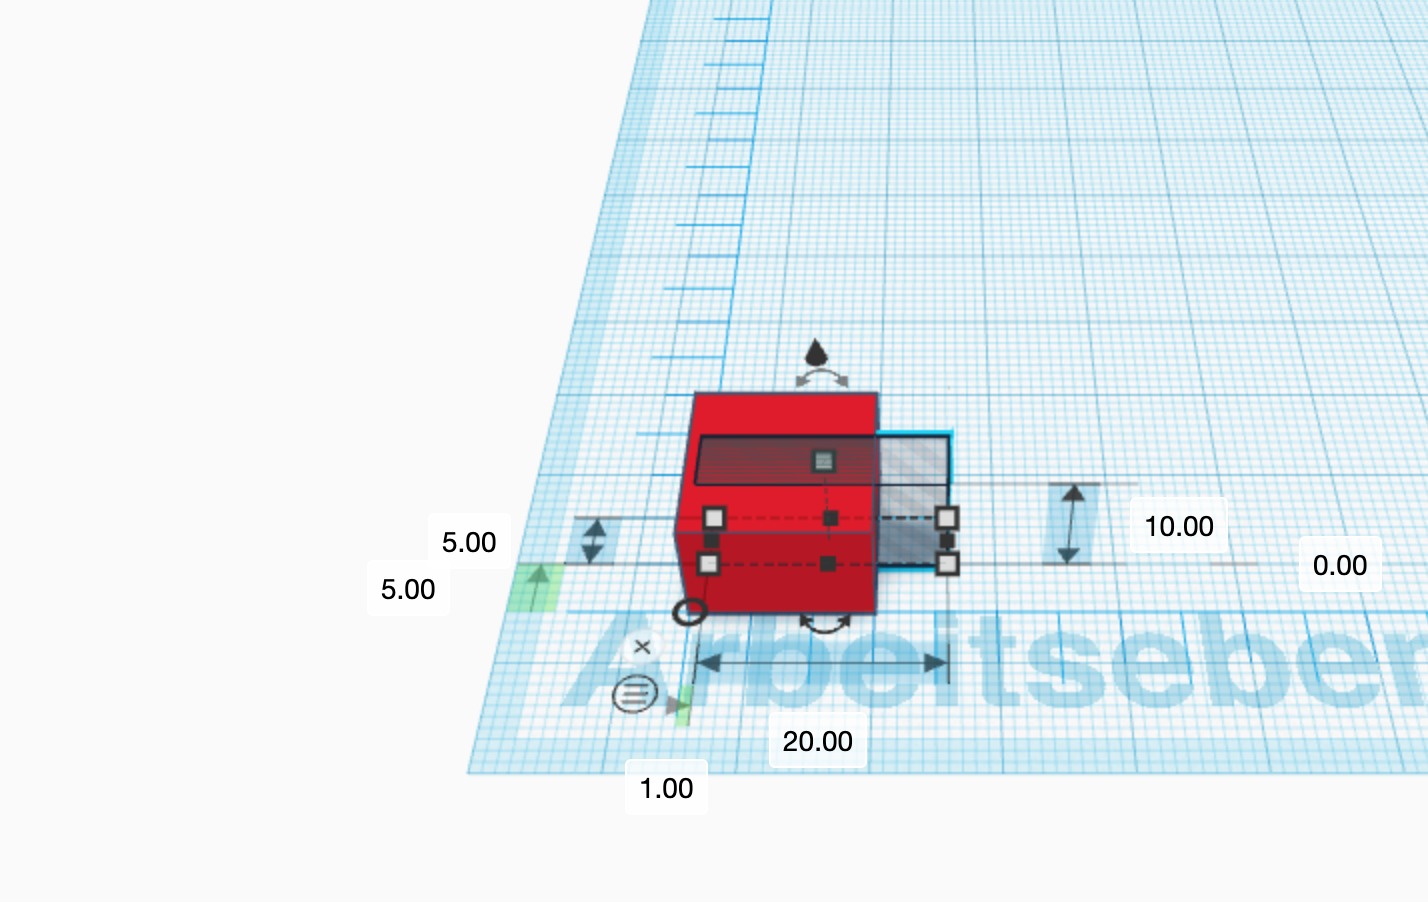
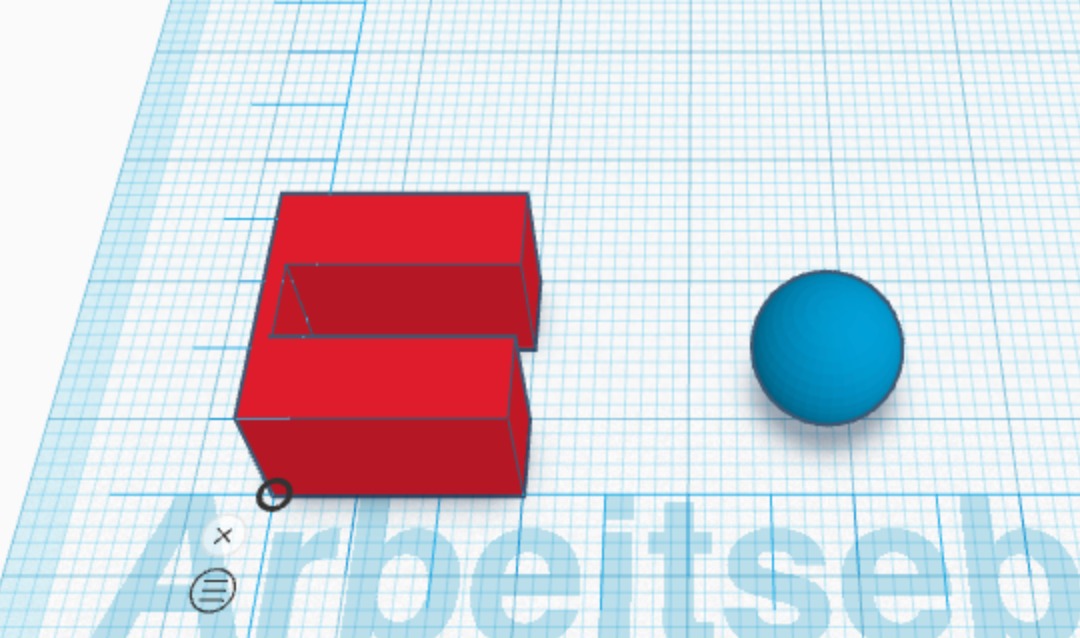
Designing the ball hinge
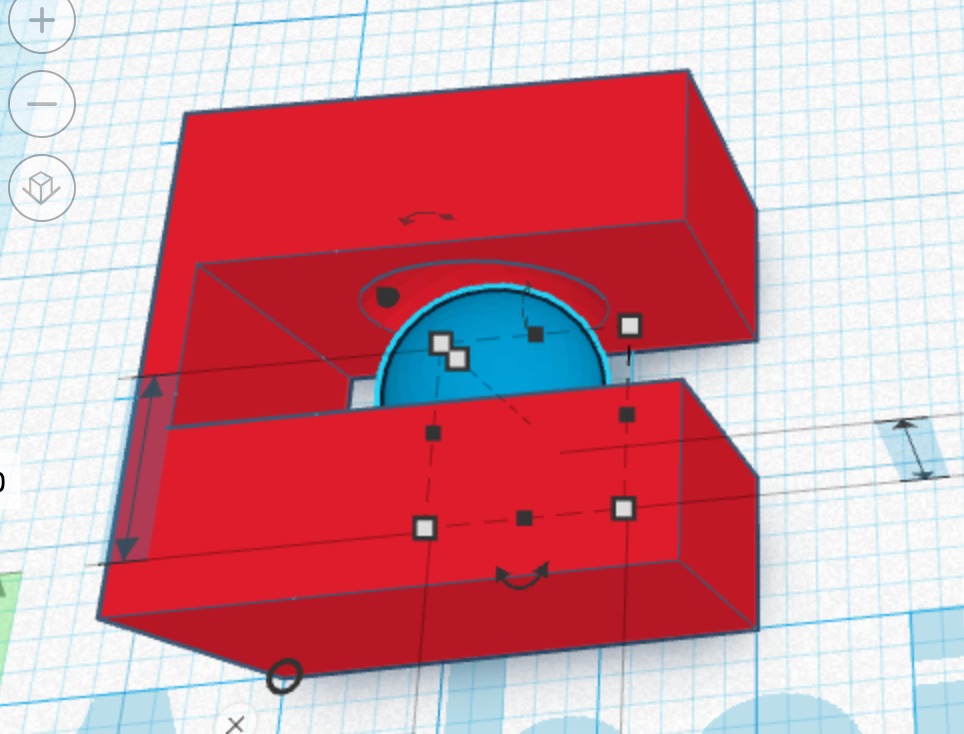
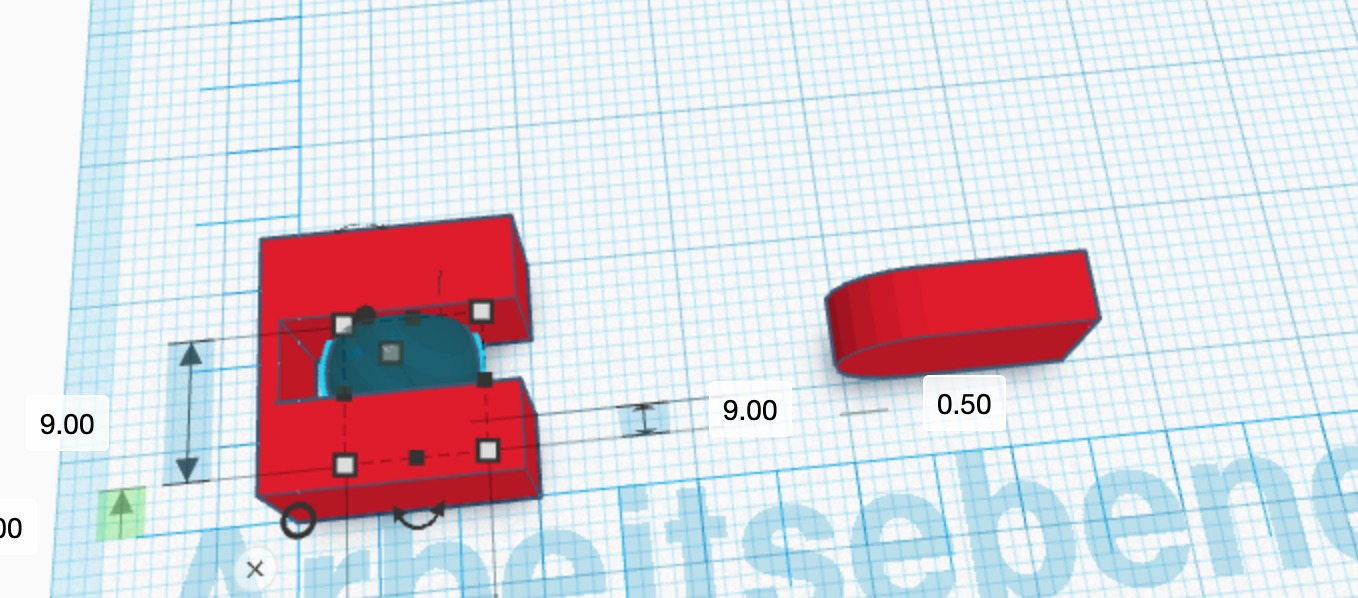
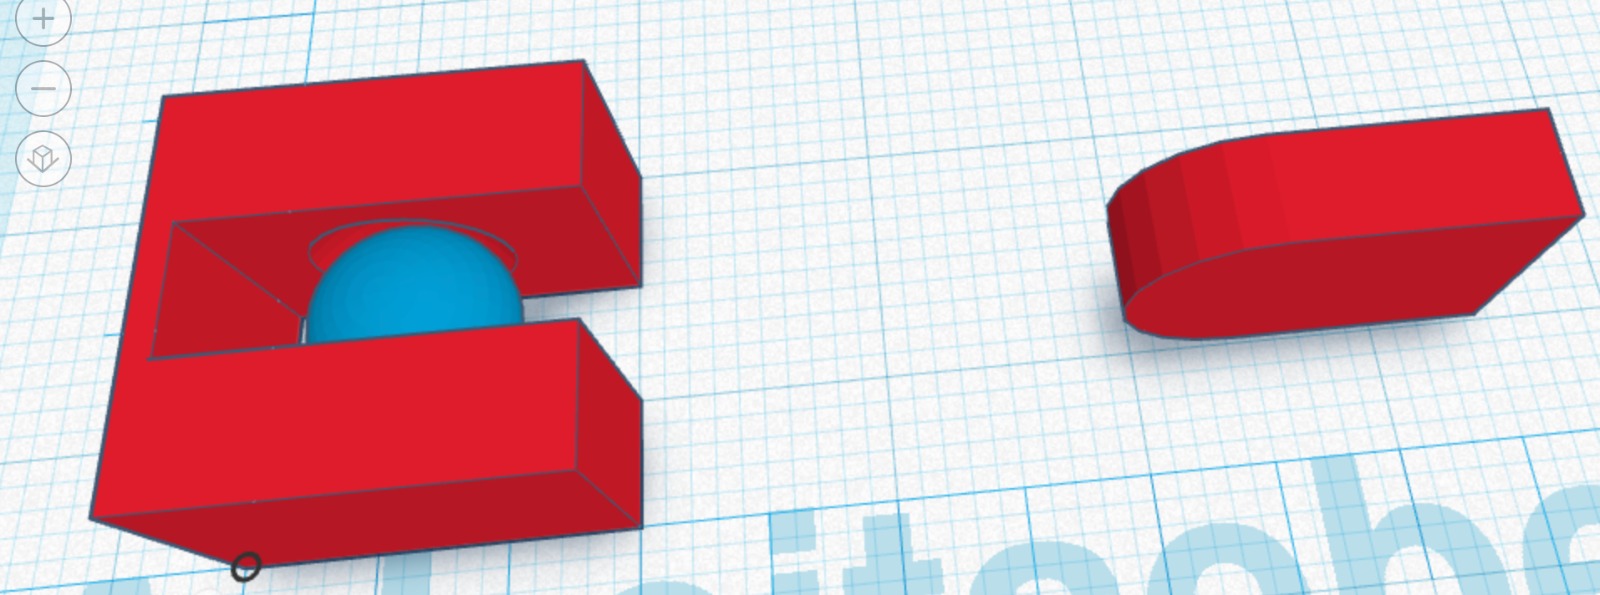
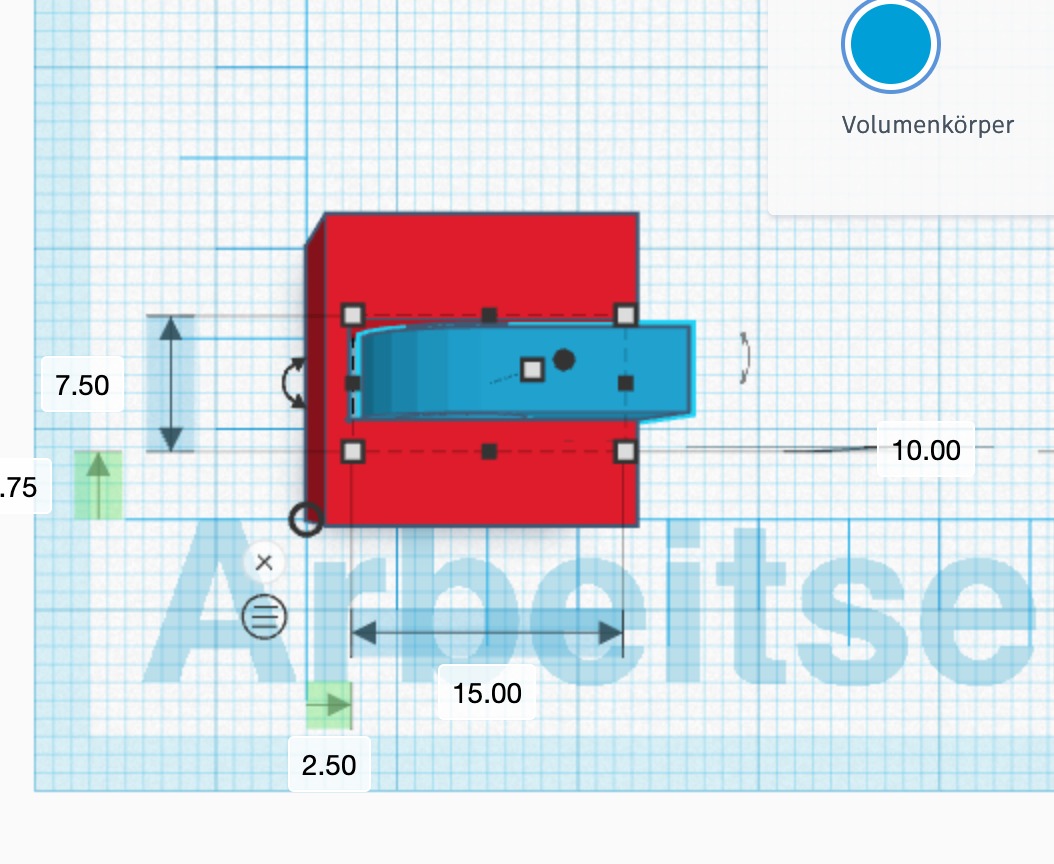
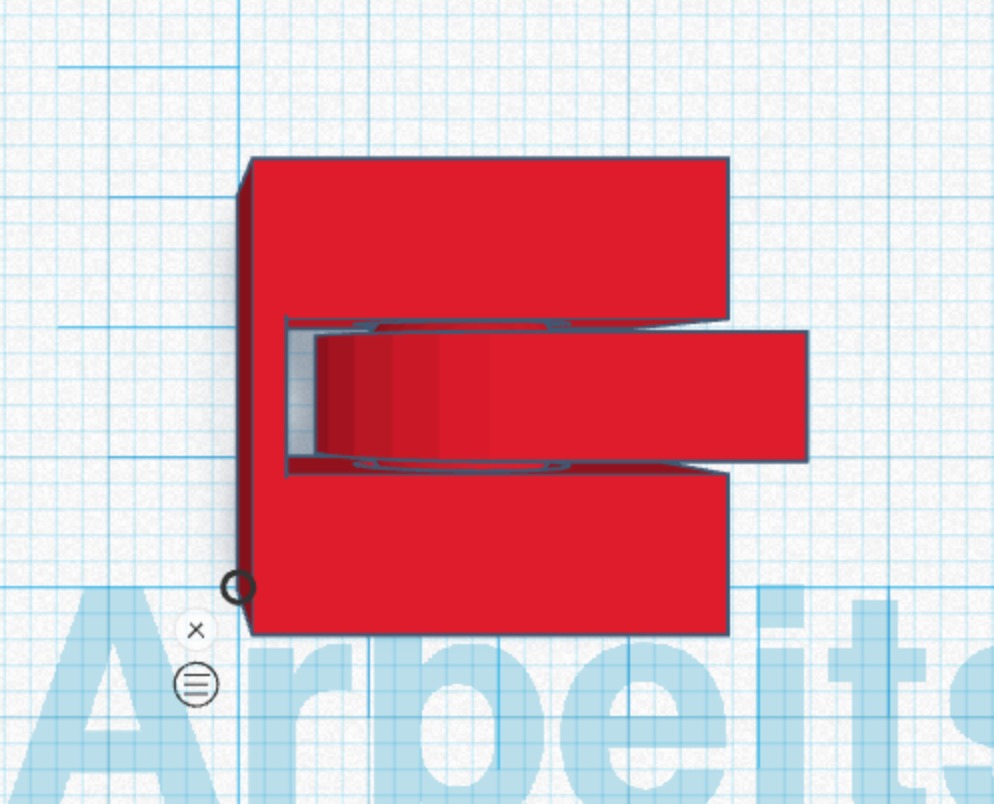
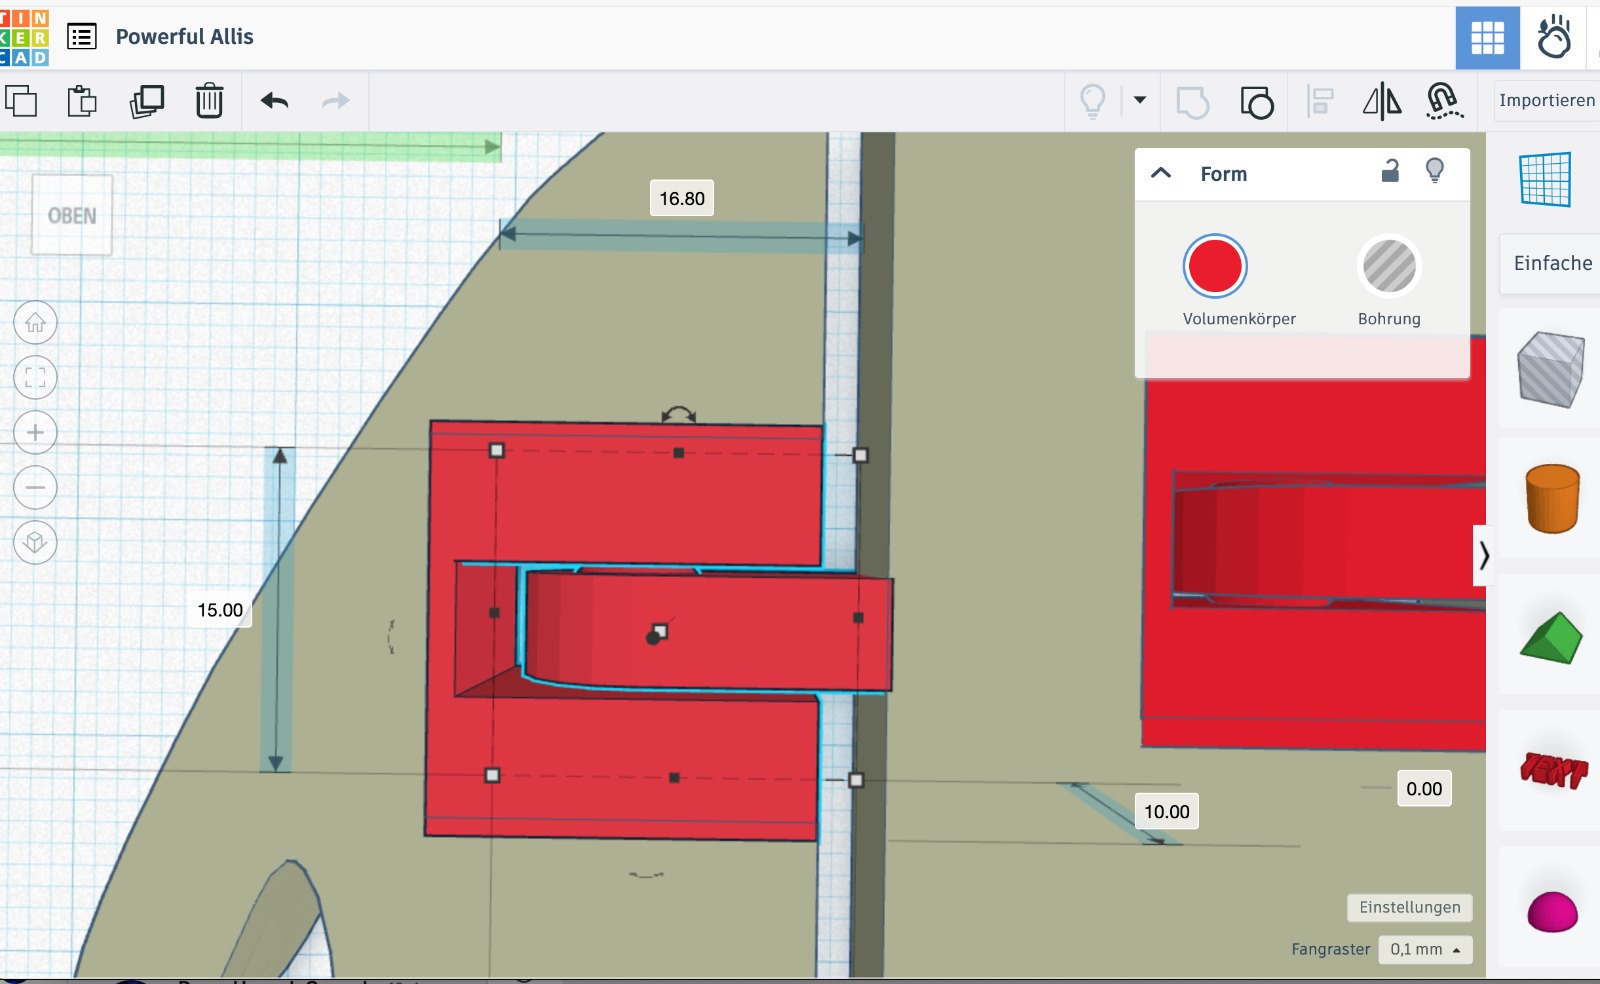
I started by creating a small cuboid and then cut out the middle section. Next, I placed a sphere on the workplane and positioned it in the center of both the cuboid and the cut-out section. I duplicated the sphere and slightly reduced the size of the duplicate. Then, I set the original sphere as a hole and merged it with the cuboid, creating spherical cavities on both sides. I connected the duplicated sphere to an element that fit within the hollow space, extended beyond it, but didn’t touch the sides. With that, the spherical joint was complete.
Designing the Animal:
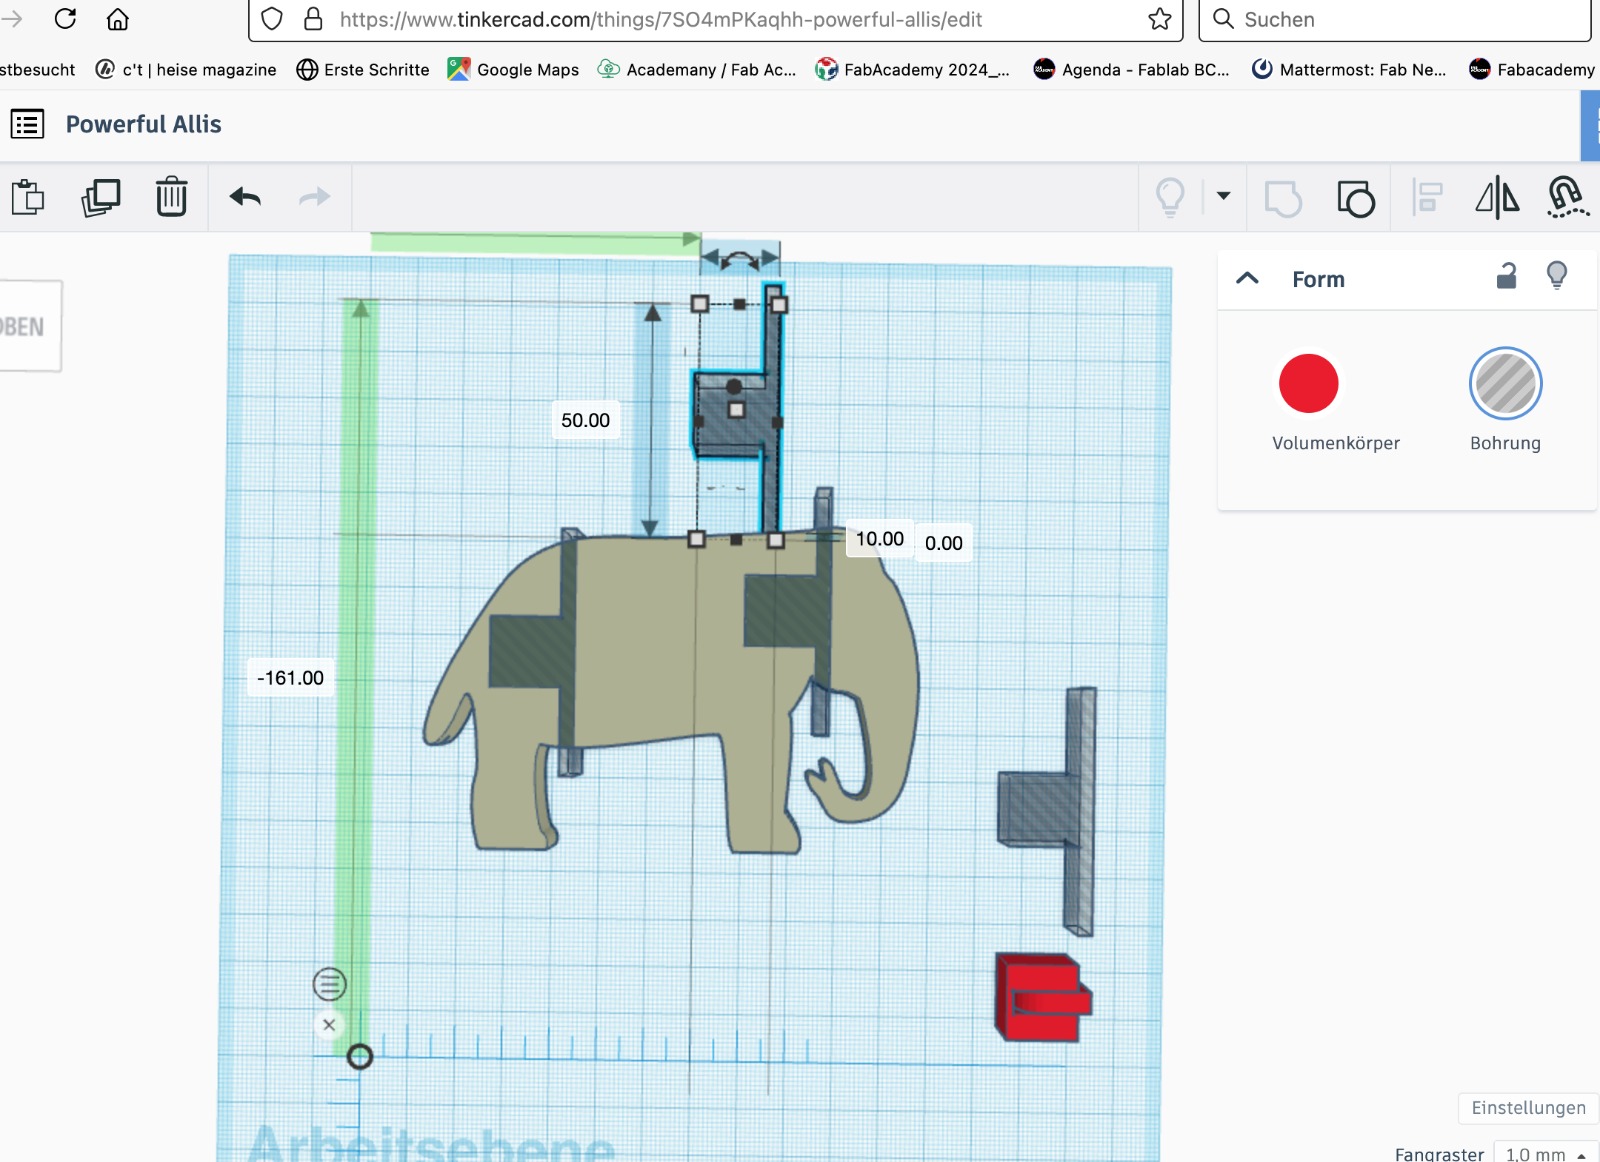
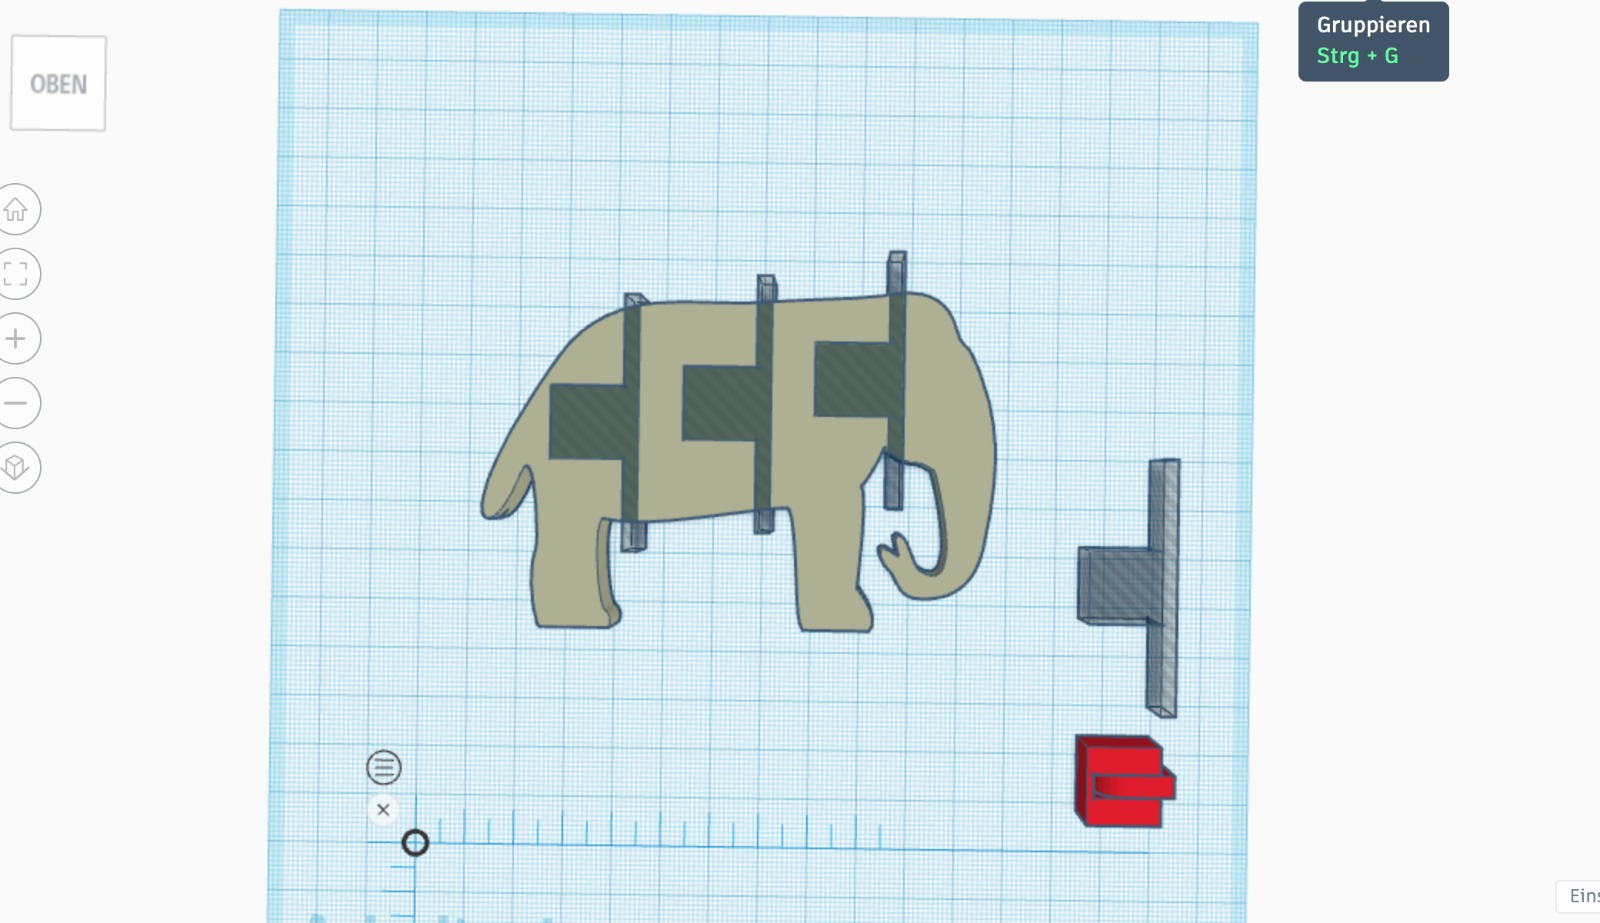
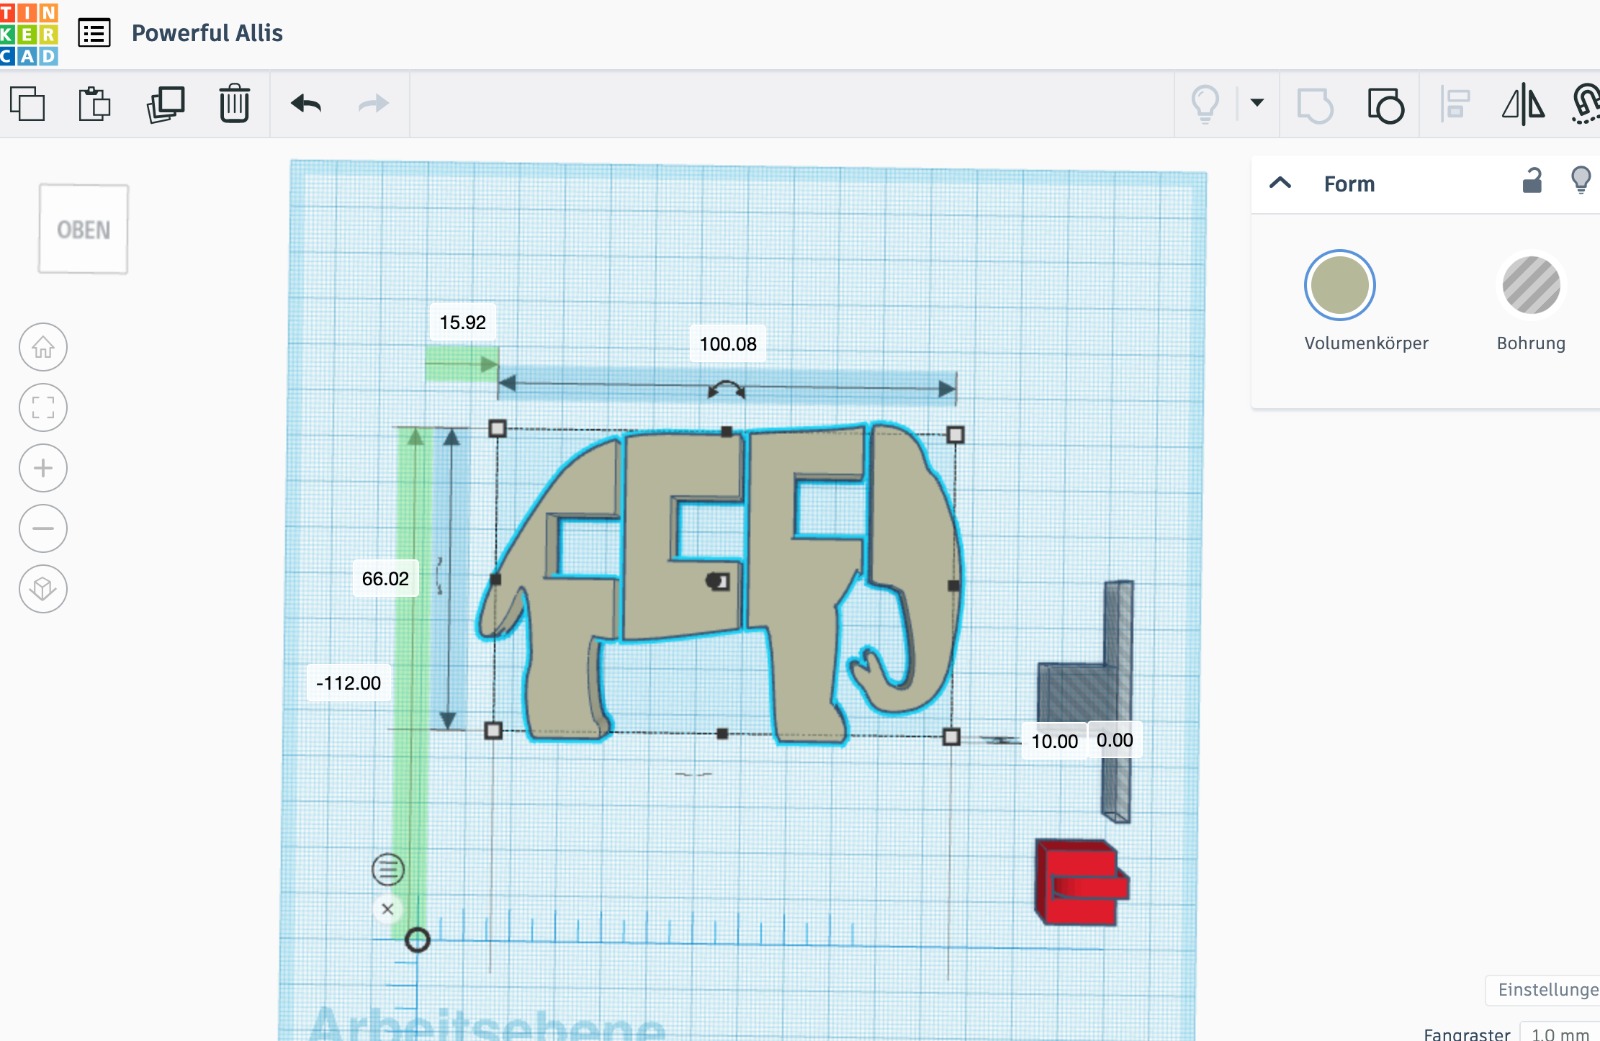
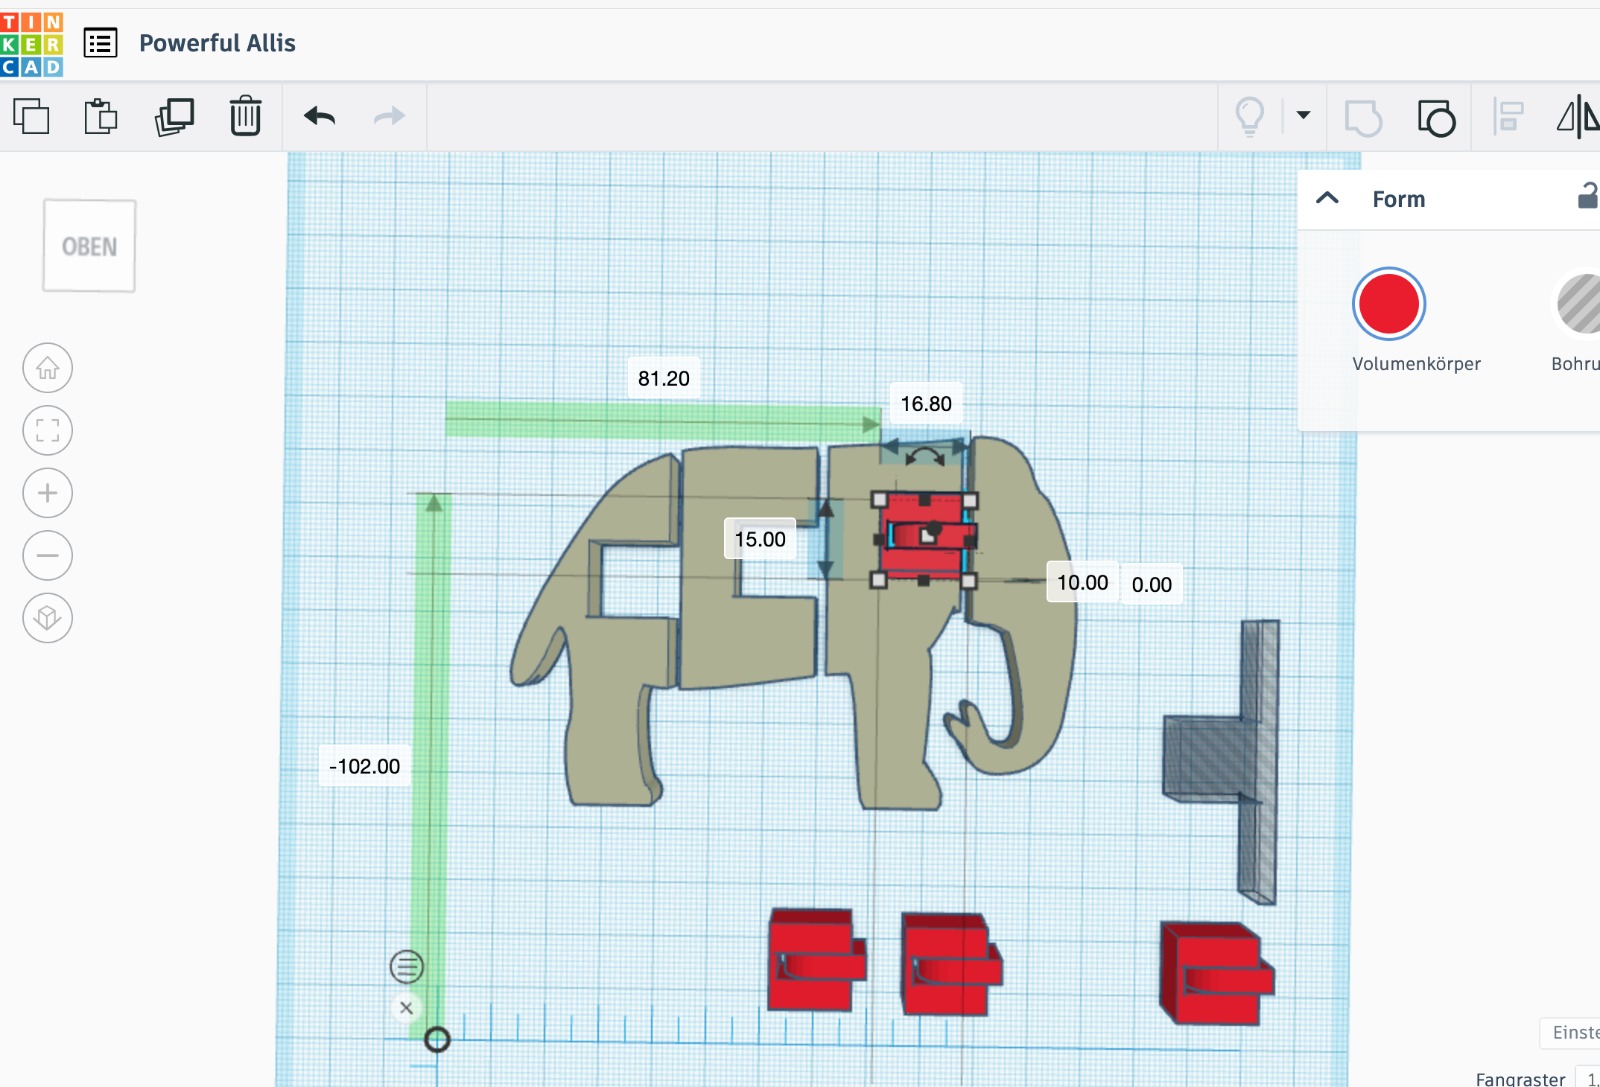
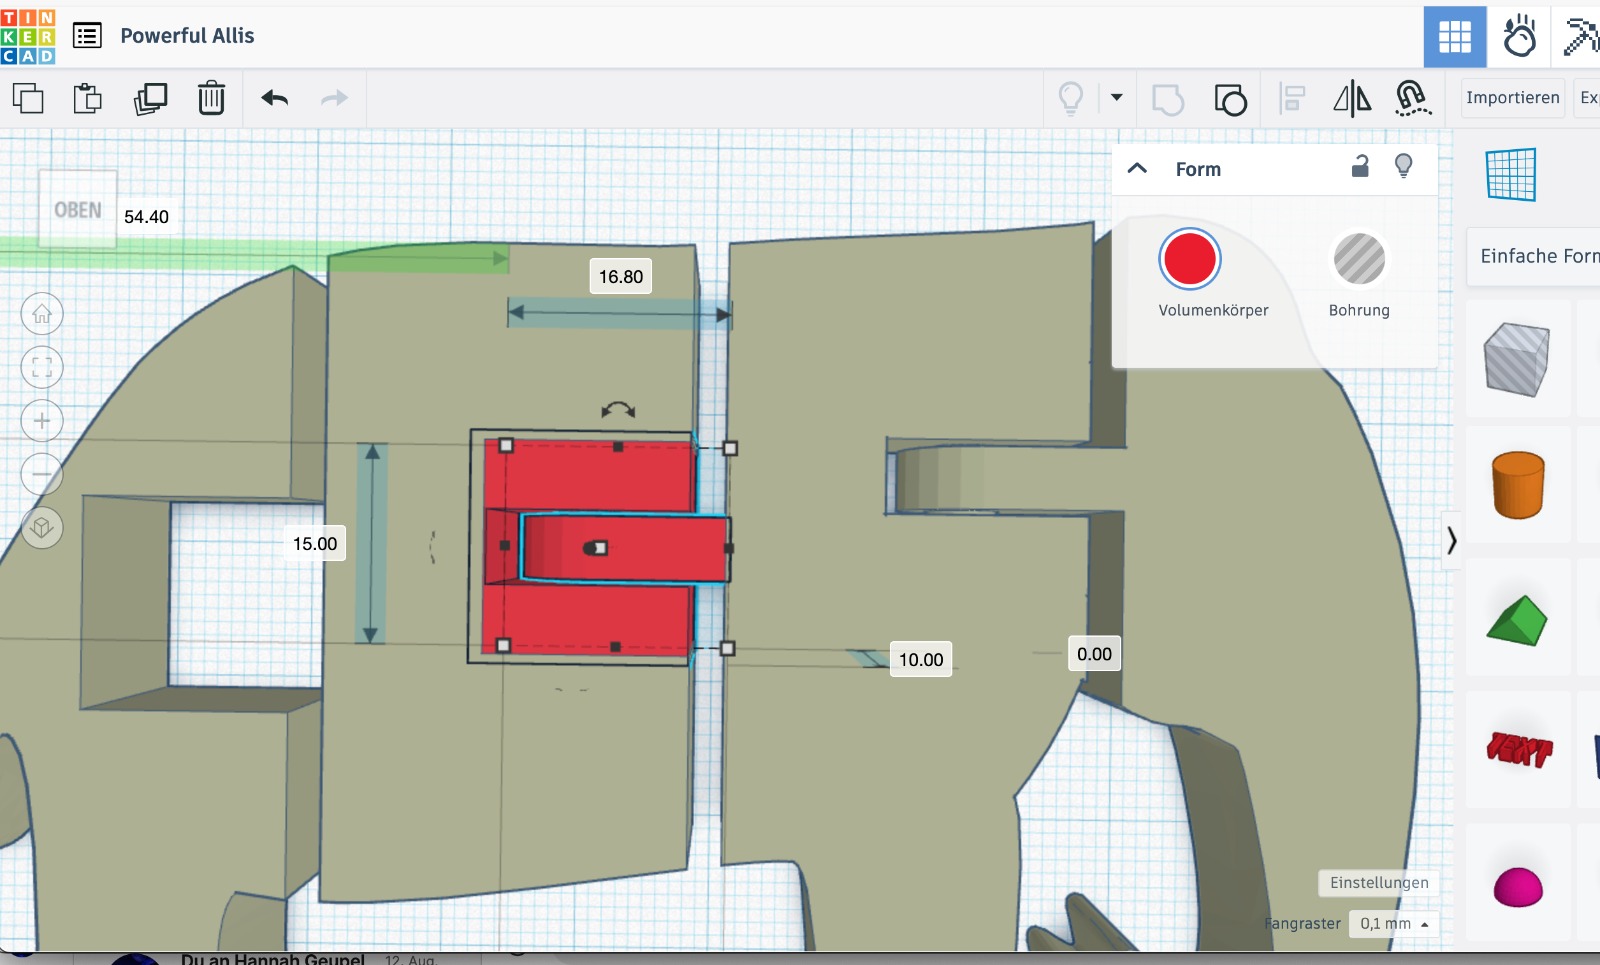
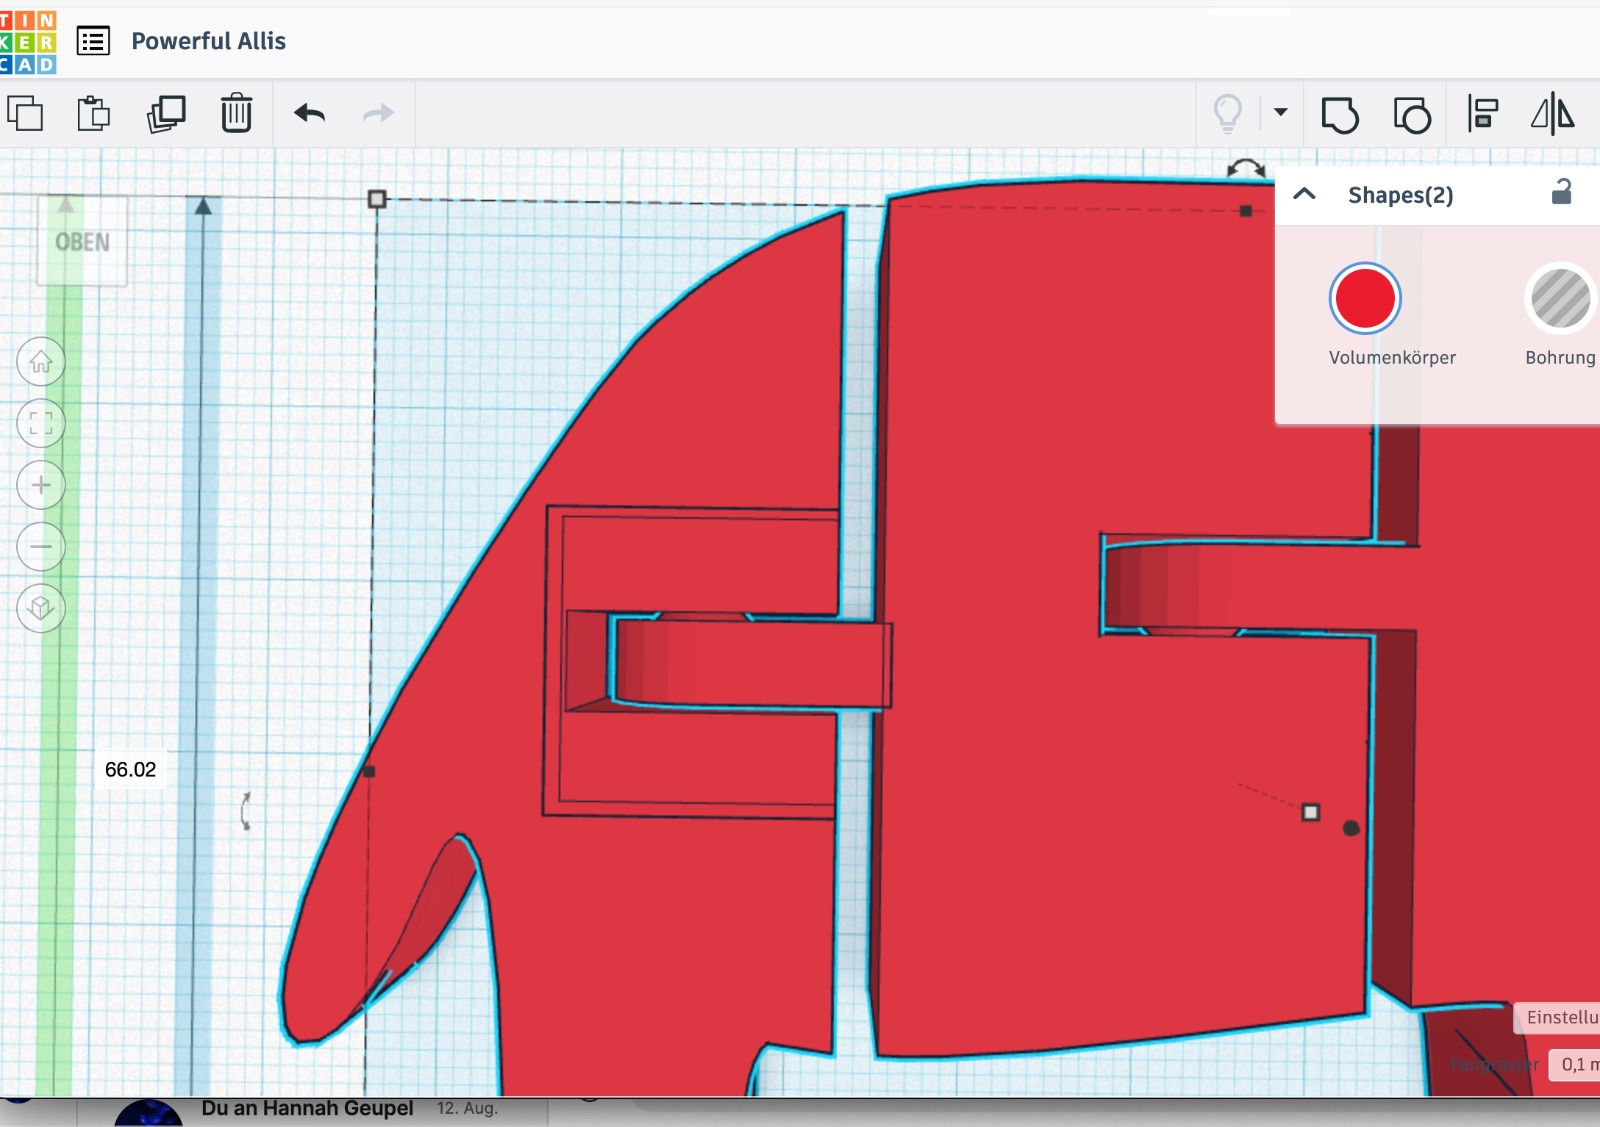
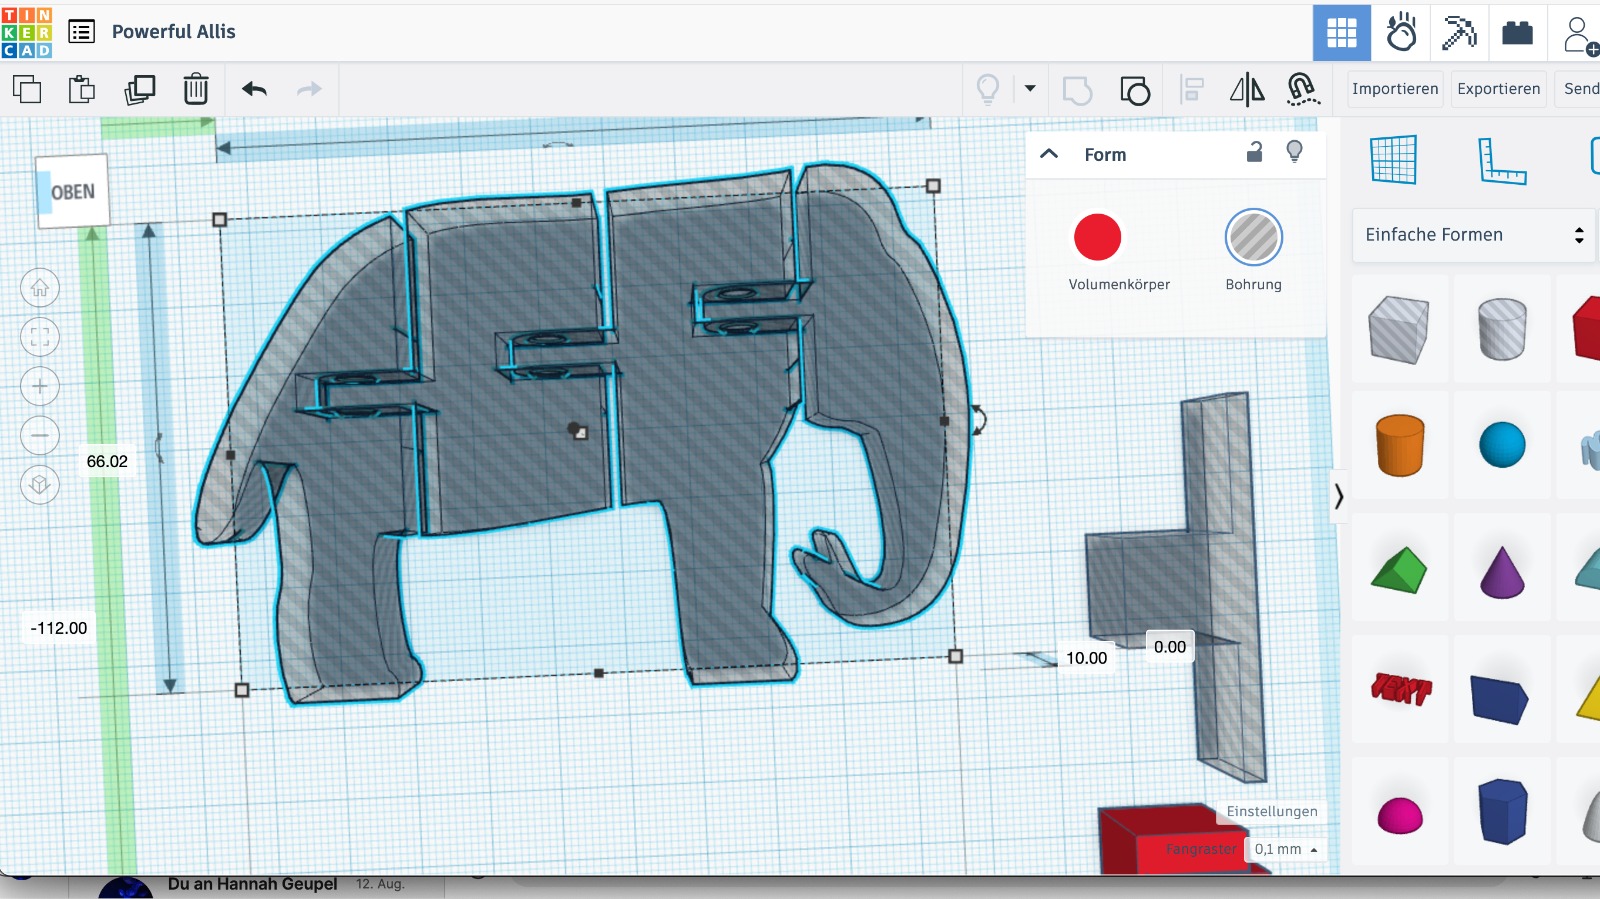
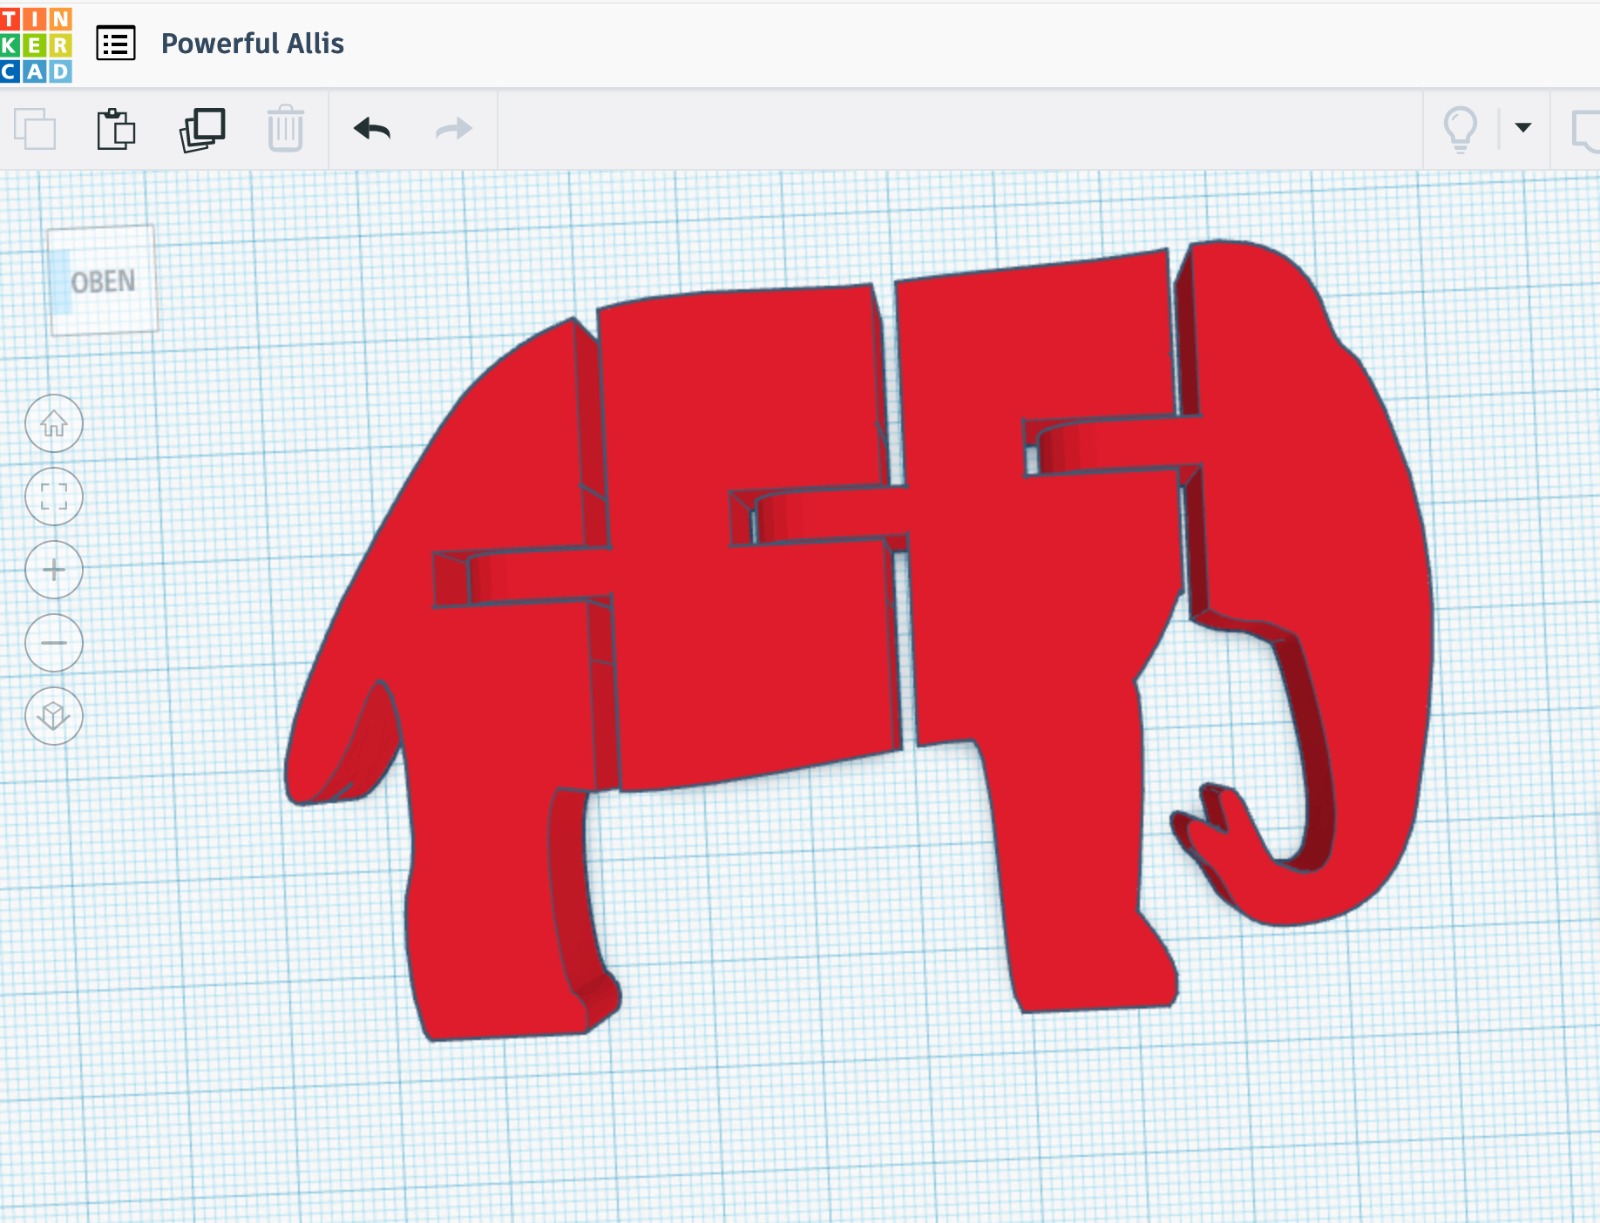
During the Molding & Casting week, I had downloaded several STL animal models. I decided to use an elephant model. I imported the file and then designed a hole with a long slit and a cuboid slightly smaller than the hinge cuboid. I duplicated this element three times and arranged them on the elephant model. Then, I merged the elements. In the resulting holes, I inserted the hinges, which I had also duplicated beforehand, and grouped everything together.
The ball hinge allowed the elephant to become a movable figure.
Preparing the file
To prepare the file for printing, I uploaded it to the BambuStudio software and ran a simulation.
During the print, everything went well, and the flexible elephant looks very nice.